Table of Contents
You open the cabinet above the stove to grab a mixing bowl, and three lids slide out and hit the floor before you’ve even touched what you came for. That’s not a you problem. That’s a system problem, and in a small kitchen, the wrong system announces itself daily, at eye level, usually while something’s boiling over on the stove behind you.
Organizing a small kitchen works best in a specific order: clear and sort what you own first, then solve storage from the highest-use zones outward (cabinets, then pantry-alternative space, then counters, then the fridge), and finish with daily habits that keep the system from sliding back into chaos within a month. Skip the order and you end up buying bins for a kitchen you haven’t actually sorted yet, which is how half-used organizers end up shoved in a drawer, unused.
This guide walks through that full sequence for a real small kitchen. No renovation, no knocking down walls, no landlord calls required.
Start With a 20-Minute Full Clear-Out
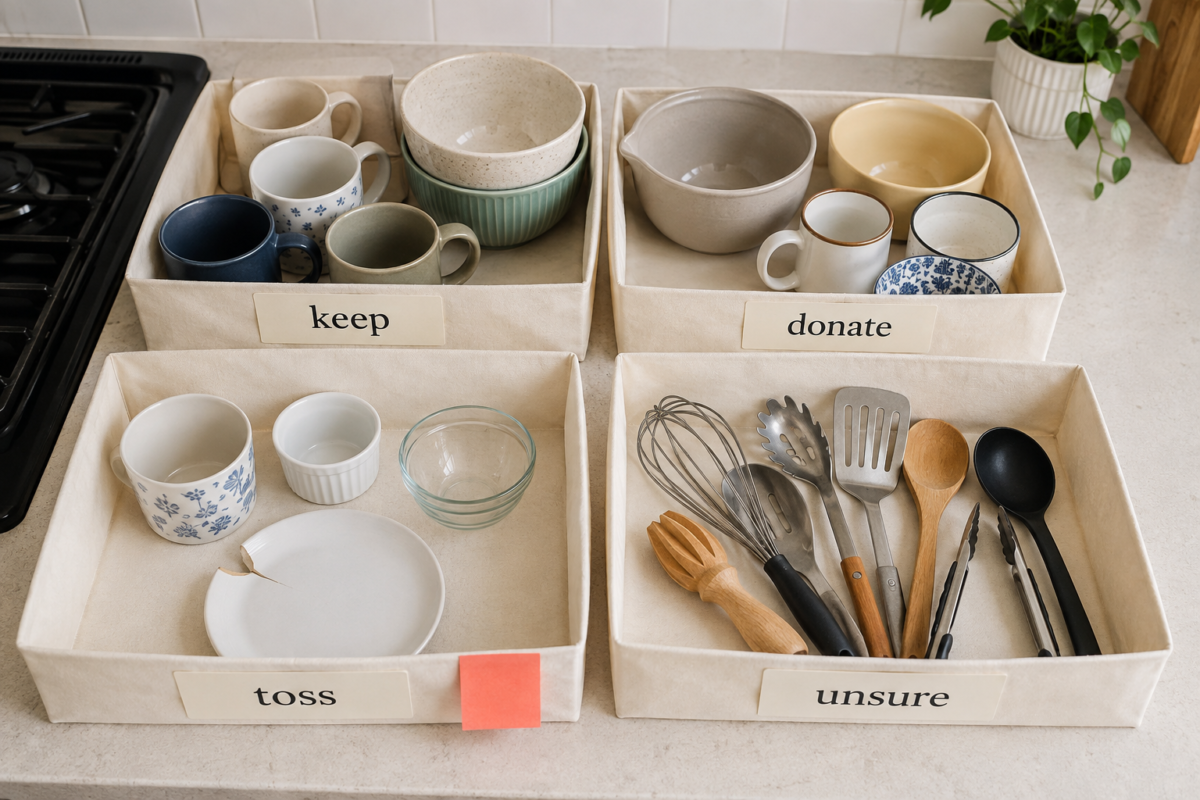
Empty every cabinet and drawer onto your counters and table before you organize anything. Sort into four piles: keep, donate, toss, and “I forgot I owned this.” Most small kitchens are working with less counter and cabinet space than they need because they’re storing items that haven’t been touched in over a year, not because the room is genuinely too small.
This step feels slow. It isn’t optional. Buying storage bins before you’ve cleared out what you own means you’re organizing clutter instead of removing it, and the bins end up full of things you didn’t actually need to keep.
A few honest questions while you sort: Do you own three sizes of the same mixing bowl and only ever reach for one? Do you have a fondue pot from 2019? Small kitchens punish duplicate and single-use items more than any other room in the house, because every cubic inch is already spoken for.
Once you’ve sorted, you’ll likely find your keep pile is 20–30% smaller than what came out of the cabinets. That’s real, reclaimed space before you’ve bought a single organizer.
Organize Cabinets by Zone, Not by Category
Group items by where you use them, not by what they are. Put everyday plates and glasses in the cabinet closest to the dishwasher and table, cooking oils and spices near the stove, and baking equipment together in one lower cabinet, even if that means your mixing bowls and your muffin tin end up in different spots than a “logical” category system would suggest.
This is the single biggest organizing shift that changes how a small kitchen actually functions day to day. Category-based organizing (all bakeware together, all glassware together) looks tidy on a shelf but forces you to cross the kitchen twice while cooking dinner. Zone-based organizing means everything you reach for during a task is within one arm’s length of where you’re standing when you need it.
If your cabinet already has adjustable shelves, move one down to eliminate wasted vertical air above your plates. A standard stack of 8 dinner plates is about 6 inches tall; most cabinet shelves are set to fit 10–12 inches of clearance, which means 4-6 inches of dead space above every stack, multiplied across every shelf in the kitchen.
If your cabinets are fixed, add a stackable shelf riser instead. A single tiered riser can turn one shelf into two usable levels without any drilling, and most cost under $15.
Deep lower cabinets, the kind that hide pots three rows back, work best with a pull-out drawer organizer or lazy Susan rather than stacking. Anything you can’t see without kneeling on the floor is an item that stops getting used, then quietly becomes clutter you forgot you owned.
If your kitchen has almost no pantry space at all and your cabinets are doing double duty for both cookware and dry goods, this next section is worth reading in full: this guide to setting up pantry function inside regular cabinets walks through the exact bin and labeling system that makes a cabinet act like a real pantry.
Build Pantry Function Even Without a Pantry
Most small kitchens, especially in older apartments and starter homes, were built without a dedicated pantry closet. You can still create real pantry function using a single deep cabinet, a pantry door organizer, or even a tall bookshelf near the kitchen, as long as you apply the same rules a walk-in pantry would use: clear containers, front-facing labels, and grouped categories.
Decanting dry goods (flour, rice, pasta, cereal) into matching clear containers does two things at once. It makes inventory instantly visible, so you’re not buying a third bag of rice you already have two of, and it protects food from pests and staleness far better than the half-torn cardboard boxes it came in.
Label the front of every container, not the lid. Lid labels only work if the container is standing where you can see the top, and most stacked or shelved containers get read from the front, at eye level, while you’re mid-recipe with your hands full.
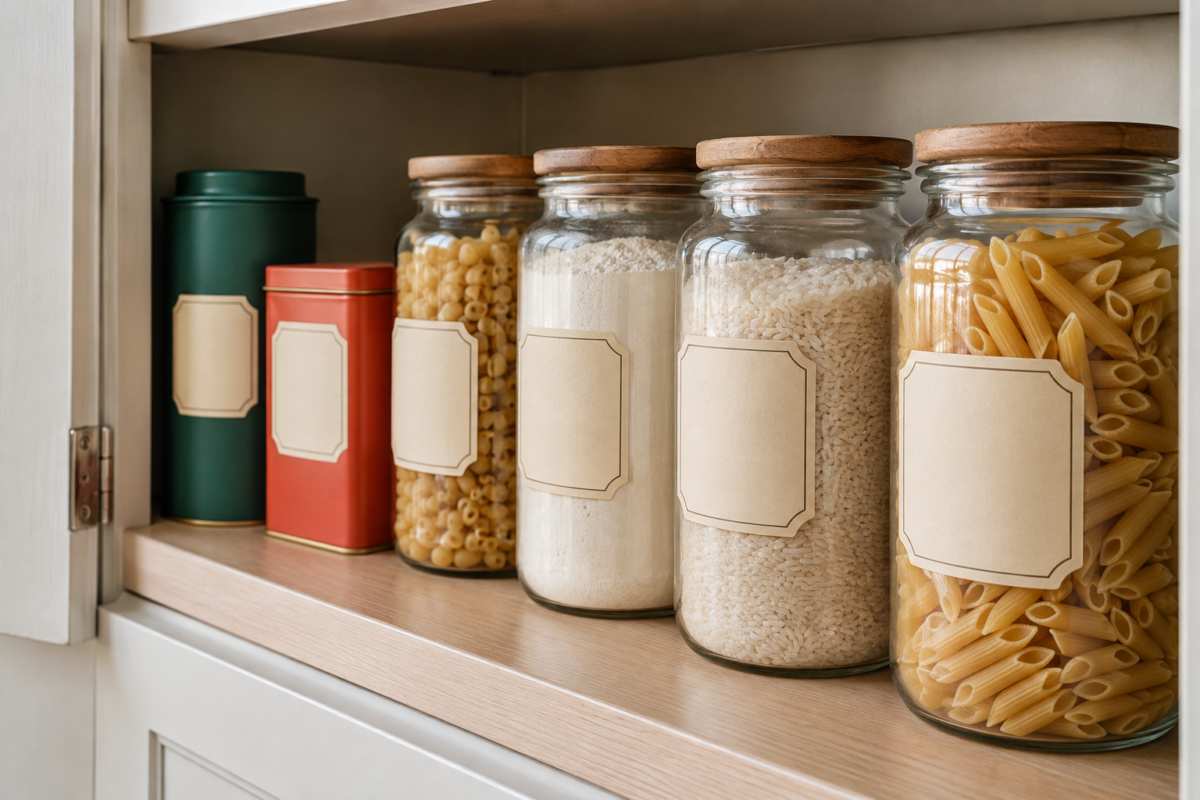
Full breakdown of the exact container sizes, labeling system, and door-mounted options that work when you have zero dedicated pantry space live in Pantry Organization for Kitchens With No Pantry.
Keep Countertops Clear on Purpose
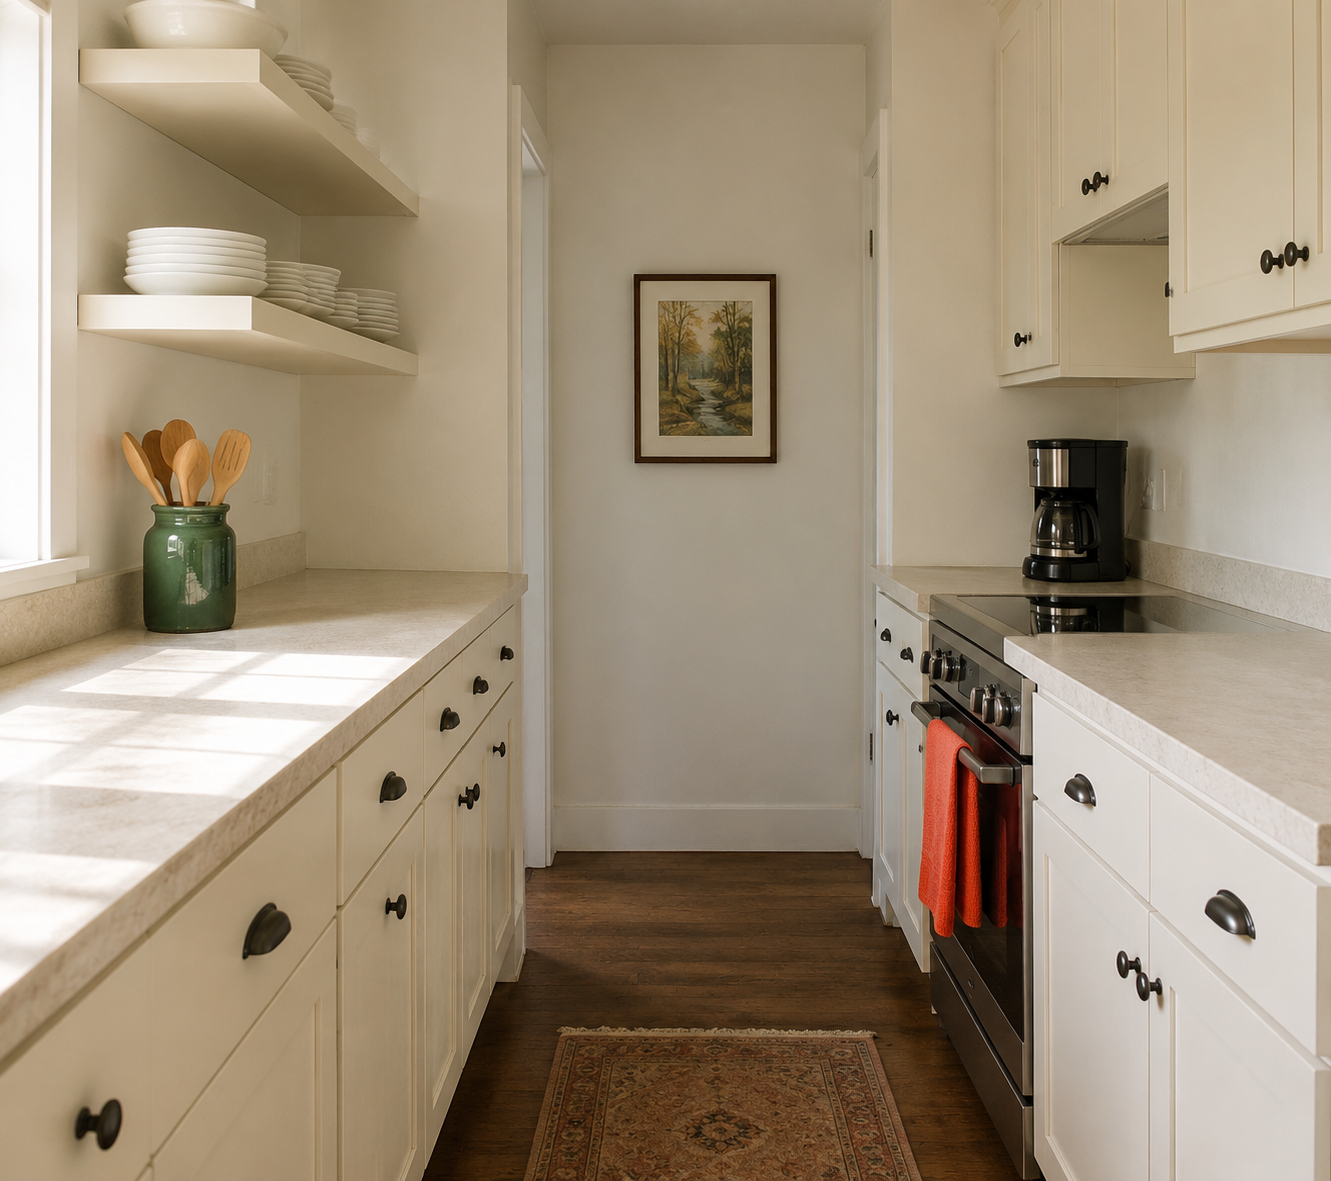
Counters are prime real estate in a small kitchen, and every item left sitting on them permanently reduces your usable workspace by that item’s footprint. A coffee maker, a knife block, and a fruit bowl left out full-time can eat 15–20% of the total counter length in a galley kitchen, which is exactly the space you need for cutting boards and mixing bowls while actually cooking.
The rule that keeps counters clear long-term: an item only earns permanent counter space if you use it daily. Everything else lives in a cabinet or drawer and comes out only when needed. Your stand mixer, used twice a month, does not need to live out. Your daily coffee maker does.
A shallow tray or caddy for the items that do stay out (oil, salt, a small plant, your coffee setup) keeps them visually contained instead of scattered, which makes even a full counter read as organized rather than cluttered. This single trick does more visual work than almost any other counter change.
The full system for deciding what earns counter space, plus specific tray and caddy setups that work in kitchens under 10 linear feet of counter, is covered in Countertop Systems That Keep Clutter From Building Up.
Organize the Fridge the Same Way You Organized the Cabinets
Assign zones inside the fridge the same way you assigned cabinet zones: a shelf for ready-to-eat and leftovers at eye level, a shelf for raw ingredients you’re prepping with below it, and door storage reserved for condiments and drinks rather than dairy, which stays colder and fresher on an interior shelf.
Clear bins inside the fridge do for produce and snacks what clear containers do for your pantry: they group loose items, keep drawers from becoming a junk pile of half-used produce bags, and make it obvious at a glance what’s about to go bad. A bin of “eat this week” items placed front and center at eye level measurably cuts down on food waste, because nothing forgettable is buried behind a jar of pickles in the back.
Wipe down one shelf a week rather than doing a full fridge deep-clean once a quarter. Small, frequent resets take under five minutes and prevent the kind of spill buildup that turns into a weekend-long project later.
Handle the Awkward Spaces: Under the Sink and Corner Cabinets
Under-sink cabinets lose most of their usable space to pipes, and corner cabinets lose theirs to the simple fact that a human arm can’t reach the back corner without kneeling and stretching. Both spaces need a different approach than the rest of the kitchen.
Under the sink, a tension rod mounted a few inches below the pipes creates a second tier for hanging spray bottles by their trigger handles, instantly doubling usable storage without touching the plumbing. A slide-out caddy on the cabinet floor handles everything else (sponges, gloves, extra trash bags) and pulls fully forward so nothing gets lost behind the U-bend.
Corner cabinets work best with a lazy Susan or a pull-out corner unit designed for the space. If neither is in the budget right now, reserve the corner for your least-used items only, the ones you’re fine reaching for once a month, and keep anything you need weekly toward the front of an adjacent, more accessible cabinet instead.
The Daily Habits That Actually Keep It Organized
A perfectly organized kitchen on day one and a kitchen that’s still organized six months later are two different projects. The first is a weekend of work. The second is a small set of habits repeated daily, most of which take under two minutes each.
The habits that matter most: clearing the counter of anything used that day before bed, doing a 30-second dish rinse-and-load right after cooking instead of letting it sit, and a Sunday five-minute fridge scan to toss anything that’s turned before it becomes a smell you’re solving on Wednesday. None of these are dramatic. All of them, done consistently, are the actual difference between a kitchen that stays organized and one that needs re-organizing every few weeks.
If you want the complete daily and weekly routine broken down by day, Daily Habits That Keep a Small Kitchen From Piling Up covers the exact two-minute resets that stop clutter before it starts, including what to do on the days you don’t have time for any of it.
What a Fully Organized Small Kitchen Actually Looks Like
Picture opening that same cabinet from the start of this guide again. Nothing slides. You know exactly where the mixing bowl is because it lives in the baking zone, at a height you can reach without a step stool. Your counters have three things on them, all used daily, all in a tray that keeps them from wandering. The fridge has a clear “eat this week” bin front and center, so nothing goes bad quietly in the back. That’s not a bigger kitchen. It’s the same square footage, organized on purpose.
Frequently Asked Questions
How do I organize a small kitchen with no extra storage space? Start by clearing out unused duplicates and expired items, which typically frees up 20–30% of existing cabinet space before you buy anything. Then add vertical storage inside cabinets (stackable risers, tension rods, door-mounted racks) rather than looking for more floor space you don’t have.
What should I organize first in a small kitchen? Start with a full clear-out and sort, then move to cabinets, then pantry-alternative storage, then countertops, then the fridge. Organizing counters or buying bins before sorting what you own usually means re-doing the work later.
How often should I reorganize my small kitchen? A full re-sort once or twice a year is enough if your daily habits are solid. If you’re re-organizing every few weeks, the issue is usually habits, not the system itself. Check the daily habits section above before rebuilding anything.
Do I need to buy matching containers to organize my kitchen? No, though matching containers do make shelves easier to scan at a glance. Function matters more than matching: clear, correctly sized, and easy to read at a glance beats a matching set that doesn’t fit your actual shelf height.
Can I organize a rental kititchen without drilling anything? Yes. Tension rods, adhesive hooks rated for kitchen weight, stackable risers, and freestanding carts all add real storage without a single hole in the wall or cabinet.
Related Reading
- Pantry Organization for Kitchens With No Pantry
- Countertop Systems That Keep Clutter From Building Up
- Daily Habits That Keep a Small Kitchen From Piling Up
- Kitchen Organization (parent category)
- Small Kitchens (parent hub)