Table of Contents
A landlord doing a move-out walkthrough isn’t looking at the whole apartment with equal attention. They’re checking a specific, predictable set of spots first, the ones that show wear and grime the fastest and the ones that cost the most to professionally clean if a tenant leaves them dirty. Knowing exactly which spots those are, and cleaning them to the standard an inspection actually expects, is the difference between getting a full deposit back and losing a chunk of it to charges that could have been avoided with an extra twenty minutes of attention.
This isn’t about deep-cleaning every square inch of the apartment equally. It’s about knowing where the scrutiny actually concentrates and putting the bulk of your effort exactly there, room by room, in the order that matches how most move-out inspections are actually conducted.
Why Certain Spots Get Checked First
Landlords and property managers develop a predictable inspection pattern over time, because certain areas reliably show neglect faster than others and cost more to fix if left dirty. Kitchen grease, bathroom grime, and built-up dust in easily overlooked spots are the areas most likely to trigger a cleaning fee deduction, since they require real time and specialized cleaning to fully resolve if a tenant hasn’t handled them.
Understanding this pattern isn’t about gaming an inspection. It’s about applying your limited pre-move-out energy where it actually matters most, rather than spending hours on a spotless living room while the oven and bathroom grout, the areas an inspector will check most closely, get rushed or skipped entirely.
Kitchen: The Room With the Most Deduction Risk
The kitchen consistently draws the most scrutiny of any room in a move-out inspection, largely because grease and food residue are visible, unpleasant, and genuinely time-consuming to clean if they’ve built up over months or years.
The oven, inside and out. Baked-on grease and food residue inside an oven is one of the most commonly cited move-out cleaning failures. Use the oven’s self-clean function if it has one, running it well before move-out day since it can produce strong odors and takes several hours, then wipe down the interior once cooled. For ovens without self-clean, a dedicated oven cleaner and some genuine elbow grease on the racks, walls, and door glass make the difference between passing and failing this specific check.
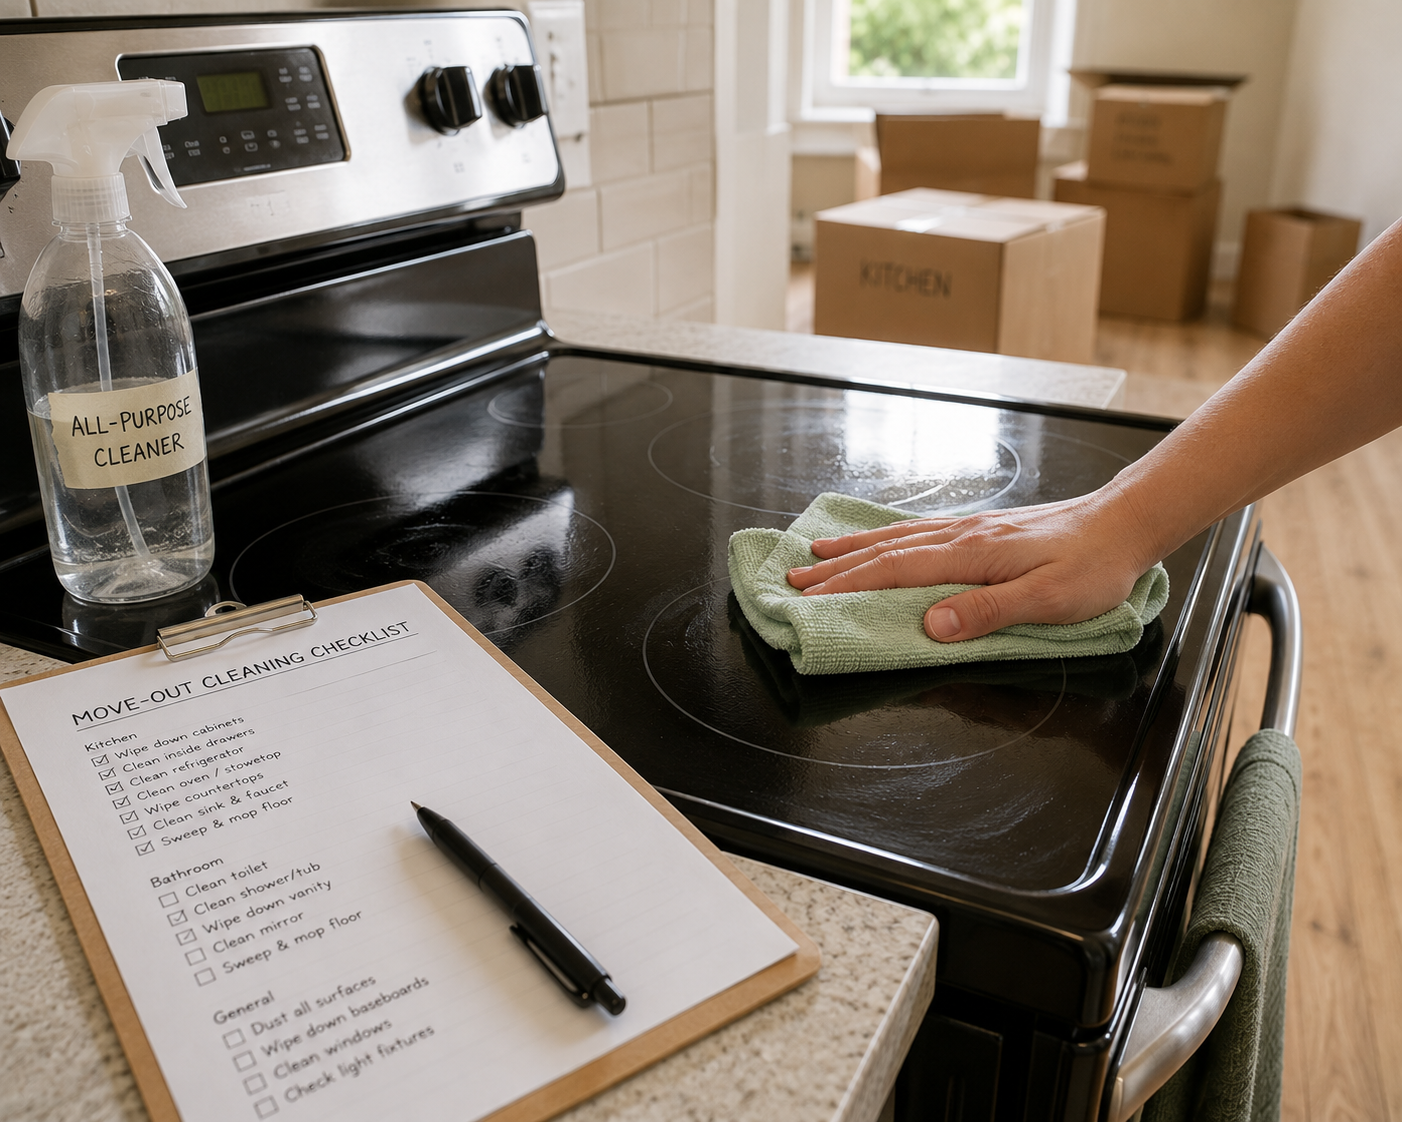
The stovetop and range hood. Grease accumulates on and around a stovetop faster than most people realize, and it’s highly visible during an inspection. Clean burner grates, the surface underneath them, and the range hood filter, which collects grease from cooking exhaust and is easy to forget entirely.
Refrigerator, inside and out, including underneath. An empty refrigerator still needs a full interior wipe-down, shelves, drawers, door seals, and the often-overlooked space underneath and behind it if the unit is movable. Unplug it and leave the door propped open after cleaning to prevent mildew before the next tenant or inspector arrives.
Cabinets and drawers, inside and out. Crumbs, spills, and shelf liner residue inside cabinets are commonly checked, along with any grease film that’s settled on cabinet exteriors near the stove. Wipe every shelf, not just the ones that look visibly dirty.
Sink, faucet, and disposal. Mineral buildup around the faucet base and any lingering odor from a garbage disposal are both easy fixes that get overlooked. Running ice cubes and a bit of citrus peel through a disposal, followed by cold water, resolves most odor issues in under a minute.
Bathroom: The Second-Highest-Scrutiny Room
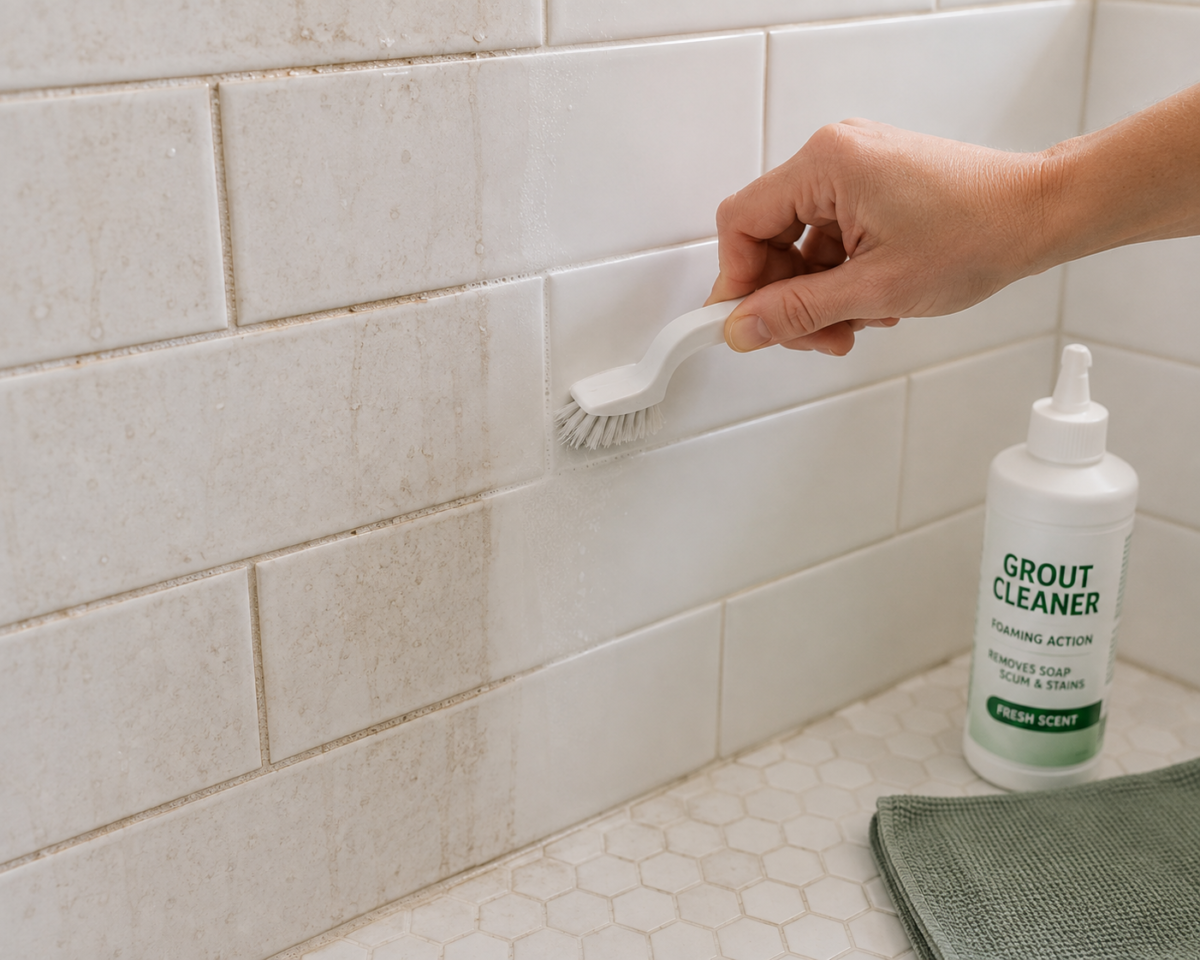
Bathrooms accumulate mineral deposits, soap scum, and grime in ways that become genuinely difficult to remove if left too long, which makes this room almost as high-stakes as the kitchen for move-out inspections.
Grout and tile, especially in the shower or tub. Grout discoloration is one of the most visually obvious signs of a poorly maintained bathroom, and it’s also one of the most time-consuming things to clean if it’s been neglected for a long time. A grout brush, a dedicated grout cleaner, and real time invested here pays off more than almost any other single bathroom task.
Toilet, base and behind included. Beyond the bowl itself, the base where it meets the floor and the area directly behind it collect dust and grime that’s easy to miss during regular cleaning but highly visible during a close inspection.
Mirrors and glass surfaces, cleaned streak-free rather than just wiped with a dry cloth, which tends to smear rather than actually clean.
Exhaust fan cover. Bathroom exhaust fans accumulate dust remarkably fast, and a dusty fan cover is an easy, visible sign of incomplete cleaning that takes only a couple of minutes to fix by removing the cover and wiping or vacuuming it.
Caulking around the tub or shower. Mildew-stained caulk is difficult to fully whiten again, but a thorough scrub with a mildew-specific cleaner meaningfully improves its appearance, and in cases where it’s beyond saving, some leases actually place caulk replacement on the landlord rather than the tenant, worth checking before assuming it’s your responsibility to fix.
Floors: Consistent Attention Throughout, Not Just Vacuuming
Flooring gets checked throughout the apartment, and the specific cleaning approach depends on the material, but a few principles apply everywhere.
Vacuum and mop every room, including closets. Closet floors are commonly skipped in a final cleaning pass, but they’re just as visible during an inspection as any other floor in the apartment.
Address any specific stains rather than just general cleaning. A carpet stain that regular vacuuming won’t touch needs a targeted spot treatment, and tackling it early, rather than the day of the walkthrough, gives the treatment time to fully dry and reveals whether it actually resolved the mark.
Check baseboards specifically. Dust and grime along baseboards is easy to miss during a standard cleaning pass but stands out at eye level during an inspection, particularly in corners and behind where furniture used to sit.
Walls and Fixtures: The Details That Round Out the Inspection
Wipe down light switches and outlet covers, which accumulate a surprising amount of grime from repeated touching over the length of a tenancy, and stand out visibly once everything else in the room is clean.
Address any scuff marks on walls that are reasonably removable. A magic eraser or a gentle cleaning solution resolves most scuffs from furniture or daily wear without needing to touch paint. Genuine paint damage, holes, or larger marks beyond normal wear are a different category, and whether they’re chargeable often depends on local tenant law and the specific circumstances, worth understanding before assuming every mark is automatically a deduction.
Clean window tracks and sills, an area that collects dust and, depending on the climate, grime from window condensation, and is easy to overlook since it’s below typical eye level.
Wipe down all light fixtures and ceiling fan blades, both for dust and, in a kitchen, for any grease that’s settled on fixtures near the cooking area over time.
What Landlords Generally Can’t Charge For
Understanding what counts as normal wear and tear, which landlords generally can’t deduct for, versus genuine damage, which they can, helps set realistic expectations and provides a basis for disputing an incorrect charge.
Normal wear and tear typically includes: minor carpet wear in high-traffic areas, small nail holes from reasonably hung art, minor scuffs on walls or floors from ordinary living, and fading from sunlight exposure over a long tenancy. These are generally considered the cost of doing business as a landlord, not a tenant’s responsibility to fix or pay for.
Genuine damage typically includes: large stains that cleaning can’t resolve, broken fixtures, significant holes in walls beyond reasonable picture-hanging, and anything resulting from clear negligence rather than ordinary use. This is the category where cleaning and repair costs can legitimately be deducted from a deposit.
Local law varies meaningfully on the exact line between these categories, and some areas require an itemized, documented breakdown of any deductions within a specific timeframe after move-out. Knowing your specific local rules, easily searchable by city or state plus “security deposit law,” gives you a concrete basis for pushing back on any deduction that seems to fall into normal wear and tear rather than genuine damage.
The Final Walkthrough: What to Bring and What to Do
Bring your move-in documentation with you, or have it easily accessible. Comparing your final walkthrough directly against move-in photos, room by room, is the single best tool for catching and disputing a charge for something that was already present before you moved in.
Take fresh photos and video immediately after cleaning is complete, ideally the same day as the final walkthrough, so this documentation reflects the exact condition the apartment was in when you handed back the keys.
Ask for a copy of the inspection report on the spot if one is completed while you’re present, or ask directly when to expect the itemized deposit return documentation if the inspection happens after you’ve already left.
Working Efficiently: A Realistic Cleaning Timeline
Deep cleaning an entire apartment to move-out standard takes longer than most people budget for, and rushing it in the final hours before handing back keys is one of the most common reasons things get missed. Spreading the work across a few days, rather than attempting it all in one exhausting session, consistently produces a better result.
Two to three days before move-out: Tackle the highest-effort tasks first, the oven, grout, and any carpet stains needing spot treatment, since these benefit from extra time to work, dry, or get a second pass if the first attempt doesn’t fully resolve the issue. Doing these early also means the smell of cleaning products has time to dissipate before the final walkthrough.
One day before move-out: Handle the mid-effort tasks, cabinets and drawers, refrigerator interior, bathroom fixtures and mirrors, floors throughout. By this point the apartment should be mostly empty of belongings, which makes these tasks meaningfully faster than trying to clean around furniture and boxes.
The final day: Finish with the quick, detail-level tasks, light switches, baseboards, window sills, a final vacuum or mop pass, and the walkthrough-day documentation photos. These tasks take relatively little time individually but matter disproportionately in an inspection, since they’re the details most visible against an otherwise empty room.
Build in a buffer for anything that doesn’t come clean on the first attempt. Grout, in particular, sometimes needs a second treatment to fully lighten, and discovering that on the actual move-out day leaves no time to address it. Testing the process a few days early avoids this exact scenario.
Supplies Worth Having on Hand
A focused set of cleaning supplies handles nearly everything on this checklist without needing a specialized product for every individual task.
- An all-purpose cleaner and a degreaser cover most kitchen and general surface cleaning between them, with the degreaser reserved specifically for the stovetop, oven exterior, and range hood.
- A grout brush and a dedicated grout or mildew cleaner for bathroom tile, since a general all-purpose cleaner alone rarely fully resolves grout discoloration.
- Microfiber cloths in bulk outperform paper towels for most of this checklist, both in cleaning effectiveness on glass and mirrors and in overall cost across a full apartment’s worth of surfaces.
- A magic eraser or similar melamine sponge for wall scuffs, which resolves the majority of ordinary marks without needing to repaint anything.
- A vacuum with a hose attachment reaches window tracks, baseboards, and exhaust fan covers far more effectively than a cloth alone, and speeds up several tasks on this list considerably.
If You’re Also Hiring Help
Professional move-out cleaning services exist specifically for this scenario, and they can be worth the cost, particularly for the kitchen and bathroom if either has accumulated buildup beyond what a quick pass will resolve, or if time is genuinely too tight to handle everything on this checklist personally.
Check the specific scope before booking. Not every cleaning service includes oven interiors, refrigerator interiors, or grout treatment as standard, and confirming exactly what’s covered avoids paying for a service that still leaves the highest-risk areas untouched.
Schedule it for the day before, not the day of, move-out. This leaves a buffer to address anything the service missed, and it means the apartment is genuinely clean during the actual walkthrough rather than still smelling of cleaning products or showing streaks that haven’t fully dried.
Keep the receipt. Some leases and some local tenant protections consider a receipt for professional cleaning as evidence that reasonable effort was made, which can matter if a dispute over cleanliness comes up later despite the service being used.
Frequently Asked Questions
What are the most common reasons landlords deduct from a security deposit? Uncleaned ovens and stovetops, bathroom grime and grout buildup, carpet stains, and unaddressed scuffs or marks beyond normal wear and tear are among the most commonly cited reasons. Focusing cleaning effort on the kitchen and bathroom specifically addresses the highest-risk areas first.
How do I clean baked-on grease from an oven before moving out? Use the self-clean function if the oven has one, running it well before move-out day since it can take several hours and produce strong odors. For ovens without self-clean, a dedicated oven cleaner applied to the interior, racks, and door glass, followed by real scrubbing, handles most buildup effectively.
Can a landlord charge me for normal wear and tear? Generally not, though the exact definition varies by location. Minor carpet wear, small nail holes from reasonably hung items, and light scuffs from ordinary living are typically considered normal wear and tear rather than tenant-caused damage.
How soon before move-out should I do the deep cleaning? Plan the deep clean for the final one to two days before move-out, close enough that the apartment reflects its actual final condition during the walkthrough, but with enough buffer to address any stubborn spots (grout, stains) that might need a second pass or extra drying time.
Should I hire a professional cleaning service before moving out? It depends on your lease terms and how much time you have. Some leases explicitly require professional cleaning, and even when they don’t, a professional service can be worth the cost for the kitchen and bathroom specifically if those rooms have accumulated buildup that’s genuinely difficult to remove without commercial-grade products.
Related Reading
- The Complete Move-In / Move-Out Checklist — the full sequence this cleaning checklist fits into, covering move-in on the other end.
- The Small Apartment Move-In Checklist — the move-in documentation process this cleaning checklist compares against at the final walkthrough.
- How to Pack a Small Apartment Without Losing a Month to Boxes — the packing order that leads naturally into this final cleaning pass.
- The Complete Guide to Rental-Friendly Decor — how to restore any reversible upgrades before this final walkthrough.
- Parent Category: Move-In & Move-Out
- Parent Hub: Apartments & Rentals