Table of Contents
Two renters can buy what looks like the same peel-and-stick wallpaper, apply it to similar walls, and end up with wildly different results. One gets a smooth, bubble-free accent wall that peels off cleanly two years later at move-out. The other gets bubbling within the first week and a wall covered in adhesive residue when it’s time to take it down.
The difference almost never comes down to luck. It comes down to two things: which product was actually used, since “removable wallpaper” spans a huge range of real quality, and whether it was applied and removed the right way. Both are fixable with the right information upfront, which is exactly what this guide covers.
Why Some Removable Wallpaper Fails and Some Doesn’t
Peel-and-stick wallpaper works through a repositionable adhesive backing, and the quality of that adhesive is the single biggest factor separating products that remove cleanly from ones that leave residue or tear the wall’s paint. Cheap, thin products often use adhesive that’s either too aggressive (bonds too strongly to the wall’s paint layer, pulling paint off on removal) or too weak (fails to stay adhered and bubbles within days).
Quality removable wallpaper uses a “low-tack” or repositionable adhesive engineered specifically to bond firmly enough to stay flat during use, while releasing cleanly from most latex and satin painted surfaces when peeled slowly at the correct angle. This is genuinely different chemistry from a standard wall decal or contact paper, which is part of why price differences between products in this category usually reflect a real quality gap, not just branding.
Paper weight matters too. Thin, low-weight backing is more prone to tearing during application (which leads to visible seams and patching) and during removal (which increases the odds of leaving small adhesive fragments behind). Heavier, fabric-backed or thicker vinyl options handle both application and removal with noticeably less risk.
Testing Your Specific Wall Before Committing
Every rental’s paint is slightly different, different brands, different sheens, different ages, and that variation is exactly why a product review from someone else’s apartment doesn’t guarantee the same result on your walls. A hidden-spot test takes ten minutes and eliminates almost all the risk of a bad surprise on a full wall.
Pick a section that’s genuinely hidden: inside a closet, behind a door when it’s open, or low behind a piece of furniture that won’t move for a few weeks. Apply a small piece of your chosen wallpaper following the full application process below, leave it for at least 48 to 72 hours (adhesive bonds more fully over the first few days), then peel it back slowly to check two things: does the wall’s paint come off with it, and does any visible residue remain.
If the paint lifts even slightly, your wall likely has a softer or lower-quality paint finish than the product expects, and a full application carries real risk of the same result across a larger, far more visible area. Either choose a gentler, lower-tack product, or reconsider committing to a large area of that wall.
If residue remains but the paint stays intact, this is usually fixable, most residue from quality brands responds to a mix of warm water and a small amount of dish soap, applied gently with a soft cloth, without needing anything harsher. Cheap, low-quality residue is more likely to require a dedicated adhesive remover, which is a good sign the product itself, not your technique, was the actual problem.
Wall Prep: The Step Almost Everyone Skips
The single most common cause of bubbling isn’t a bad product, it’s applying a good product to a wall that wasn’t properly prepped. This step takes longer than the application itself and is the one most people are tempted to rush.
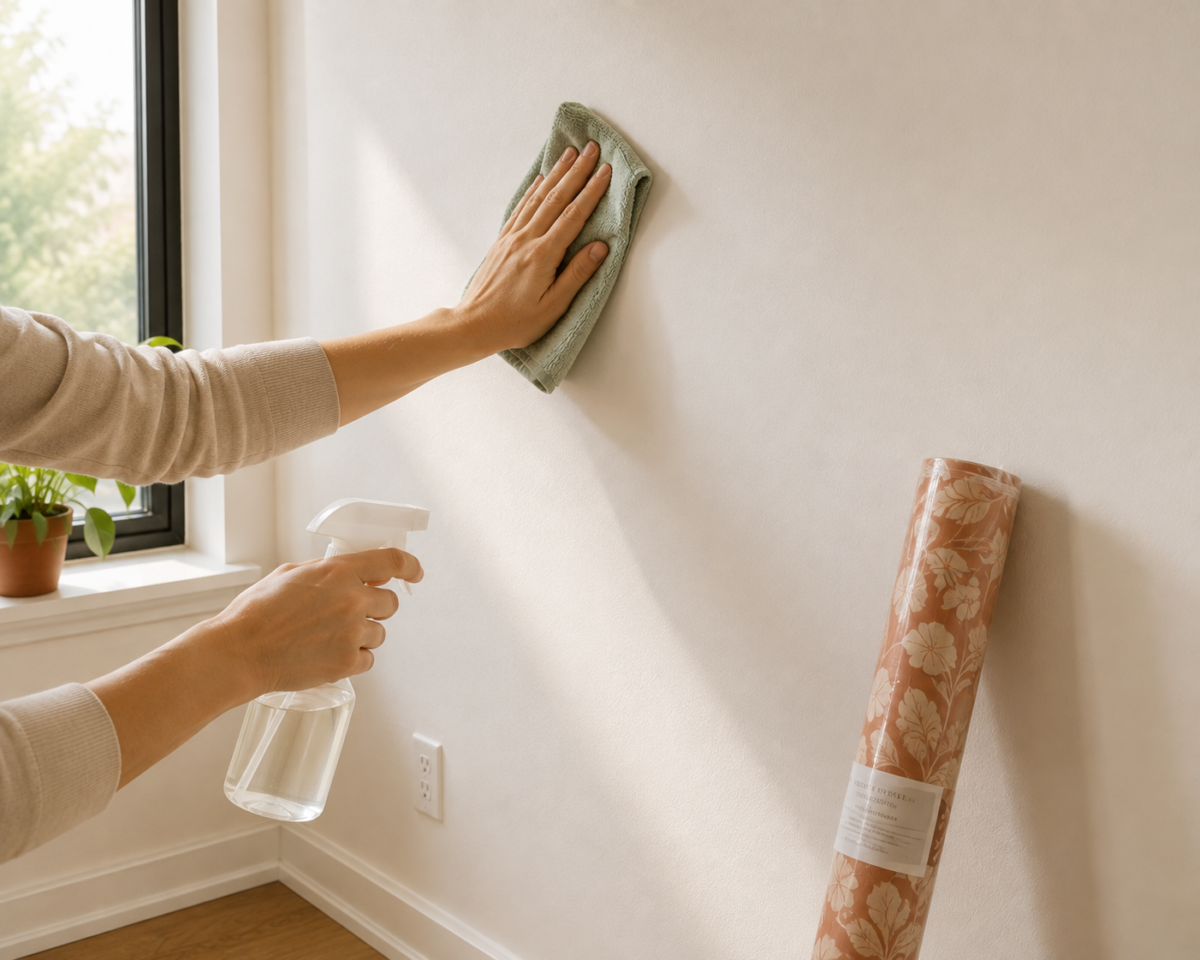
Clean thoroughly. Wipe the entire wall with a mix of mild soap and water, or a dedicated wall-cleaning solution, to remove dust, grease, and any residue from cleaning products used previously. Even walls that look clean often have a thin film that interferes with adhesion.
Let it fully dry. Applying wallpaper to a wall that’s still even slightly damp is one of the fastest routes to bubbling, since trapped moisture has nowhere to go once the paper seals over it. Give the wall a full hour or more to air dry completely after cleaning, longer in humid conditions.
Check the paint’s cure time. If your wall was painted recently (within the last 30 days), the paint may not be fully cured, even if it feels dry to the touch. Applying wallpaper to under-cured paint significantly increases the odds of the paint lifting on removal. Wait the full cure time listed by the paint manufacturer, typically two to four weeks, before applying anything adhesive-backed.
Fill and smooth any texture. Textured walls (orange peel, light stucco) are common in rentals and are genuinely harder for peel-and-stick products to adhere to evenly. A very light skim coat isn’t usually practical in a rental, but choosing a slightly heavier, more flexible wallpaper product designed for textured surfaces makes a real difference here.
Application: The Technique That Prevents Bubbling
Most bubbling happens for one of two reasons: air trapped under the paper during application, or the paper stretched unevenly while being applied. Both are avoidable with a slow, methodical technique.
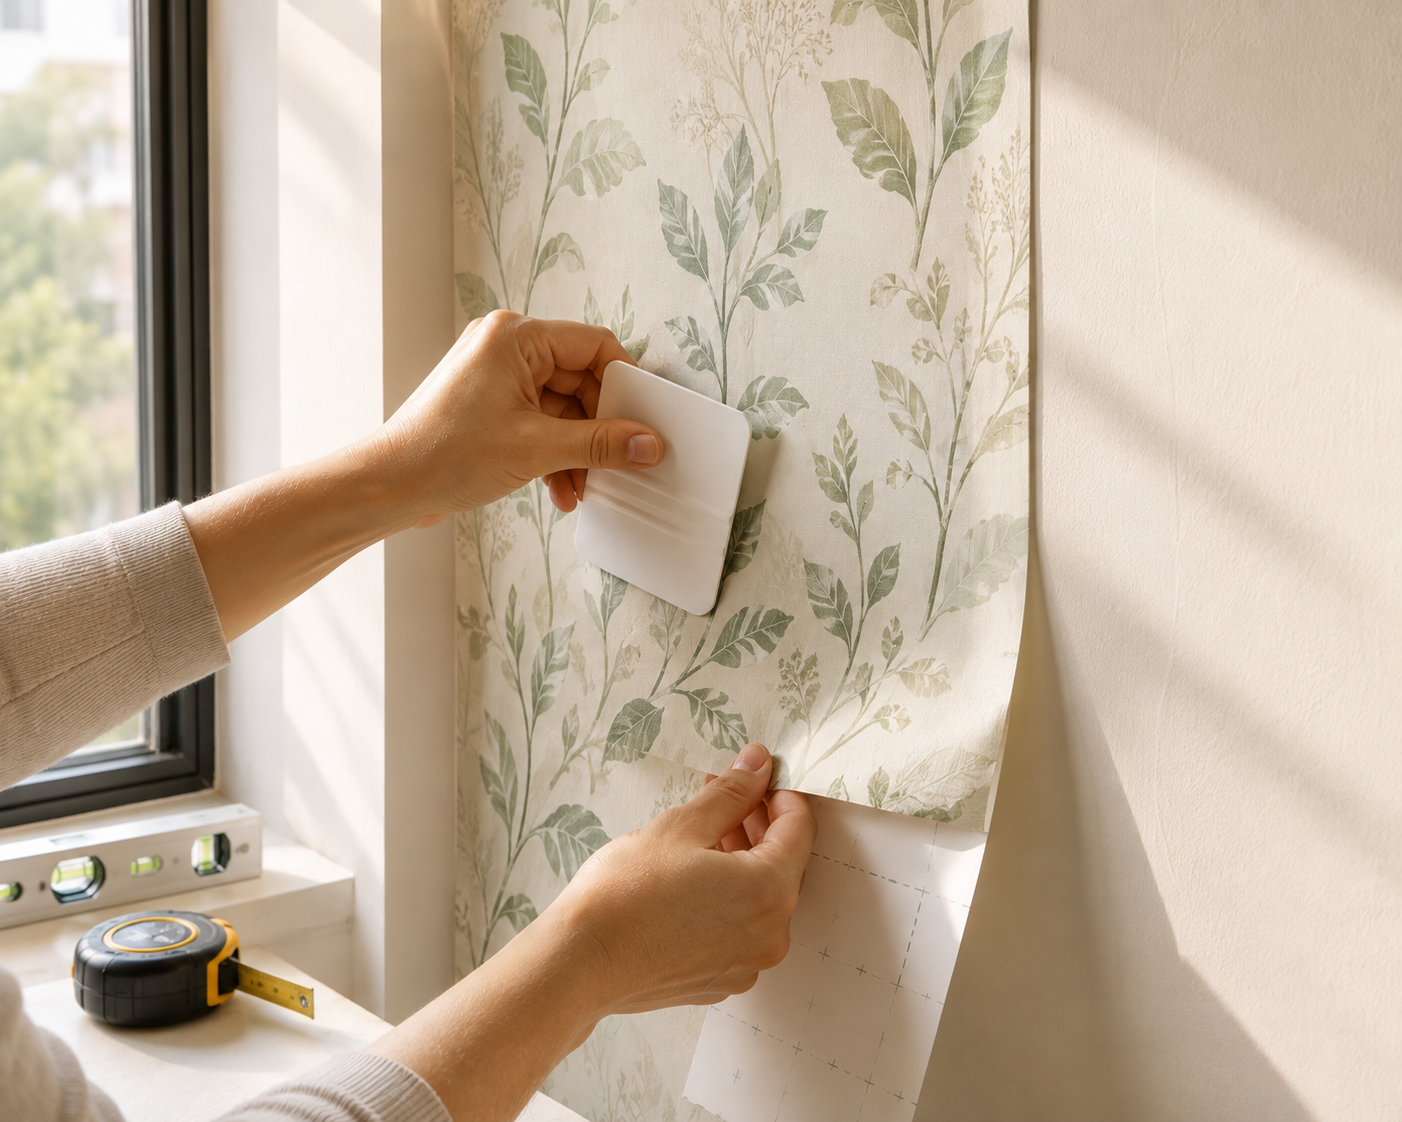
Work top to bottom, in manageable sections. Peel back only 6 to 12 inches of backing at a time rather than removing the entire backing sheet at once. This keeps the exposed adhesive from picking up dust or catching on itself before it’s positioned, which is one of the most common beginner mistakes.
Use a smoothing tool, not your hand. A plastic smoothing tool (often included with quality wallpaper, or available separately for a few dollars) pushes air bubbles out toward the edges as you go, working from the center of each section outward. A hand alone tends to trap small air pockets that only become visible once the full strip is down.
Overlap seams slightly, then trim. Rather than trying to butt two strips perfectly edge to edge on the first attempt, overlap them by roughly a quarter inch, then use a sharp utility knife and a straightedge to cut through both layers at once, creating a tight, invisible seam once the excess is removed.
Address small bubbles immediately. A small bubble caught within the first few minutes can usually be smoothed out by gently lifting the nearest edge and repositioning. A bubble that’s been sitting for hours, especially once the adhesive has started to fully bond, is much harder to correct without a visible crease or tear.
Don’t rush corners and outlets. Cut wallpaper for outlets and switch plates slightly oversized, then trim precisely after the surrounding paper is smoothed and positioned. Cutting exactly to size before application leaves no margin for error if the paper shifts even slightly during smoothing.
Removal: The Technique That Protects Your Deposit
Removal technique matters just as much as application, and it’s the step most people get wrong by rushing. The two rules that matter most: peel slowly, and pull at a low angle rather than straight out from the wall.
Start at a corner and go slow. Peeling too fast increases tension on the adhesive bond, which is what tears paint off the wall. A slow, steady pull gives the adhesive time to release cleanly rather than fighting the bond.
Pull back on itself at roughly a 15 to 20 degree angle, folding the paper back over itself as you go rather than pulling it straight away from the wall. This low angle is genuinely the single biggest factor in a clean removal, and it’s the step most people skip when they’re in a hurry.
Use heat if the paper resists. A hairdryer on a low or medium setting, held a few inches from a stubborn section for 20 to 30 seconds, softens the adhesive and usually makes removal noticeably easier without any added risk to the wall.
Address residue with the mildest option first. Warm water and a small amount of dish soap, applied with a soft cloth, resolves most residue from quality products. If that doesn’t fully clear it, a dedicated adhesive remover formulated for painted walls is the next step, tested first on a hidden spot the same way the original product was.
What to Look For When Choosing a Product
Not every removable wallpaper performs the same, and a few signals reliably separate the products worth trusting from the ones likely to cause problems.
- Repositionable adhesive, explicitly labeled. Products marketed specifically as “removable” or “repositionable,” rather than general peel-and-stick vinyl or contact paper, use adhesive chemistry actually designed for this exact use case.
- Reviews mentioning multi-year removal, not just application. Reviews focused entirely on how the print looked fresh out of the box don’t tell you anything about removal performance months or years later. Look specifically for reviews describing the removal experience.
- Fabric-backed or heavier vinyl options for high-traffic or higher-risk applications, since thicker backing handles both application and removal with more forgiveness than thin, budget paper.
- A manufacturer that explicitly addresses rental use. Brands that market directly to renters, rather than treating removability as an afterthought, tend to have tested their adhesive more thoroughly across different paint types and wall conditions.
When Removable Wallpaper Isn’t the Right Call
Not every wall or every rental situation is a good fit for peel-and-stick wallpaper, and knowing when to skip it avoids a frustrating outcome.
Freshly painted walls (under 30 days). As covered above, uncured paint is genuinely higher risk. Wait it out rather than applying anything adhesive-backed early.
Older or unknown paint types. Some older rentals still have oil-based paint on trim or walls, which behaves differently with adhesives than modern latex paint. If you’re not sure what’s on your walls, the hidden-spot test becomes even more important.
Heavily textured surfaces without a flexible product. Standard peel-and-stick wallpaper struggles on rough texture, and forcing it can lead to visible gaps and poor adhesion regardless of technique.
Walls you genuinely can’t test. If there’s truly no hidden spot available, an entirely open floor plan with no closets or furniture placement to hide a test patch, consider a lower-risk decorating layer instead, like the textiles and lighting covered in Rugs, Curtains, and Lighting That Do the Heavy Lifting, until you’re more confident in the wall’s paint quality.
Frequently Asked Questions
Does removable wallpaper actually come off without damaging rental walls? Yes, when the right product is used, the wall is properly prepped and cured, and removal is done slowly at a low angle. Most damage comes from rushing removal or applying a low-quality product to an under-cured or improperly cleaned wall, not from removable wallpaper as a category.
How long can removable wallpaper stay up before it’s harder to remove? Most quality products remain removable for a year or more, and some brands are rated for several years. The bigger risk factor isn’t time so much as technique, a well-applied, quality product removed slowly tends to come off cleanly regardless of how long it’s been up.
Can I apply removable wallpaper over textured walls? It’s possible with a more flexible, higher-quality product, but standard peel-and-stick wallpaper struggles to adhere evenly to rough texture. Test a hidden section first, and expect a less perfectly smooth finish than on flat drywall.
What causes bubbling in peel-and-stick wallpaper? Trapped air during application, applying to a wall that isn’t fully clean and dry, or applying to paint that hasn’t fully cured are the three most common causes. Working in small sections with a smoothing tool and addressing small bubbles immediately prevents most of this.
How do I remove leftover adhesive residue from a rental wall? Start with warm water and a small amount of dish soap on a soft cloth, which resolves most residue from quality products. If residue remains, a dedicated adhesive remover formulated for painted walls is the next step, tested on a hidden spot first.
Related Reading
- The Complete Guide to Rental-Friendly Decor — the full system this wallpaper guidance fits into, covering hardware, textiles, and furniture-based decorating too.
- Command Strips and Adhesive Hooks Worth Trusting — the weight-rated adhesive system for everything wallpaper doesn’t cover, like art and shelving.
- Rugs, Curtains, and Lighting That Do the Heavy Lifting — a lower-risk decorating layer for walls you’re not ready to commit wallpaper to yet.
- Zoning a Studio Without Walls or Furniture Dividers — how an accent wall pairs with furniture-based zoning in an open layout.
- Parent Category: Rental-Friendly Decor
- Parent Hub: Apartments & Rentals