Table of Contents
You’ve got $200, an empty corner, and twelve Pinterest boards telling you twelve different things to buy first. That’s the actual problem with budget styling. It’s never a shortage of ideas. It’s not knowing which one to spend on first.
Budget styling a small space works best in this order: lighting first, then textiles, then wall decor, then greenery and texture, then the small personal objects last. Spend on what changes how the room feels before you spend on what just fills it. Skip large furniture swaps and trend pieces entirely until the layer above them is already working.
Why the Order Matters More Than the Budget Size
The order you style in matters more than how much you have to spend, because each layer changes how much the next layer needs to do. Fix the lighting first and a $12 throw pillow suddenly reads as intentional instead of random. Skip the lighting and even expensive decor looks flat under a single overhead bulb.
Think of it like a house of cards. Textiles rest on top of lighting. Wall decor rests on top of textiles. If you buy the wall art before you’ve fixed the light hitting it, you’re spending money to display something under the worst possible conditions. Most budget styling disappointment doesn’t come from cheap decor. It comes from good decor in the wrong sequence.
This is the core of what we call the Simplify → Organize → Style → Maintain approach at Taims Space. Styling only works once the space underneath it is already functioning, and within styling itself, the same layered logic applies.
Step 1: Fix Lighting Before You Buy a Single Decor Item
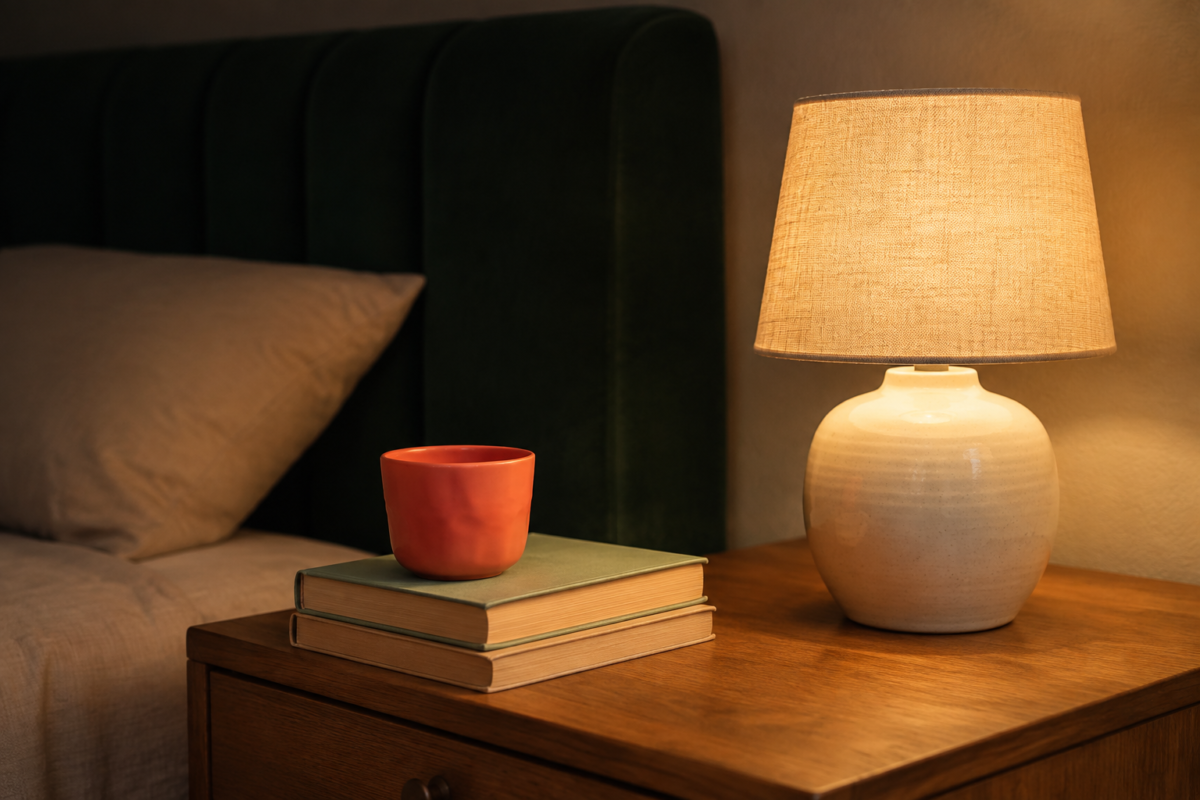
Fix your lighting before buying anything else. Swap harsh overhead bulbs for warm 2700K bulbs, add one floor or table lamp per seating area, and layer at least two light sources per room instead of relying on one ceiling fixture. This single change affects how every other purchase looks and typically costs under $40.
Most rentals come with a single ceiling fixture throwing flat, often cool-toned light straight down. That kind of lighting is unflattering to a room the same way it’s unflattering to a face. It flattens texture, washes out color, and makes even a well-decorated space feel like a waiting room.
The fix is cheap and it’s almost entirely a bulb and lamp problem, not a wiring problem:
- Replace any bulb over 3000K with a warm 2700K bulb, which reads as soft and residential instead of clinical.
- Add a floor lamp near your main seating or lounging spot. A lamp at seated eye level does more for a room’s feel than an overhead fixture ever will.
- Use a small table or clip lamp anywhere you read, work, or spend time close up, like a nightstand or desk corner.
- Aim for at least two separate light sources in any room you spend real time in, so no single point of light dominates the space.
If you only make one change from this entire guide, make it this one. Everything after this step reads better because of it.
Step 2: Layer In Textiles Next, Not Furniture
Textiles come second because they change the largest visible surface area in a room for the least money. A rug, a set of pillow covers, and one good throw blanket can shift a room’s entire color story for $60 to $120, without touching a single piece of furniture you already own.
This is where most of your budget should go if you’re working with $150 to $300 total. A rug anchors a seating area and makes furniture that doesn’t match feel intentional instead of accidental, because it visually ties the pieces together on one shared surface. If your existing furniture is mismatched hand-me-downs or dorm leftovers, a rug does more to unify that mismatch than replacing any single piece would.
Prioritize in this order:
- A rug, sized to actually anchor the furniture (front legs of your sofa or bed should sit on it, not float off the edge).
- Pillow covers, not full pillow inserts if you already own inserts. Covers alone run $8 to $15 each and let you rotate seasonally.
- One substantial throw blanket in a texture that contrasts your existing furniture, like a chunky knit against a smooth sofa.
- Curtains, if your current window coverings are builder-grade mini blinds. Floor-length curtains hung close to the ceiling make a small room read taller.
Skip buying a full matching pillow-and-throw set from one collection. Mixed textures from different sources almost always look more collected and less like a showroom display.
Step 3: Add Wall Decor, Without Renovation and Without Drilling
Add wall decor after lighting and textiles are already working, using rental-friendly methods like leaning frames on furniture, adhesive strips rated for your wall type, or a single large mirror. Wall decor is the layer people want to buy first and the one that gives the least return when it’s rushed.
An empty wall that’s well lit and sits above a textured throw already looks intentional. The same empty wall under flat overhead light looks unfinished no matter what you hang on it. That’s the whole reason this step is third, not first.
For rental-friendly wall styling:
- Lean, don’t hang, at least one frame. A large framed print leaning against the wall on a dresser or shelf reads as a deliberate styling choice, not a compromise.
- Use a large mirror as a focal point. A mirror roughly 30 by 40 inches or larger, leaned or hung with a rated adhesive strip, bounces your new lamp light around the room and makes the space feel measurably bigger.
- Group small items instead of one large piece, if your budget is under $50 for this step. Three small prints in matching frames read as a collection, while one cheap oversized print often reads as a placeholder.
- Check weight ratings before you hang anything. Most adhesive strips rated for 5 to 16 pounds handle a standard frame or small mirror without damaging rental walls.
If your walls are wire-only, brick, or otherwise off-limits, lean everything. A leaning gallery on a console table or dresser top has become its own legitimate styling choice, not a workaround.
Related: if wall restrictions are the exact wall you’re hitting, Rental-Friendly Decor That Actually Looks Intentional walks through every removable-hanging method by wall type.
Step 4: Bring in Texture and Greenery Last
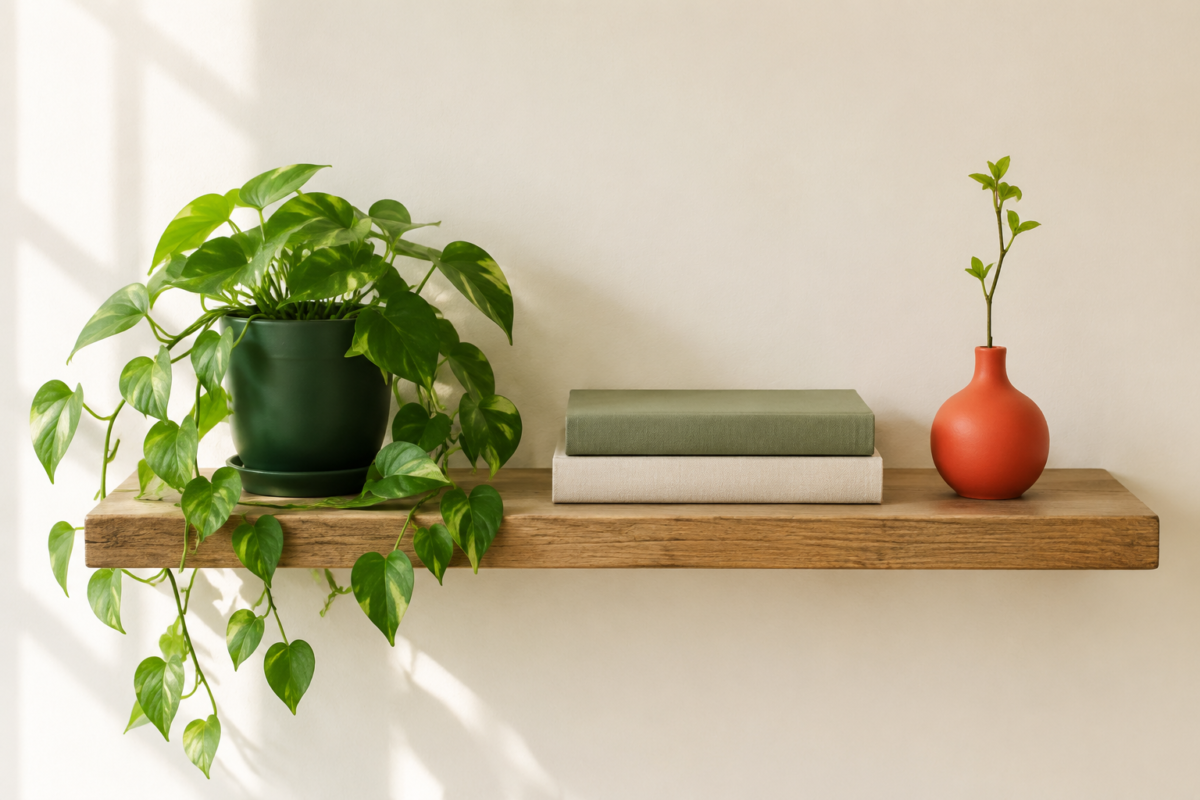
Greenery and texture come last because they’re finishing touches, not foundational layers, and a single well-placed plant can do more for a styled corner than three smaller decor purchases combined. One plant in the right spot, at $15 to $30, reads as more intentional than five small trinkets scattered across a shelf.
By this point in the budget, you’re usually working with $20 to $40 left, and that’s genuinely enough. Pick one:
- A low-maintenance trailing plant, like a pothos, on a shelf or high surface where it can spill over the edge.
- A single larger floor plant, like a snake plant, in an empty corner that’s felt awkward since you moved in.
- A woven basket or ceramic bowl used as a catch-all on an open shelf, which adds texture without adding another object to dust.
Skip buying multiple small plants at once. A cluster of three tiny 4-inch pots often reads as cluttered rather than styled, while one plant with real presence anchors a whole corner.
Step 5: Add the Personal Layer Last, and Keep It Small
The personal layer, meaning framed photos, small collected objects, and sentimental pieces, goes last because it’s what makes a functioning, styled room feel like yours specifically. Add it only after every other layer is working, and keep it to a small, curated handful of items rather than everything you own displayed at once.
This is the step people either skip entirely or do far too early. Skipping it leaves a technically well-styled room feeling like a hotel. Doing it first, before lighting and textiles, buries genuinely meaningful objects under bad conditions where they can’t actually stand out.
A single shelf with one framed photo, one small object with real meaning, and negative space around both will always look more considered than a shelf packed edge to edge. Negative space is doing real work here. It’s what lets the eye land on the one or two things that actually matter to you.
What to Skip Entirely When You’re Working With a Tight Budget
Skip full furniture replacement, trend-driven decor you don’t genuinely like, matching decor sets from a single collection, and anything requiring permanent wall or floor modification. These either cost too much relative to their visual impact, or they won’t survive a move, which makes them a poor fit for rental budget styling specifically.
Specifically, avoid:
- Replacing furniture that’s structurally fine but visually dated. A slipcover, new throw, or refinished hardware almost always outperforms the cost of full replacement.
- Trend pieces bought because they’re everywhere on Pinterest this month. If you don’t already love the aesthetic, it won’t feel like yours in six months, and you’ll have spent budget-styling money on something you’ll want to replace again.
- Full matching sets, whether that’s a bedding-and-curtain bundle or a pillow-and-throw collection. These read as purchased, not styled.
- Anything that requires drilling, painting, or structural change, if you’re renting. Save that budget for the rental-friendly version of the same idea instead.
- Buying every layer at once. Spreading the five steps above across two or three paychecks almost always produces a better result than one large single purchase, because you can actually see how each layer changes the next before committing further.
A Sample Budget Breakdown, Three Ways
| Budget | Lighting | Textiles | Wall Decor | Greenery | Personal Layer |
| $150 | 1 floor lamp, 2 warm bulbs (~$35) | 1 rug (~$60), 2 pillow covers (~$20) | Skip this round | 1 small trailing plant (~$15) | 1 framed photo already owned |
| $300 | 1 floor lamp, 1 table lamp, bulbs (~$55) | Rug (~$80), pillow covers, 1 throw (~$65) | 1 leaning frame or small mirror (~$40) | 1 plant + 1 ceramic pot (~$30) | 2 curated objects (~$30) |
| $500+ | Full 2-lamp layer, all warm bulbs (~$70) | Rug, curtains, pillows, throw (~$180) | Large mirror or 3-piece gallery (~$100) | 1 statement plant + planter (~$60) | Curated shelf styling (~$60) |
Every version follows the exact same order. The only thing that changes as your budget grows is how much you do within each step, never the sequence itself.
What the Finished Corner Actually Looks Like
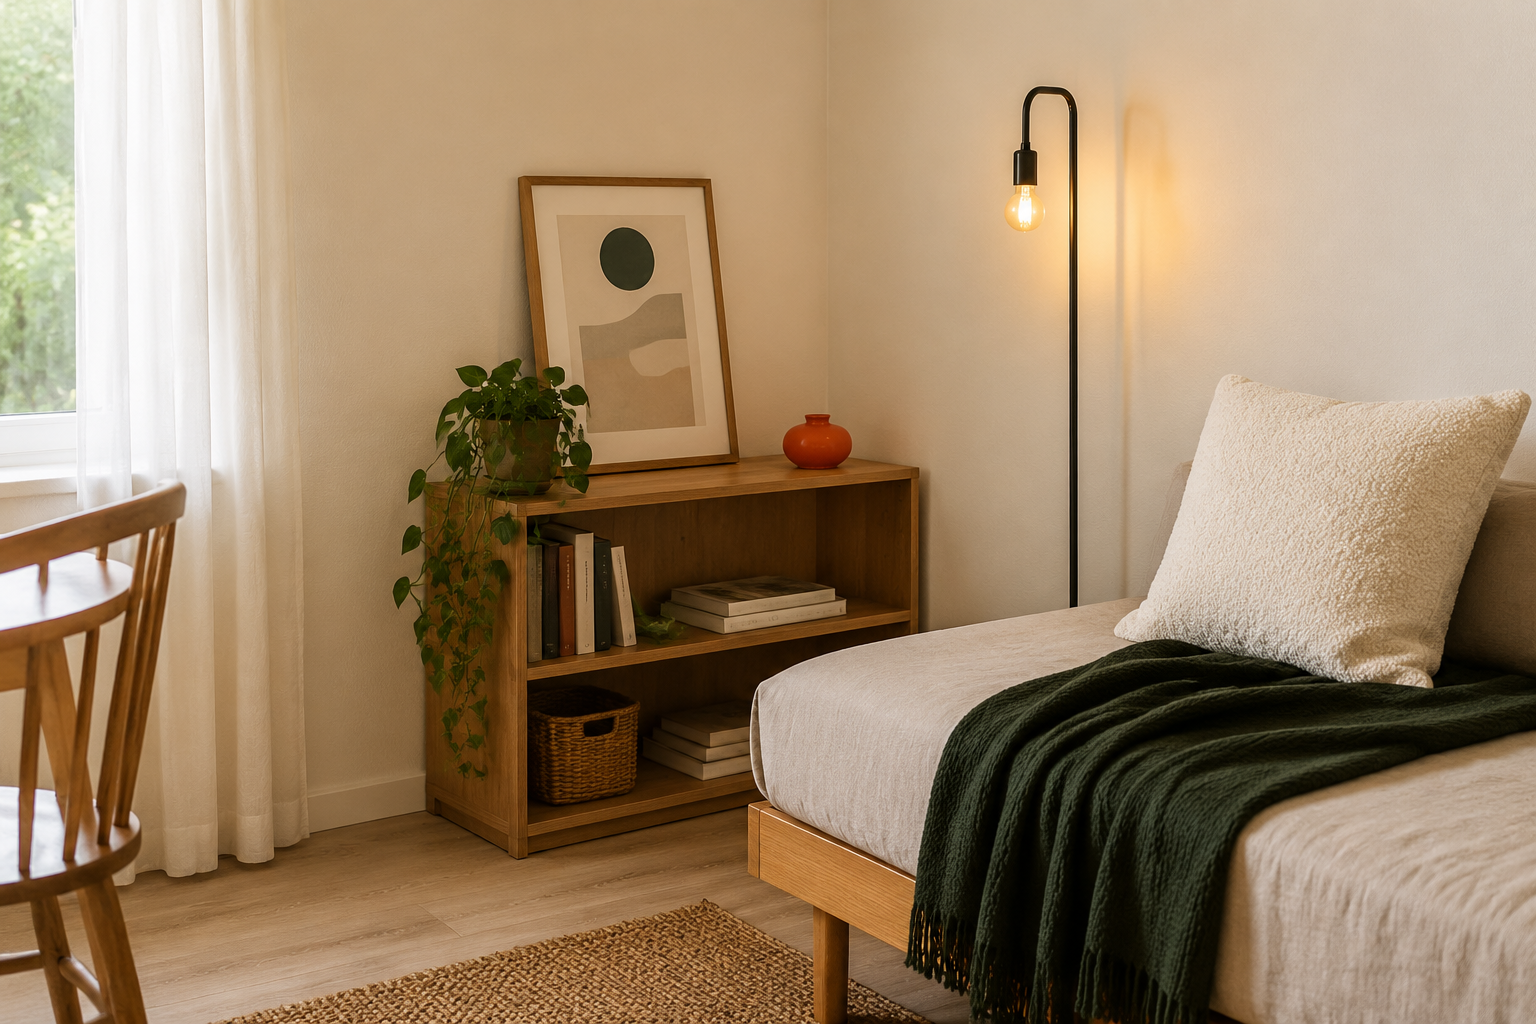
Walk back into that same corner once all five steps are done and it reads completely differently. The lamp is doing what the ceiling fixture never could. The rug ties the secondhand chair to the daybed you’ve had since college. One leaned frame and a trailing plant fill the wall without a single hole in it. And the one photo on the shelf, surrounded by actual breathing room, is the first thing anyone notices when they walk in.
None of it required a single big purchase. It required doing five small, ordinary things in the right sequence, and stopping once each layer was actually working before moving to the next.
Frequently Asked Questions
What should I buy first when styling a small space on a budget? Buy lighting first. Warm 2700K bulbs and one floor or table lamp per seating area cost under $40 total and change how every other purchase in the room looks, before you’ve spent anything else.
How much should I spend on a rug for a small living room? Plan on $60 to $120 for a rug that’s large enough to reach the front legs of your main furniture. A rug that’s too small to anchor the seating area often looks worse than no rug at all, regardless of price.
Can I style a rental without drilling any holes? Yes. Lean frames against furniture instead of hanging them, use adhesive strips rated for your wall type for mirrors and light pieces, and rely on furniture-anchored textiles like rugs and curtains for most of the visual change, since none of it touches the wall.
Is it better to buy a few expensive pieces or several cheap ones? For budget styling, one well-chosen piece per layer, like a single real plant instead of three small ones, almost always outperforms several cheap items competing for the same visual space.
Do I need to do all five steps at once? No. Spreading the five steps across a few paychecks usually produces a better result, because you can see how each layer changes the room before deciding what the next one actually needs.
Related Reading
If your lighting fix is the piece you’re stuck on, Get the Look for Less: Lighting Edition breaks down warm-bulb swaps and lamp placement room by room.
If your walls are the real restriction, Rental-Friendly Decor That Actually Looks Intentional covers every damage-free hanging method by wall type.
If you’re furnishing from nothing rather than restyling what you own, Thrift and Secondhand: Building a Small Space Without Buying New walks through where to find each layer used first.
For the full styling framework this guide is built on, visit the Budget Styling category, or explore the wider Budget Decor hub for get-the-look guides, DIY-friendly updates, and more thrift-first styling breakdowns.