Table of Contents
You don’t have to touch every wall to make a room feel styled. You only have to get one section genuinely right, and let it carry the rest of the room by comparison. That’s the entire premise behind focal-point styling, and it’s the fastest way to make real progress when a full redo isn’t on the table this month, this year, or maybe ever in a rental.
A focal point works by giving the eye one clear, well-lit, deliberately composed area to land on first, so the rest of the room reads as calm background rather than unfinished. Pick one wall, corner, or surface, layer it with lighting, one anchor object, and a texture piece, and leave everything else alone until you’re ready for it.
What Actually Makes a Focal Point Work
A focal point works when it combines three things at once: a light source, one larger anchor object, and one supporting texture piece, all within the same visual area. Skip any one of the three and the eye doesn’t fully commit to landing there, which means the rest of the room has to do more visual work to feel finished.
This is why a single framed print on an otherwise bare wall often doesn’t read as styled, even though it’s technically decor. It’s one element with no light drawing attention to it and no texture around it to soften the edge. Add a lamp nearby and one textured object beside it, and the exact same print suddenly reads as a composed moment instead of a single stranded item.
How to Pick the Right Spot
Pick the wall, corner, or surface that’s already the first thing you or a guest sees when entering the room, since that natural sightline is what makes a focal point efficient rather than one you have to keep pointing people toward.
Stand in the doorway of the room and notice where your eyes land first, before you start thinking about decor at all. That’s almost always the right spot, because it’s already carrying visual weight whether you style it or not. A wall directly across from the entry, the wall behind a bed, or the section of counter visible from the hallway are the usual answers.
Avoid choosing a spot just because it has the most empty space. An empty wall in a corner nobody looks at directly won’t do the same work as a smaller, more visible surface that’s already in every sightline through the room.
The One-Focal-Point Method
Start With Light, Not Decor
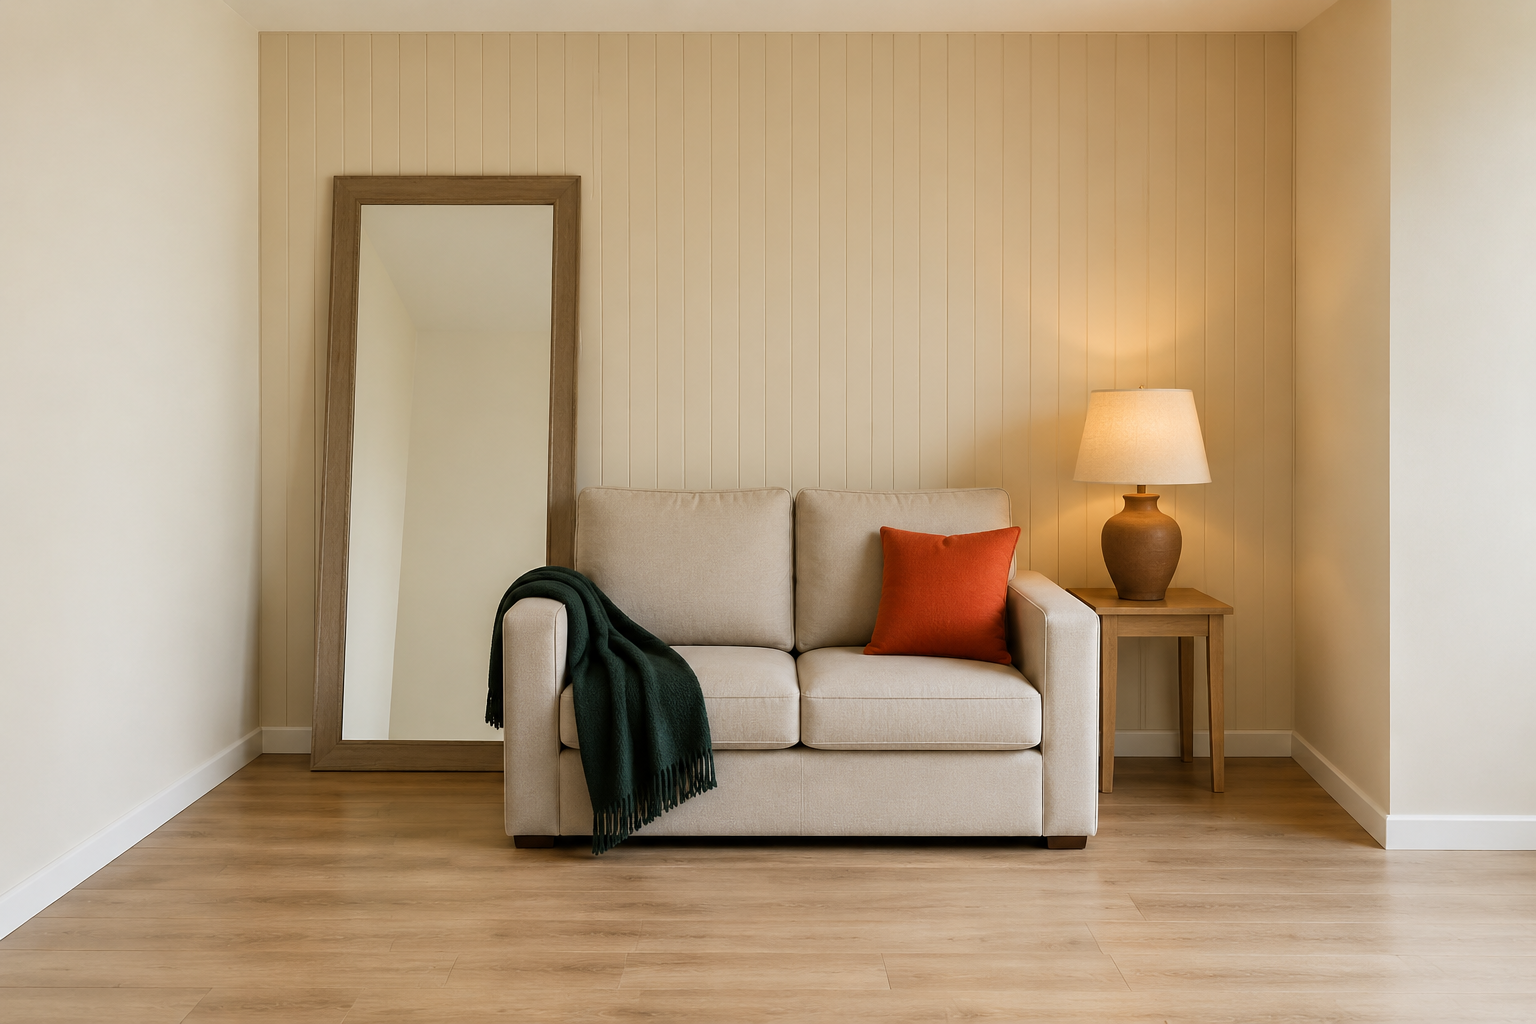
Add a light source to the chosen spot before adding a single decor item. A floor lamp beside a leaning mirror, a table lamp on a console under a piece of art, or even a plug-in wall sconce mounted with a rated adhesive strip all work. Without this step, everything you add afterward is competing with the room’s flat overhead lighting instead of standing apart from it.
Choose One Anchor Object, Sized Generously
Pick one larger object rather than several small ones for the anchor. A single substantial mirror, one large framed print, or one taller plant reads as a deliberate focal point. Three small items scattered across the same wall usually read as unfinished clutter instead, because the eye has to work to figure out where it’s supposed to land.
Size matters more here than anywhere else in the room. A piece that feels slightly too large for the wall almost always looks better than one that feels slightly too small. Undersized focal pieces are the single most common reason a styled corner still feels unfinished.
Add One Texture Piece to Soften the Edge
Bring in one item with a different texture from the anchor object, placed close enough to sit in the same visual field. A woven basket beside a smooth mirror, a knit throw draped near a framed print, or a ceramic vase next to a plant all work. This step is what keeps a focal point from feeling like a showroom display rather than a lived-in corner of your actual home.
Stop There
Resist adding a fourth or fifth item to the same spot. A focal point earns its name by being restrained, not by being the most decorated part of the room. If you find yourself wanting to add more, that’s usually a sign you’ve finished this focal point and you’re ready to start a second one elsewhere, not that this one needs more.
Mistakes That Undercut a Focal Point
The most common mistake is splitting attention across two competing spots in the same room before either one is fully styled, which leaves both looking unfinished instead of one looking genuinely done. Finish one focal point completely before starting a second.
A few other things quietly undercut the effect:
- Styling a spot that isn’t actually in the main sightline. A gorgeous corner nobody looks at directly won’t change how the room feels on entry.
- Using only small items. A cluster of tiny objects reads as clutter, not a focal point, no matter how nice each individual piece is.
- Skipping the light source. Even a well-composed corner falls flat under the same overhead lighting as the rest of the room.
- Matching every element too closely. A focal point with one mirror, one lamp, and one basket in three different but complementary tones reads as considered. The same three items in identical finishes can read as a display set instead of a real corner of your home.
What This Looks Like in Different Rooms
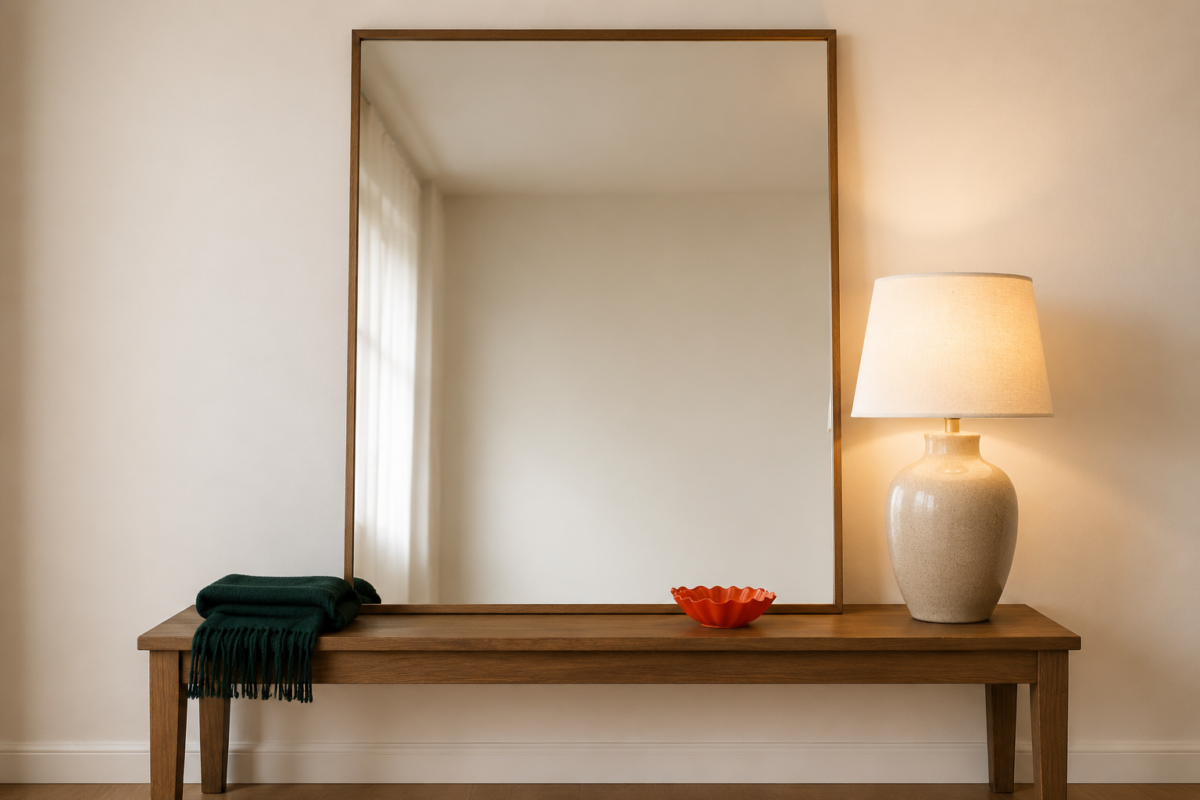
In a bedroom, the focal point is almost always the wall behind the bed, styled with one substantial piece of art or a leaning mirror, a table lamp on each nightstand, and one textured pillow or throw pulled forward on the bedspread. In a living room, it’s usually the wall the sofa faces or backs into, styled with a floor lamp, one large mirror or art piece, and a plant or basket at floor level. In an entryway, the focal point is whatever’s visible the instant the door opens, often just a narrow console with one lamp, one tray, and one small plant, since entryways rarely have room for more than a single composed moment anyway.
The method doesn’t change room to room. Only the specific objects and the exact wall or surface do.
Frequently Asked Questions
How do I know which wall should be my focal point? Stand in the doorway and notice where your eyes land first, before thinking about decor at all. That natural sightline, not the wall with the most empty space, is usually the right spot to style.
Can a focal point work without hanging anything on the wall? Yes. A leaning mirror or framed print on a console or dresser, paired with a lamp and one texture piece, creates the same effect as wall-mounted decor and works in any rental regardless of wall restrictions.
How many items should be in one focal point? Three, generally: a light source, one larger anchor object, and one texture piece. Adding a fourth or fifth item usually starts to undercut the effect rather than strengthen it.
Can I have more than one focal point in a small room? Eventually, yes, but finish one completely before starting a second. Two half-finished focal points compete with each other and read as more unfinished than one bare wall would.
Related Reading
For the full spend-first order this fits into, The Complete Guide to Budget Styling a Small Space covers lighting, textiles, and wall decor in sequence.
If your focal point idea depends on hanging something without damaging rental walls, Rental-Friendly Decor That Actually Looks Intentional covers every damage-free method by wall type.
For the specific items worth prioritizing once you know where your focal point will go, The 5 Places Worth Spending More When You’re on a Budget breaks down where quality actually shows.
Browse the full Budget Styling category for more layout and styling breakdowns, or explore the wider Budget Decor hub for get-the-look guides and thrift-first styling ideas.