Table of Contents
Most cluttered desks didn’t get that way in one sitting. They got there one reasonable-seeming item at a time, a charger here, a stray notepad there, until six months later the actual laptop is squeezed into a smaller footprint than the desk started with. Fixing that isn’t really about buying more organizers. It’s about deciding, deliberately, what actually earns a spot on the surface in the first place.
Organizing a small desk works best in this order: decide what earns permanent surface space, zone the remaining surface into a clear work area and a supporting area, get cords and cables off the visible surface, add vertical storage before adding more surface storage, build a real system for incoming paper, decide what gets fully hidden away rather than just tidied, and finish with a two-minute nightly reset. Skipping ahead to storage products before deciding what actually deserves to stay is the most common reason a desk organization attempt doesn’t last.
Why This Order Matters
The order matters because every later step depends on the first one being genuinely honest, since buying storage, zoning the surface, or building a paper system all assume you already know what’s actually supposed to be there, and most small desks accumulate clutter specifically because that first decision never happened deliberately.
A desk with too many organizers holding items that shouldn’t be on the surface at all is still a cluttered desk, just a more expensively organized one. Getting the first step right, deciding what genuinely earns a permanent spot, is what makes every step after it actually work.
Step 1: Decide What Actually Earns Permanent Surface Space
An item earns permanent surface space only if it’s used essentially every single day, since anything used less often belongs in a drawer, on a shelf, or somewhere else entirely, and a small desk simply doesn’t have room to store items on the assumption they might be needed someday.
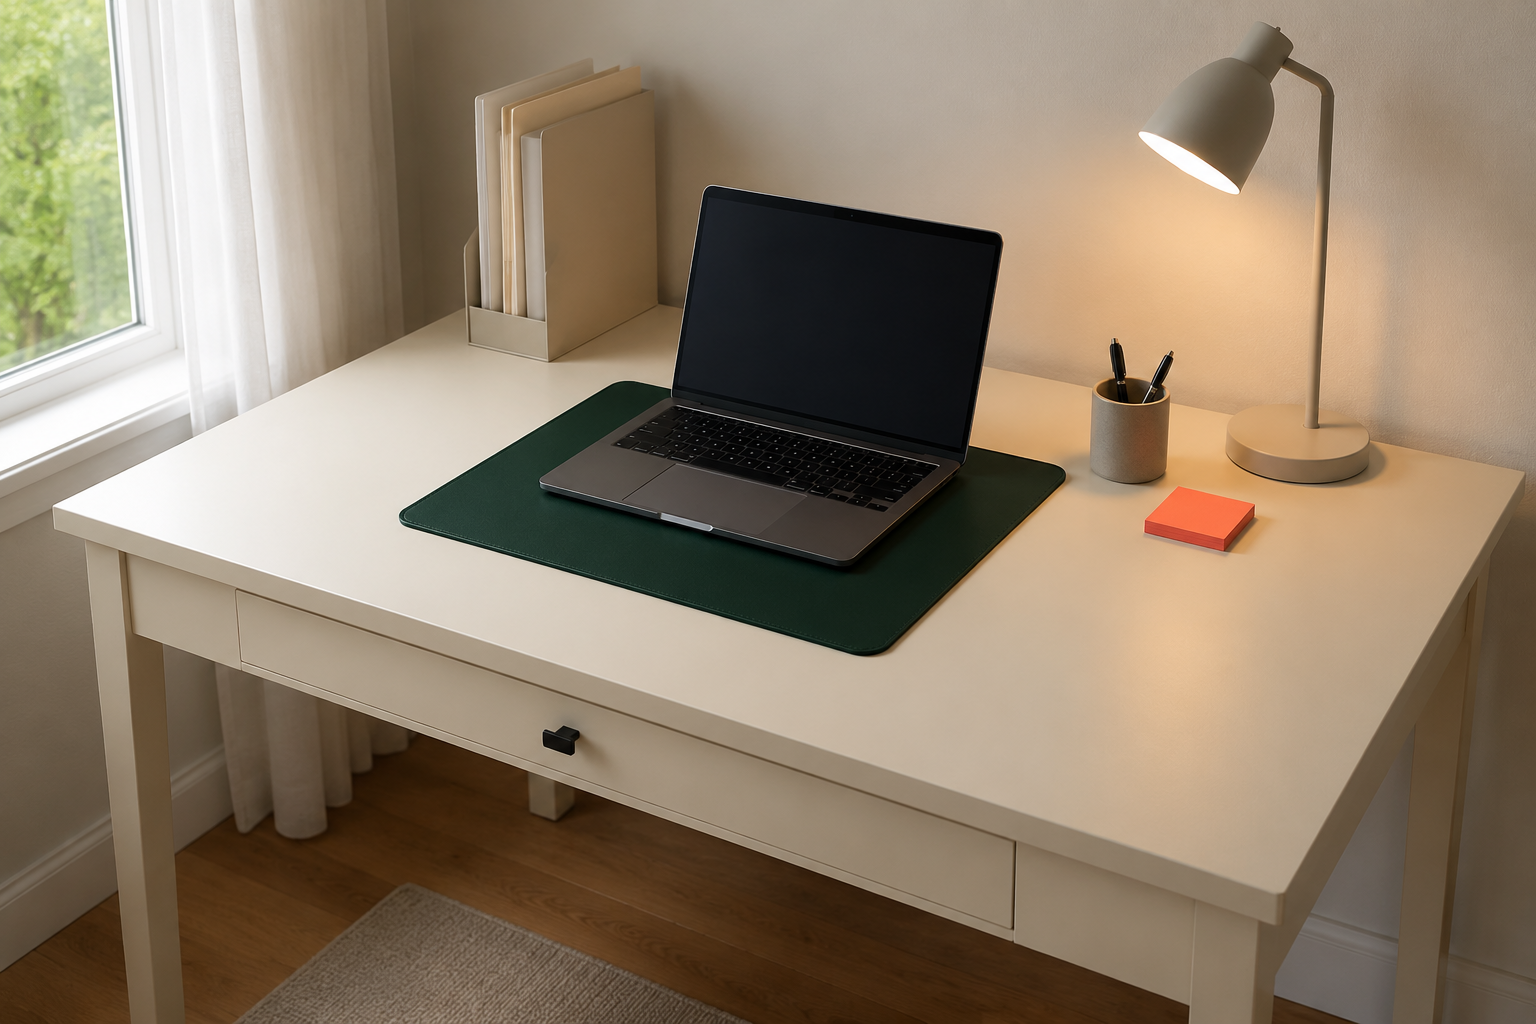
Run every current surface item through this test honestly. A laptop, a task lamp, and a pen cup pass easily for most people. A stapler used twice a month, a stack of reference papers from a project finished weeks ago, or a decorative object that’s been quietly gathering dust all fail this test, even though none of them feel like clutter individually. The goal isn’t zero personality on the desk. It’s making sure everything that stays has actually earned its spot through daily use, not habit or inertia.
Step 2: Zone the Surface Into a Work Area and a Supporting Area
Split the desk surface into two rough zones, a clear work area directly in front of your chair for active tasks, and a smaller supporting area to one side for standing items like a lamp or a small tray, since a desk with no clear zoning tends to let supporting items creep gradually into the actual work area over time.
A rough two-thirds, one-third split works well for most small desks: two-thirds of the surface kept genuinely clear for whatever active task is happening, whether that’s a laptop, a notebook, or spread-out paperwork, and one-third reserved for standing items that don’t need to move throughout the day. Keeping this boundary consistent, rather than letting it shift daily based on whatever’s been set down most recently, is what prevents the zones from blurring back together within a week.
Step 3: Get Cords and Cables Off the Visible Surface
Route every visible cord, charger, and cable along the back or underside of the desk using cable clips or a cord sleeve, since a tangle of cords is one of the fastest visual signals of clutter even on an otherwise well-organized desk, and it’s one of the easiest problems on this list to fully resolve.
A single cord clip mounted along the desk’s back edge keeps a charging cable from sliding onto the floor or drifting into the work zone. A cord sleeve gathers multiple cables running to the same power strip into one neat bundle instead of several loose lines. This step takes under ten minutes for most desks and changes the overall impression of the space more than almost any other single fix on this list.
Step 4: Add Vertical Storage Before Adding More Surface Storage
Add wall-mounted shelving, a monitor riser with storage underneath, or a stacked vertical tray before buying any additional surface-level storage, since a small desk has far more unused vertical space than surface space, and reaching for vertical solutions first prevents the surface from filling back up with organizers meant to solve the exact problem they’re contributing to.
A monitor riser with a drawer or open shelf built into its base uses space that would otherwise sit empty beneath a raised screen. A single wall-mounted shelf above the desk holds reference books, a small plant, or supplies that don’t need daily reach without touching the surface at all. Reaching for vertical space before adding another tray or bin to the desk itself is what keeps the surface genuinely functional rather than simply better organized clutter.
Step 5: Build a Real System for Incoming Paper
Assign paper a specific, limited home, like a single inbox tray for anything unprocessed and a separate action folder for anything requiring a response, rather than letting it accumulate into a general pile, since an unsystematized paper pile is one of the most common ways a genuinely well-organized desk slowly slides back into clutter.
Check the inbox tray at a set point each day or every few days, sorting each item into one of three outcomes: act on it immediately if it takes under two minutes, move it to the action folder if it needs more time, or file or discard it if it doesn’t need further attention at all. This small, repeatable habit prevents the single most common desk clutter source, loose paper with no assigned destination, from ever building up in the first place.
Step 6: Decide What Gets Fully Hidden, Not Just Tidied
Some items belong fully out of sight in a closed drawer or off-desk storage rather than simply arranged neatly on the surface, including spare cables and chargers, reference materials used only occasionally, and personal items that don’t need daily reach, since tidying an item that shouldn’t be visible at all still leaves the desk looking busier than it needs to.
A dedicated drawer for spare cables, extra pens, and backup supplies keeps these genuinely useful items accessible without requiring surface space. A closed bin or a shelf elsewhere in the room handles anything used only occasionally, like tax documents or reference materials for a finished project. The test here is similar to Step 1, but inverted: if an item doesn’t pass the daily-use test but still needs to stay reasonably close, it belongs hidden, not displayed.
Step 7: Build a Two-Minute Nightly Reset
End each workday with a short, consistent reset: clear anything that landed on the surface outside its assigned zone, return the inbox tray to a single manageable stack, and coil or tuck any cord that’s drifted loose, since a desk that resets nightly stays organized far longer than one that only gets a deep clean once every few weeks.
This step matters more than any single organizational product on this list. A desk with excellent zoning and storage still drifts back into clutter without a habit that maintains it daily. Two minutes, done consistently at the end of each work session, prevents the slow one-item-at-a-time accumulation that created the clutter in the first place.
What a Well-Organized Small Desk Actually Looks Like Day to Day
A genuinely organized small desk isn’t necessarily bare. It’s a surface where every visible item has passed the daily-use test, where cords stay out of sight, where paper has a specific home instead of a growing pile, and where the two-thirds work zone stays clear enough to actually start a task without first clearing space for it. That last part is the real marker of success: being able to sit down and start working immediately, rather than spending the first five minutes of every session just making room.
Frequently Asked Questions
What’s the single most important step in organizing a small desk? Deciding honestly what actually earns permanent surface space, based on daily use rather than habit. Every other step, from zoning to storage to a paper system, depends on this first decision being accurate.
How much of my desk surface should stay completely clear? Roughly two-thirds, reserved as an active work zone free of standing items. The remaining third can hold items you use regularly but don’t need to move throughout the day, like a lamp or a small tray.
Should I buy more organizers if my desk still feels cluttered? Not as a first step. Check whether every current surface item has genuinely earned its spot through daily use first. Adding more storage products to a desk holding items that shouldn’t be there at all usually just organizes the clutter rather than resolving it.
How do I stop paper from piling up on my desk again after I organize it? Assign paper a specific home, like a single inbox tray, and check it on a set schedule rather than letting it grow indefinitely. Sorting each item into act-now, action-folder, or file-and-discard prevents the pile from reforming.
Is a nightly desk reset really necessary if I already organized everything properly? Yes, generally. Even a well-zoned, well-stored desk drifts back into clutter without regular maintenance, since new items land on the surface daily. A short, consistent reset habit is what keeps the organization from slowly unraveling.
Related Reading
For the full six-step order to set up a home office of any layout, The Complete Guide to Setting Up a Small Home Office covers placement, ergonomics, and lighting before this guide’s desk-specific steps come into play.
If your desk is tucked into a genuinely tiny corner, How to Build a Real Office Into an Unused Corner covers footprint math worth checking alongside this guide’s zoning advice.
If your desk shares a room with a bed or living area, Home Office Setups That Share a Room With Something Else covers how to keep the two zones visually distinct beyond the desk itself.
Browse the full Desk Organization category for more daily-use systems, or explore the wider Home Office & Small Workspaces hub for full setup and shared-space guides.