Table of Contents
Open any drawer in a rental kitchen and there’s a decent chance you’ll find the same builder-grade knob, plain, slightly loose, the exact same one in every unit in the building. It’s not ugly exactly. It’s just anonymous, the kind of detail that makes a kitchen feel like a placeholder rather than somewhere you actually live. And it’s also one of the easiest, most reversible upgrades available to a renter, which makes the fact that so many people skip it a genuine missed opportunity.
Swapping cabinet hardware the right way comes down to three things: measuring existing hole spacing before you buy anything, labeling and storing every original piece so reinstallation at move-out is effortless, and choosing a consistent finish across the whole kitchen so the swap reads as a real design decision rather than a random mix. Get those three right and a $75 afternoon project changes how the whole kitchen feels every single time you open a drawer.
Measure Before You Buy Anything
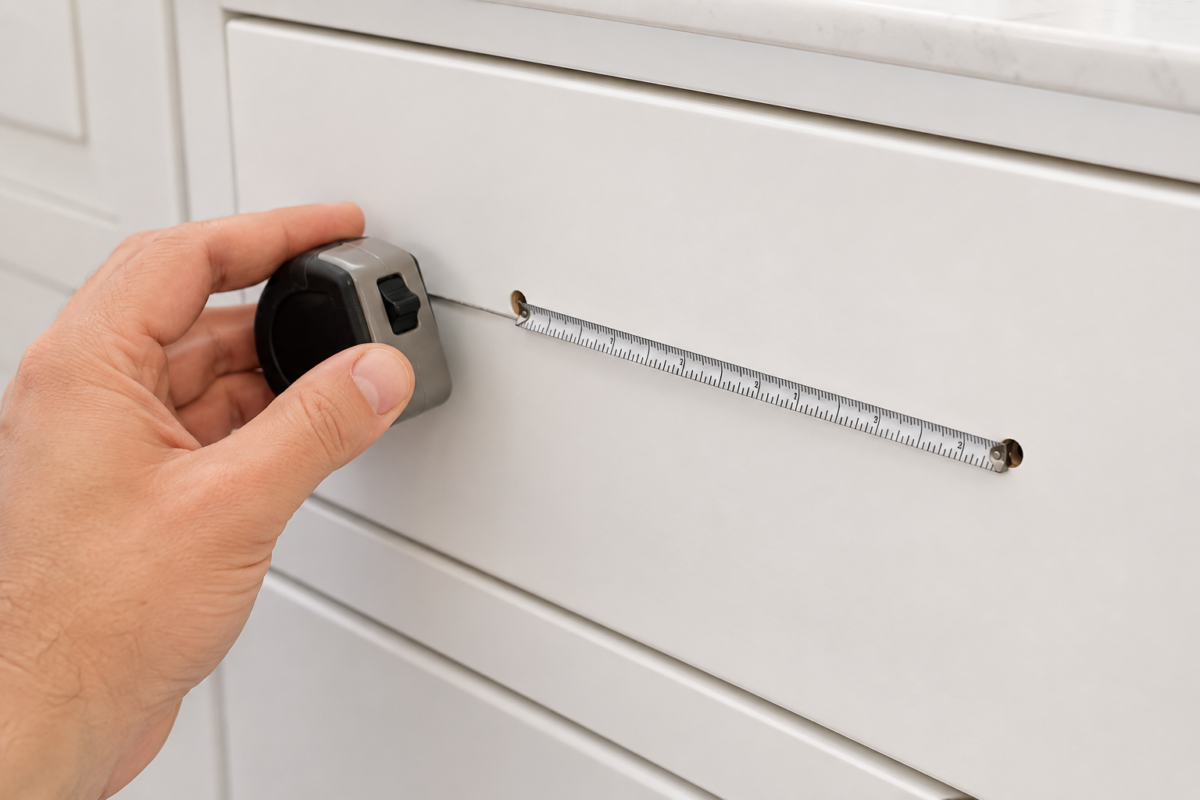
The single most common mistake in a hardware swap is buying new pulls before checking whether they’ll actually fit the existing holes. Knobs typically use a single mounting hole. Pulls (the longer, bar-style handles) use two holes spaced a specific distance apart, measured center to center, and that spacing varies by product.
Measure your existing hardware’s hole spacing with a tape measure or ruler before shopping. Common pull spacings run 3 inches, 3.75 inches, and 4 inches, though older or unusual cabinets can vary outside those standards. If you’re currently working with single-hole knobs and want to switch to two-hole pulls, you’ll need to either drill a second hole (not reversible without patching) or choose a pull specifically designed to mount on a single existing hole plus one new hole placed to match a standard spacing.
The easiest, most fully reversible option is swapping knob for knob, or pull for pull, using the exact same hole spacing you’re starting with. This keeps the entire project free of any new drilling, which matters most if you want a completely clean, effortless move-out.
Remove and Label Every Original Piece
Before removing a single knob or pull, get a plan in place for where the originals are going. A simple zip-top bag, or a small labeled box if your kitchen has more than one hardware style across different cabinets, keeps every original piece organized and easy to find again at move-out, potentially a year or more later.
Work through the kitchen in sections rather than removing everything at once. Take a “before” photo of each section as you go, then remove and bag those pieces before moving to the next area. This staged approach means you always know exactly which bag of originals corresponds to which cabinets, which matters more than it sounds like it would once a year has passed and the memory of “which knob went where” has faded.
If your kitchen has more than one hardware style, upper cabinets with a different pull than lower drawers, for instance, label bags specifically enough to tell them apart rather than lumping everything into one bag and hoping to sort it out later.
Patch Any Mismatched Holes Cleanly
If your new hardware’s hole spacing doesn’t exactly match the original, you’ll end up with either an extra old hole visible once the new hardware is on, or a need for a new hole the old hardware didn’t have. Both are fixable without permanent damage, as long as you handle the patch correctly.
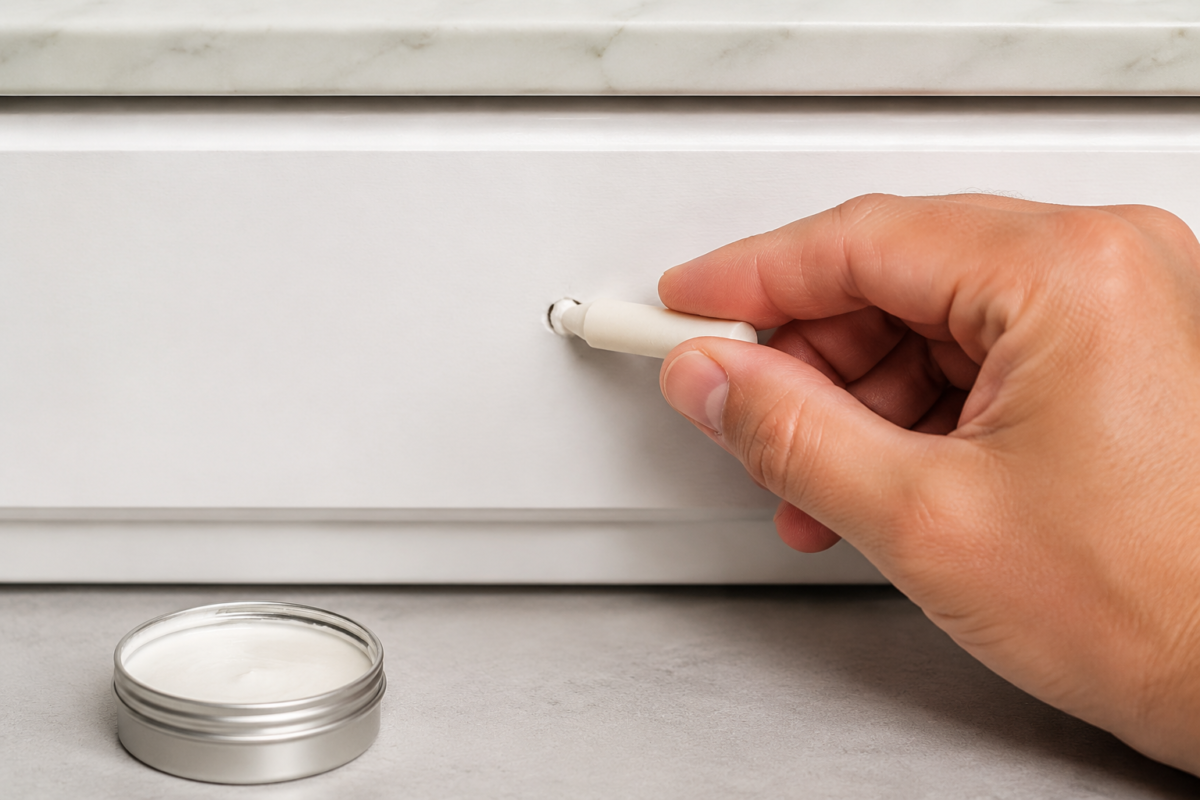
For a visible extra hole, a small amount of wood filler or spackle, tinted or painted to match the cabinet finish, fills the gap cleanly. Let it dry fully, sand lightly if needed, and touch up with matching paint if your cabinets are painted rather than stained. Keep a small amount of matching touch-up paint on hand from the start of your lease if possible, since color-matching later without a reference can be difficult.
For stained or wood-finish cabinets where paint touch-up isn’t an option, a wood filler pen or putty stick in a matching wood tone handles small holes with a much closer color match than standard spackle.
Document this patch with a photo too, since a landlord inspecting at move-out will want to see the hole is genuinely filled and not just covered by new hardware sitting on top of it.
Install the New Hardware
With original hardware removed and any necessary patching done and dried, installation is usually the fastest part of the whole project. Most cabinet hardware comes with the correct mounting screws included, though double-check screw length against your specific cabinet or drawer thickness before starting, since a screw that’s too long can poke through the inside face.
Work methodically through the kitchen, using the same sectioned approach as removal. A cordless screwdriver speeds this up considerably over a manual one, especially across a full kitchen’s worth of hardware, typically 15-25 pieces total.
Check alignment as you go rather than waiting until the whole kitchen is done to notice a piece sitting slightly crooked. A small level held against the hardware, or simply stepping back every few pieces to check by eye, catches an off-kilter pull before it becomes a pattern across multiple drawers.
If you’re tackling hardware as part of a bigger rental refresh, alongside a new backsplash or other upgrades, The Complete Guide to Rental Kitchen Upgrades covers the full sequence and where hardware fits relative to the other changes worth making.
Choose a Finish That Actually Reads as Intentional
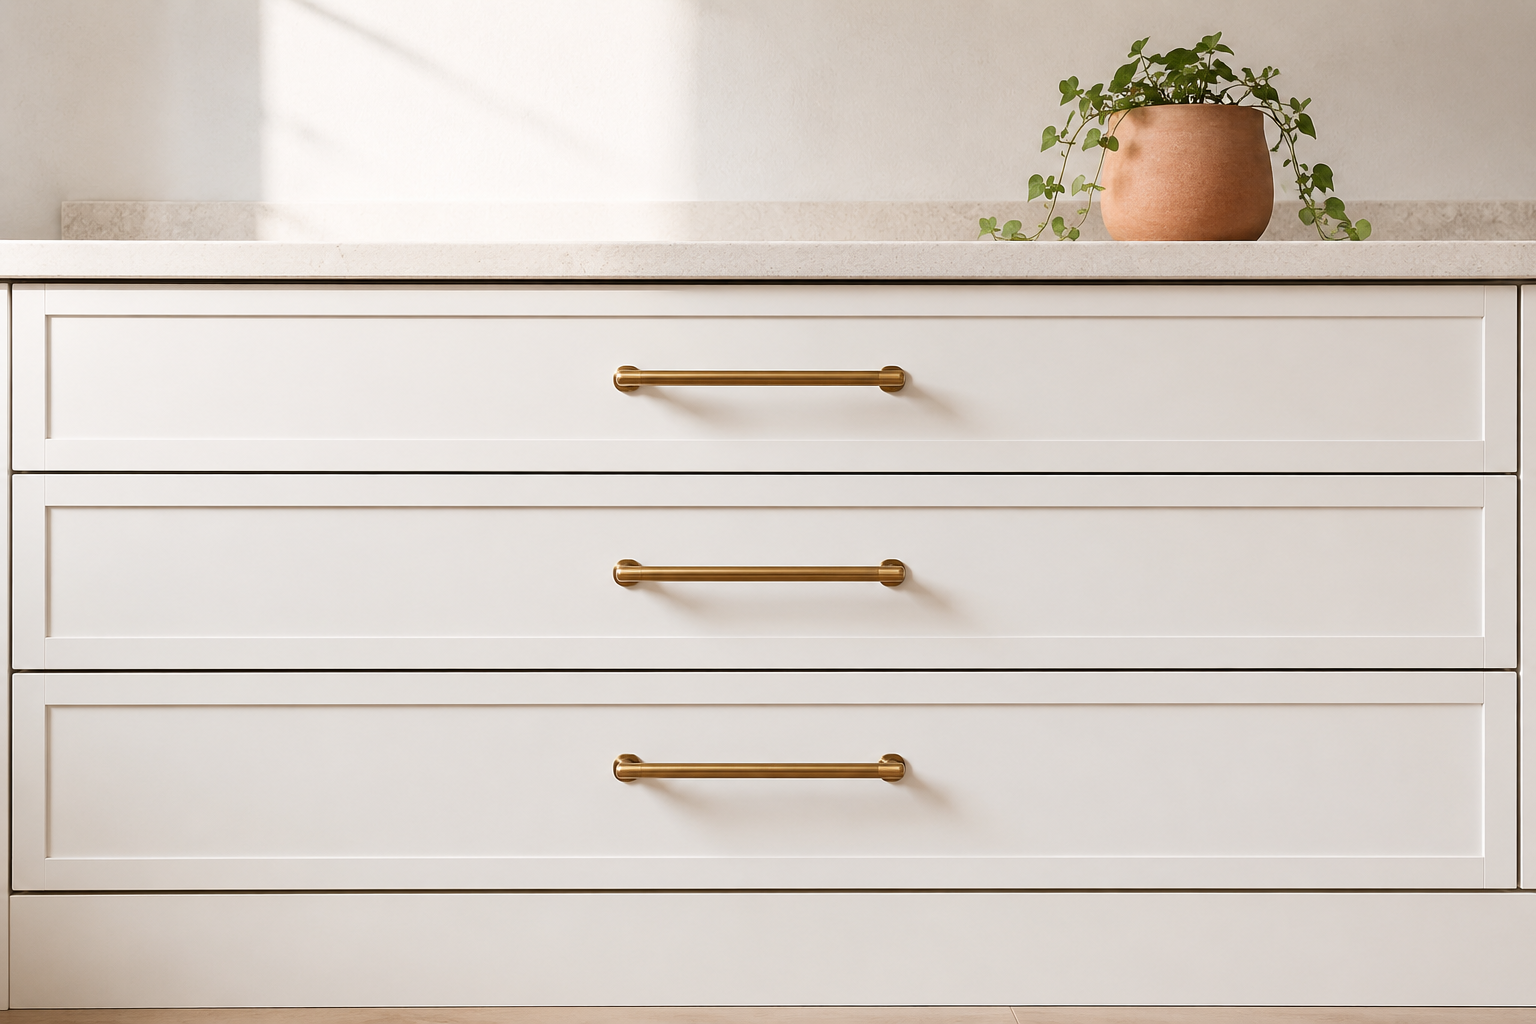
A single, consistent finish across the entire kitchen reads as a real design decision. Mixing multiple finishes, brushed gold on uppers and matte black on lowers, for example, can work in the hands of someone with a strong, specific vision, but it’s a harder effect to pull off well than it looks, especially in a smaller kitchen where every surface is visible from nearly every angle at once.
Warm finishes (brushed gold, brushed brass, warm bronze) tend to photograph and read as inviting against light or white cabinetry. Cooler finishes (matte black, brushed nickel, chrome) read as more modern and crisp, and work particularly well against darker cabinet colors or a more minimal overall kitchen style.
Budget for the swap based on piece count rather than guessing. A typical small kitchen needs 15-25 individual pieces between knobs and pulls, and at $2-$6 per piece depending on finish and style, that puts a full swap in the $50-$150 range for most kitchens.
What to Do at Move-Out
Reversing a hardware swap at the end of a lease should take a fraction of the time the original installation did, provided you kept every original piece labeled and stored the entire time. Pull the new hardware, reinstall the labeled originals section by section using your earlier photos as reference, and do a final check that everything is back in its correct spot.
If any holes were patched during the original swap, confirm the patch still looks clean and touch up if needed before your final walkthrough. A kitchen returned to its exact original state, hardware included, is one less thing to negotiate over when it comes to getting a full deposit back.
Frequently Asked Questions
Will swapping cabinet hardware void my security deposit? Not if you keep the original hardware and reinstall it before move-out. As long as any hole spacing differences are patched cleanly, a hardware swap is one of the most fully reversible upgrades available in a rental kitchen.
How do I know what hole spacing my existing cabinet hardware uses? Measure center to center between the two mounting holes on an existing pull with a tape measure or ruler. Common spacings are 3 inches, 3.75 inches, and 4 inches, though it’s worth measuring rather than assuming, especially in older units.
Can I swap knobs for pulls without drilling new holes? Only if you choose a pull specifically designed to mount using your existing single hole, or if you’re comfortable drilling a second hole and patching it cleanly at move-out. Knob-to-knob or pull-to-pull with matching spacing avoids this issue entirely.
How long does a full kitchen hardware swap take? Most kitchens, 15-25 pieces total, take a single afternoon, roughly two to four hours including careful removal, labeling, and installation, assuming no patching is needed for mismatched hole spacing.
What’s the average cost of a full cabinet hardware swap? Most complete swaps run $50-$150 depending on piece count and finish, with brushed gold and brass typically costing slightly more per piece than basic matte black or chrome options.
Related Reading
- The Complete Guide to Rental Kitchen Upgrades
- Removable Backsplash Options That Actually Look Real
- Peel-and-Stick Upgrades Worth the Money
- Rental Kitchen Upgrades (parent category)
- Small Kitchens (parent hub)