Table of Contents
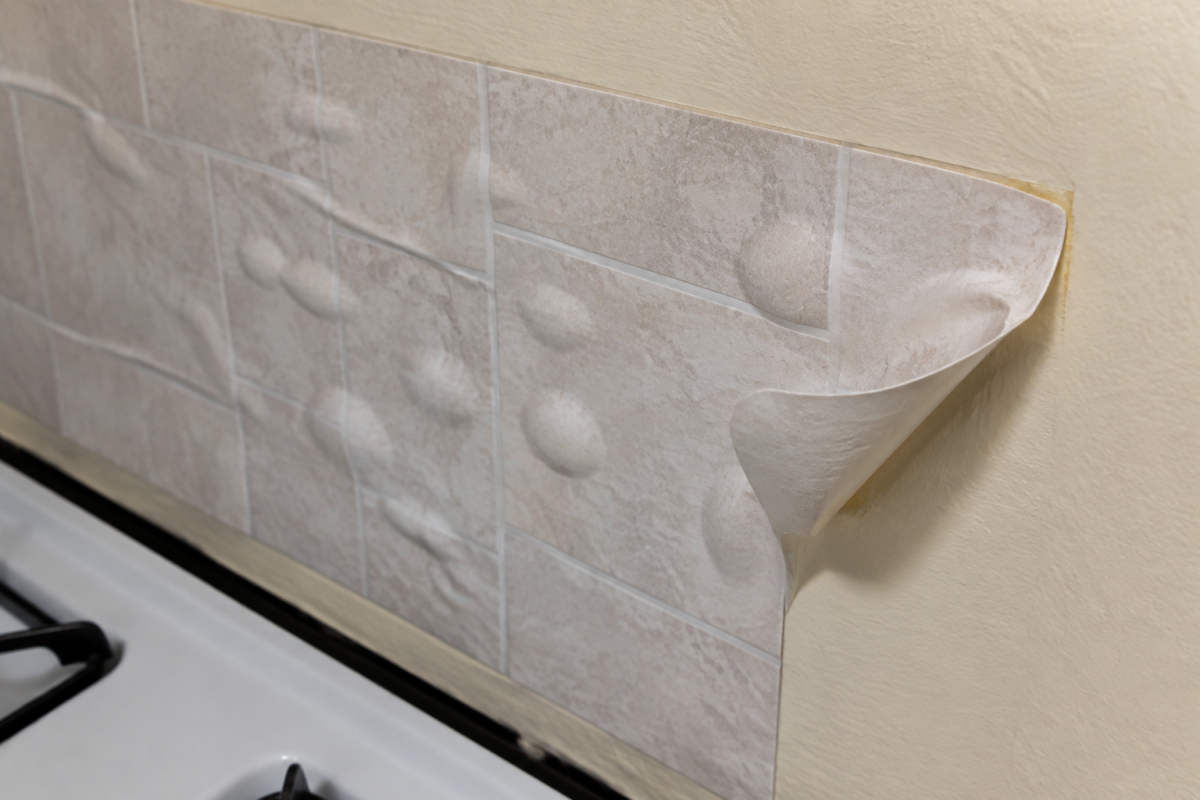
Two rental kitchens, both installed the same white subway-style backsplash within a week of each other, both spent roughly the same amount. One still looks sharp eight months into the lease, grout lines crisp, corners tight against the wall. The other started curling at the edges by week three and now has a visible gap behind the stove where steam and heat worked their way under a seam that was never going to hold in the first place. Same idea, completely different product, completely different result.
The backsplash products that actually pass for real tile share three traits: genuine surface texture instead of a flat printed pattern, a heat-rated adhesive built for kitchen use specifically (not general-purpose peel-and-stick meant for walls or furniture), and proper wall prep before installation. Skip any one of those three and even an expensive product starts to look, and eventually behave, like a sticker rather than tile.
What Actually Makes a Backsplash Look Real
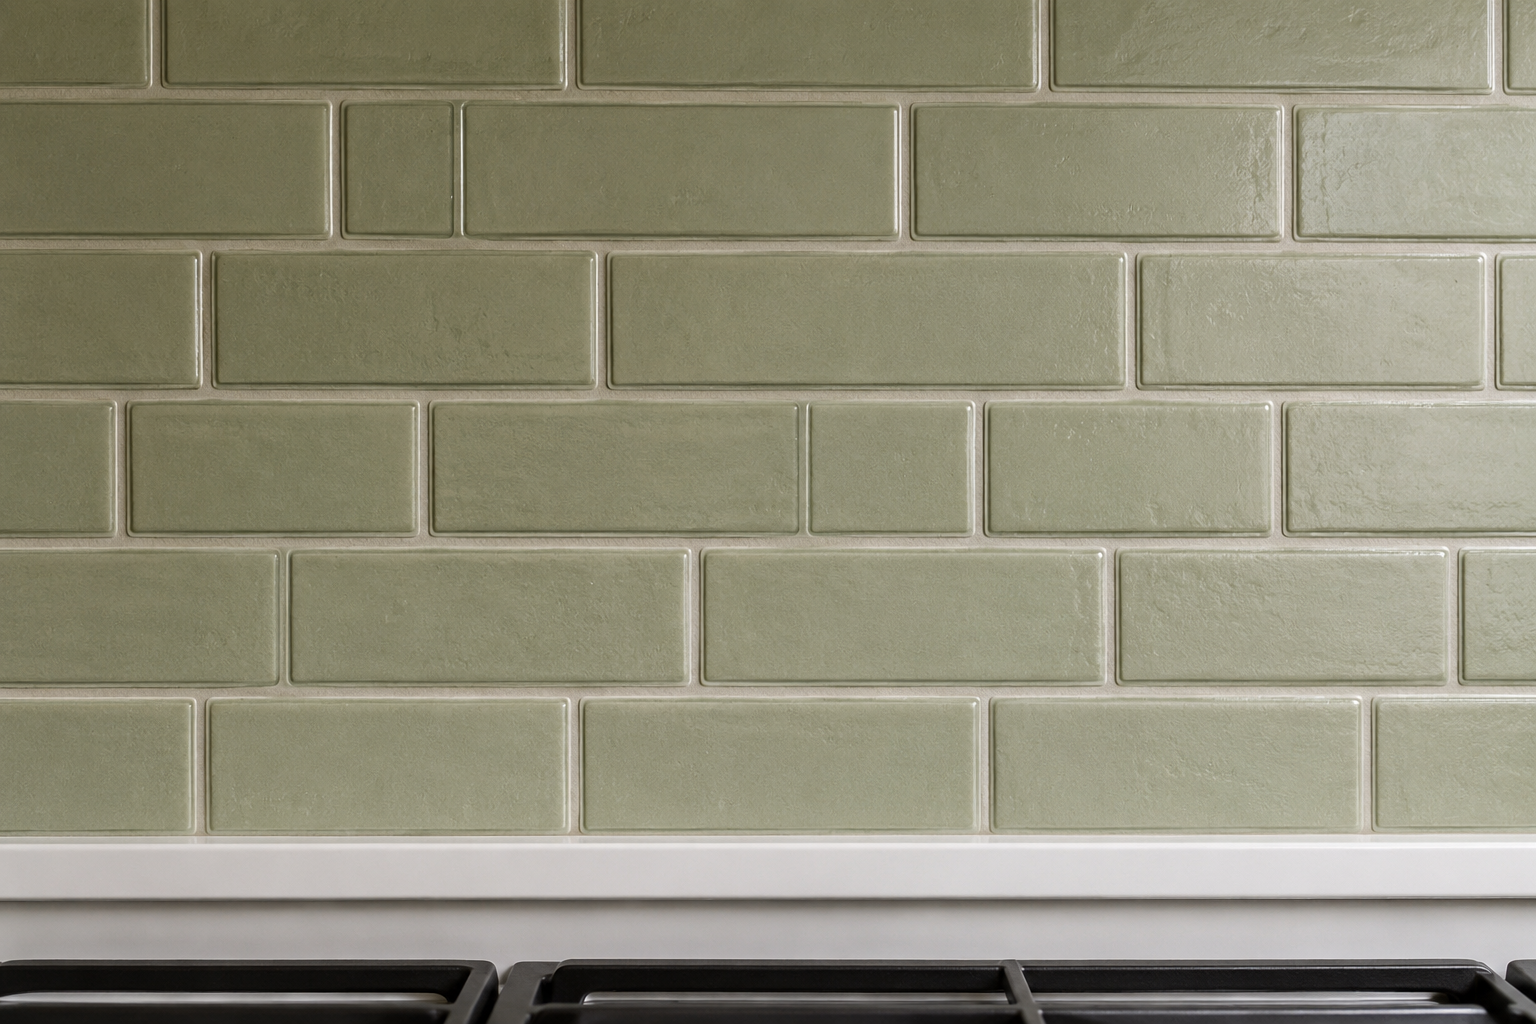
The single biggest giveaway on a fake-looking backsplash is flatness. Real tile has physical dimension, the surface catches light differently at the grout line than it does across the tile face, and there’s a slight variation in gloss and texture from piece to piece. A flat, printed vinyl sheet reflects light uniformly across the entire surface, which is exactly the visual cue your eye picks up on from across the room, even before you’re close enough to touch it.
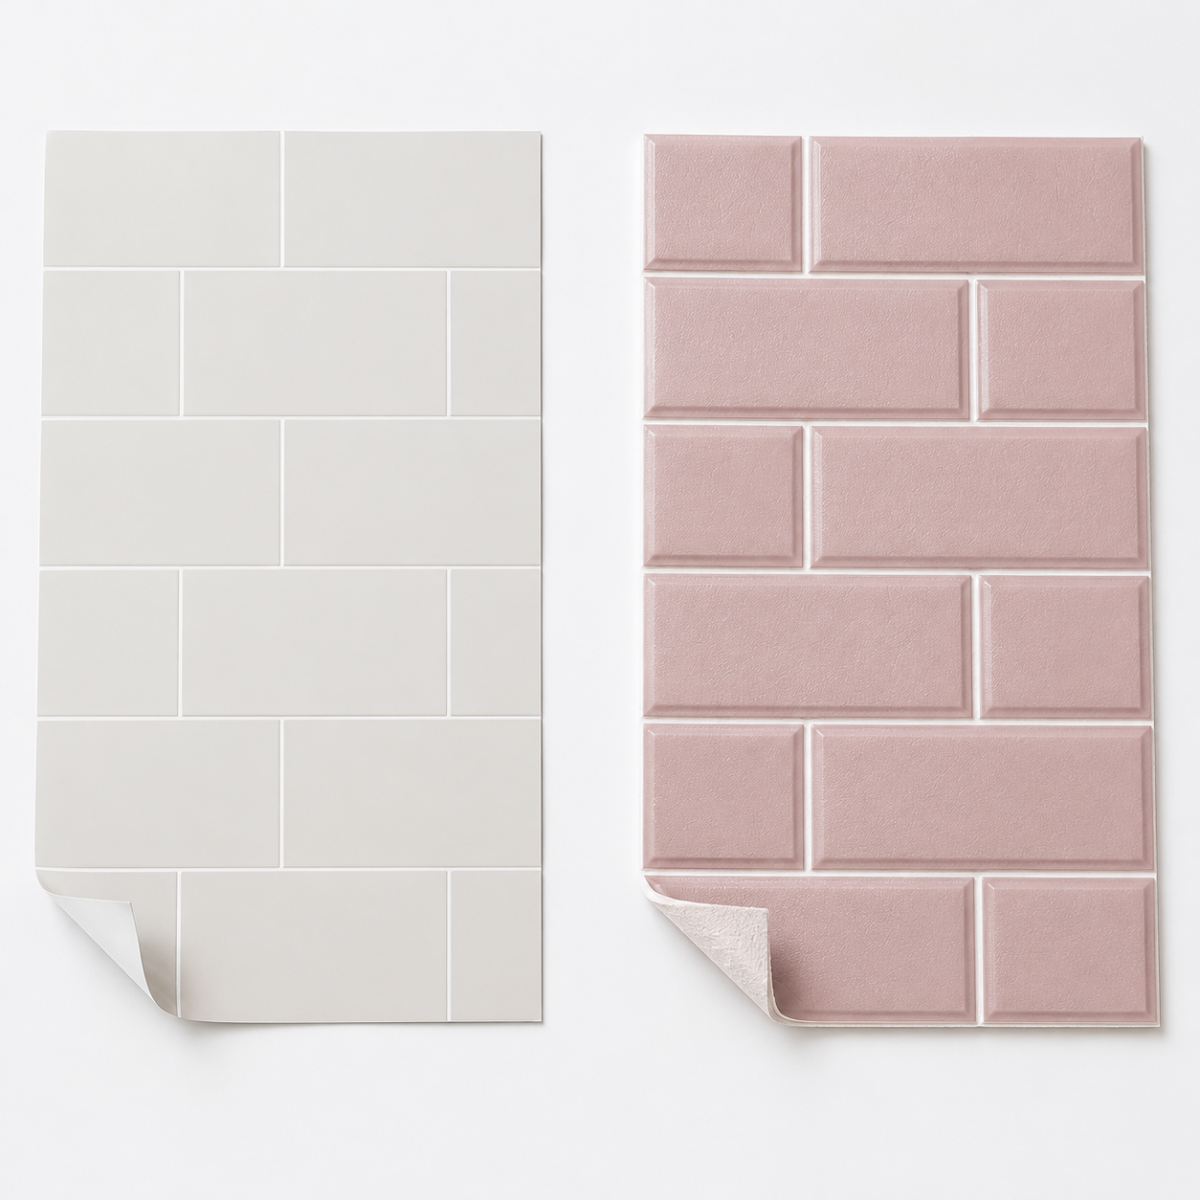
Products worth buying are molded, meaning the tile shapes and grout lines are physically raised or recessed into the material itself, not just printed on a flat surface. Run a hand across a quality peel-and-stick tile sheet and you should feel actual texture where the grout line sits, the same way you would on real tile.
Color and finish consistency matters too. Cheaper products often show visible seams between sheets where the pattern doesn’t quite align, or a color shift where one sheet’s batch doesn’t perfectly match the next. Buying enough material from a single production run or lot, rather than mixing leftover partial boxes, avoids this problem entirely.
Peel-and-Stick Tile Sheets: The Most Convincing Option
Molded peel-and-stick tile sheets, made from a thicker gel or composite material rather than thin vinyl film, are consistently the most convincing option available for a rental backsplash. These sheets have real dimension, hold up to close inspection, and in many cases can be cut with regular household scissors or a utility knife to fit around outlets and corners.
Look specifically for products marketed as heat and water resistant, rated for direct kitchen use behind a stove, rather than general “peel-and-stick wall decor” not designed for that environment. The difference in adhesive quality and material durability between the two shows up fast, even when they look similar in a listing photo.
Subway tile patterns in a soft, muted tone (sage, dusty blue, warm white) tend to photograph and read as the most timeless and convincing option, since subway tile itself is a genuinely common real material choice, unlike some of the busier multi-tile patterns that can start to look overdone up close.
Tile Decals and Stickers: Good for Small Accents, Not Full Coverage
Individual tile stickers, applied one at a time over existing tile or a flat surface, work well as a smaller accent or pattern layer but rarely convince as a full backsplash replacement on their own. They’re thinner than molded sheets and show their edges more readily once you’re standing close, which matters in a kitchen where you’re standing exactly that close every time you cook.
Where these genuinely shine is layering over an existing tile backsplash you don’t like the pattern or color of, rather than trying to fully hide a plain painted wall. Applied over real tile grout lines, the sticker’s own thinness matters less since the existing tile is already providing the physical texture underneath.
If your goal is a full wall transformation rather than a pattern refresh over existing tile, a molded sheet product will get you a more convincing result for roughly the same cost per square foot.
What to Avoid Entirely
Thin, flat printed vinyl wallpaper marketed as “backsplash.” These are the products most likely to look fake from across the room and to fail fastest near heat and steam. If a product description doesn’t specifically mention heat resistance or kitchen-rated adhesive, assume it isn’t built for behind-the-stove use.
Extremely cheap multi-pack listings with dozens of five-star reviews and no reviews mentioning kitchen-specific use. Read reviews specifically for mentions of installation behind a stove or near a sink, not just general wall use, since a product that holds up on a bedroom accent wall may behave completely differently exposed to daily cooking heat and moisture.
Anything requiring a permanent adhesive or grout for installation. A genuinely removable backsplash should specify a removable, residue-free adhesive designed for rental use. Permanent options exist and look great, but they aren’t reversible, which defeats the entire purpose for a rental kitchen.
Prep and Installation for Maximum Durability
The wall itself needs real preparation before any adhesive goes on, regardless of which product you choose. Clean thoroughly with a degreasing cleaner, since kitchen walls accumulate cooking residue that’s often invisible but still enough to weaken adhesive bond. Let the wall dry fully, a full 24 hours is worth the wait, before applying anything.
Work from a bottom corner outward, using a level to keep the first row straight, since every subsequent row references off that first line. A few minutes with a level at the start saves a crooked, off-kilter pattern across the entire wall later.
Press firmly along every edge and seam, using a smoothing tool or a credit card edge to push out air bubbles and ensure full adhesive contact, particularly around outlets and corners where lifting most commonly starts. These high-stress points are where heat and steam exposure work hardest to loosen a poorly pressed edge.
Give the full installation 24-48 hours to fully set before heavy use, meaning avoid high-heat cooking directly against the new backsplash during that window if possible. Full adhesive cure time is what determines whether a product lasts the length of your lease or starts failing within weeks.
If you’re planning this alongside other rental kitchen changes, hardware and lighting especially, The Complete Guide to Rental Kitchen Upgrades covers the full sequence and shows where backsplash fits into the bigger picture.
Removing It Cleanly at Move-Out
A genuinely rental-rated backsplash product should remove with steady, even pressure and minimal residue, though a hairdryer on low heat aimed at a stubborn corner softens adhesive that’s being resistant. Peel slowly rather than yanking, working the same direction the tile was applied in, to avoid pulling paint off the wall underneath.
Any adhesive residue left behind typically comes off with a mix of warm water and a small amount of dish soap, or a dedicated adhesive remover for anything more stubborn. Test any remover on a small, hidden section of wall first, since some products can affect paint finish.
Take “before” photos of the bare wall on move-in day, before any backsplash goes up, so you have a clear reference for what the wall should look like once everything’s removed at the end of your lease.
Frequently Asked Questions
Does peel-and-stick backsplash actually look real up close? Molded, textured products with real dimension can genuinely pass for real tile even at close range. Thin, flat printed vinyl products almost always give themselves away up close, regardless of the pattern printed on them.
Will peel-and-stick backsplash damage rental walls? Products specifically designed for removable, rental-friendly use are built to come off without damaging paint or drywall, as long as the wall was properly prepped and the product is removed carefully rather than yanked off quickly.
How long does peel-and-stick backsplash last behind a stove? Quality, heat-rated products properly installed on a well-prepped wall typically last the full length of a standard lease, one to two years, without lifting. Cheaper, non-kitchen-rated products can start failing within weeks of exposure to cooking heat and steam.
Can I install peel-and-stick backsplash over existing tile? Yes, as long as the existing tile is clean, flat, and free of major grout damage. Applying over existing tile grout lines can actually help conceal seams in the new material, since the underlying texture provides extra grip and definition.
What’s the average cost for a full backsplash refresh with peel-and-stick tile? Most kitchens need $50-$120 in material depending on backsplash size and product quality, with installation taking a single afternoon once the wall is properly prepped and dried.
Related Reading
- The Complete Guide to Rental Kitchen Upgrades
- Cabinet Hardware Swaps That Come Off Clean
- Peel-and-Stick Upgrades Worth the Money
- Rental Kitchen Upgrades (parent category)
- Small Kitchens (parent hub)