Table of Contents
Picture the closet you actually have: one rod, one shelf, four bare walls, and a landlord who made it clear in the lease that nothing gets drilled into the wall. Every “closet system” you’ve seen online involves a wall-mounted unit installed by a professional over a full weekend. None of that applies here. What you need is a system built entirely from pieces that clip, hang, or stand on their own, and that come out just as cleanly as they went in.
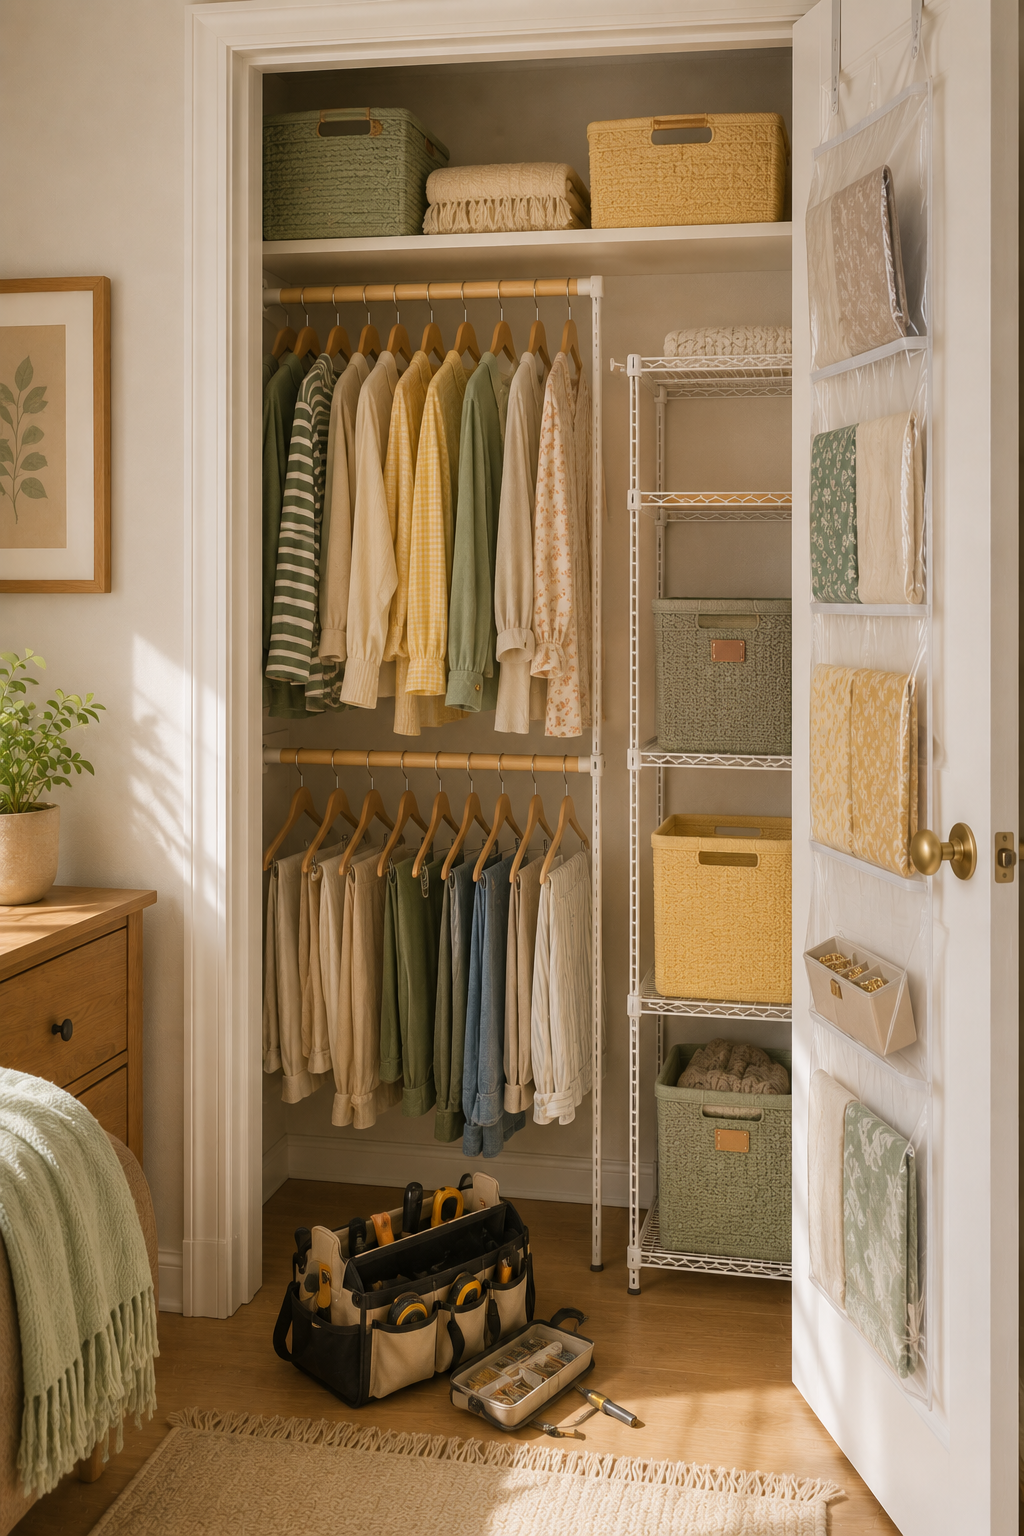
The good news is that this isn’t a workaround version of a real closet system. Tension rods, freestanding shelving, and over-the-door organizers are what most small-space renters actually use, and installed together they turn one bare rod into a genuine four-zone system in about an afternoon, no tools beyond a tape measure.
Start With the Rod: Tension-Mounted Double Rods
The single highest-impact addition to any small closet is a second hanging rod, and a tension-mounted version means it clips between the two side walls under pressure instead of screwing into anything. Most install in under five minutes: extend the rod to the width of the closet, twist to lock the tension, and check that it holds before hanging anything heavy on it.
Look for one rated to hold at least 20 to 30 pounds evenly distributed across the bar. That’s enough for a full row of shirts, blouses, or folded pants on the lower rod, freeing the existing top rod for longer items like dresses and coats. Cheaper curtain-style tension rods aren’t built for this kind of sustained weight and will bow or slip within a few weeks, so it’s worth spending the extra $10 for one specifically labeled for closet use.
Position the new rod about 40 inches below the existing one. That clearance fits folded-length shirts and pants without the hems dragging on whatever’s stored on the floor beneath.
Add Vertical Storage With Freestanding Wire Shelving
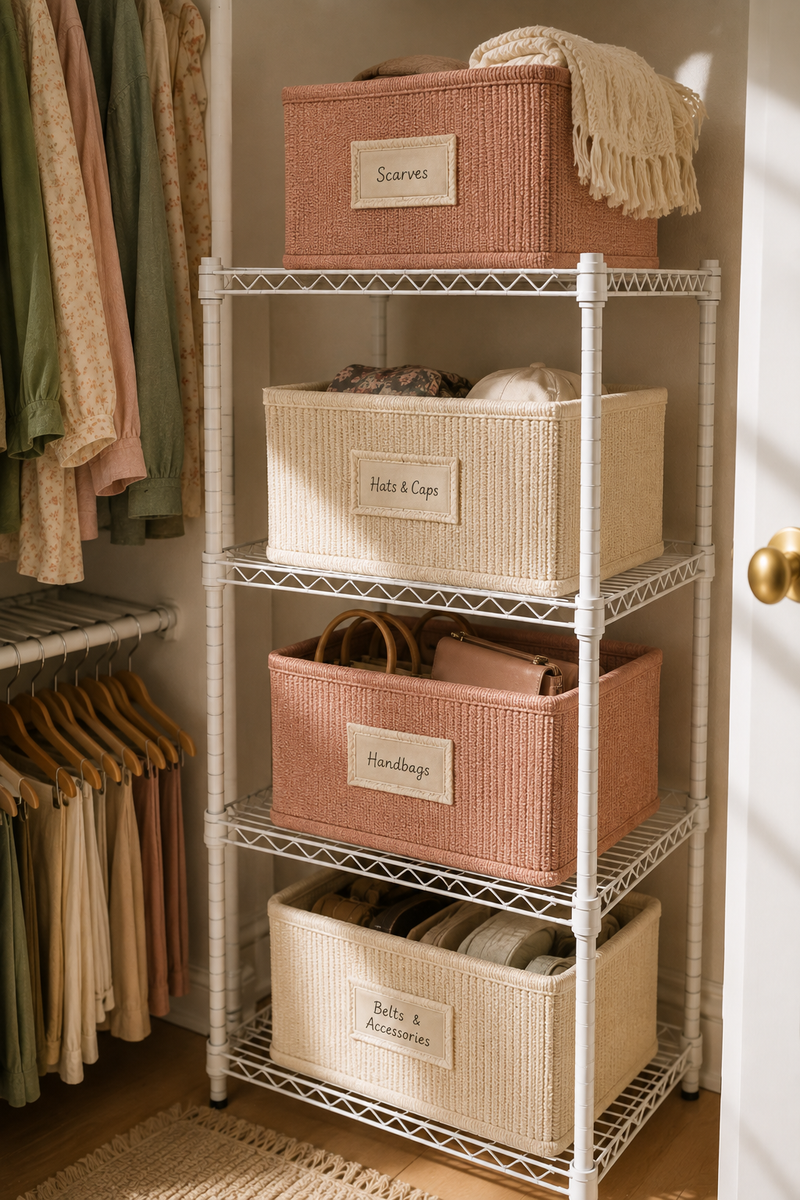
If the closet has no second shelf at all, a freestanding wire shelving unit solves that without touching the walls. These stand on their own feet on the closet floor, usually in the back corner or along one side wall, and hold three to five shelves’ worth of stacked bins in a footprint of about 12 by 18 inches.
Wire shelving works better than solid shelving in a closet specifically because it doesn’t trap moisture the way a solid wood or laminate shelf can in an enclosed space. It also weighs less, which matters if you’re setting it up and breaking it down between apartments.
Measure the closet’s depth before buying. A standard reach-in closet is 24 inches deep, and a shelving unit that’s a true fit leaves enough room in front for the closet door to swing shut without catching on a corner. If the depth is tighter, a narrower unit built for a linen closet or pantry often fits a shallow bedroom closet better than a “closet organizer” marketed specifically for that use.
Use the Door Itself: Over-the-Door Organizers
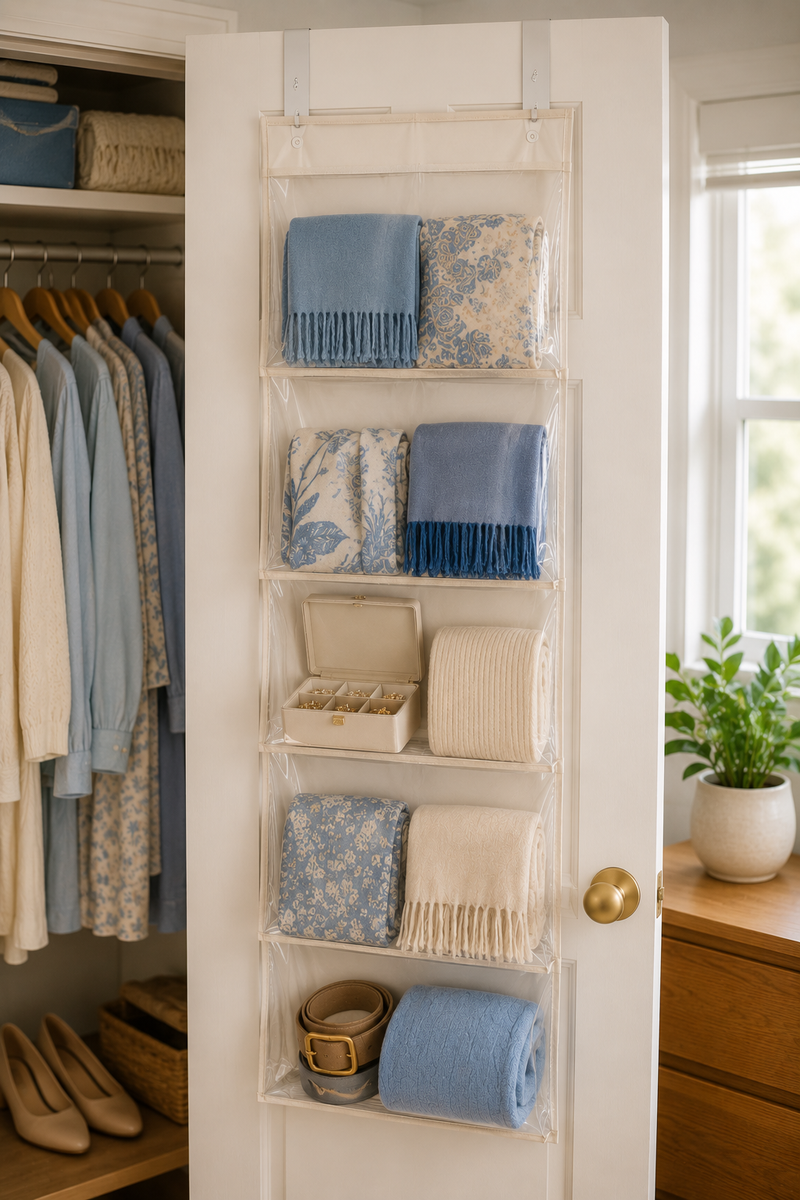
The back of the closet door is one of the few surfaces in a rental that’s genuinely free to use without any installation risk. An over-the-door organizer with clear pockets hangs directly on the door’s top edge using hooks, no adhesive or hardware involved, and holds smaller, flatter items that don’t need a shelf or a bin: jewelry, scarves, belts, a small first-aid kit.
The trade-off is depth. Because the organizer sits flush against the door, it can’t hold anything bulky without catching on the door frame when it closes. Test this before loading it up fully: hang it, add a few items, and close the door completely to confirm nothing’s rubbing or blocking the latch.
For a slightly different footprint, an over-the-door shoe organizer (with larger, deeper pockets) works just as well for rolled scarves, small handbags, or hair tools as it does for shoes, if shoe storage isn’t the priority for your specific closet.
Fill the Gaps With Adhesive Hooks
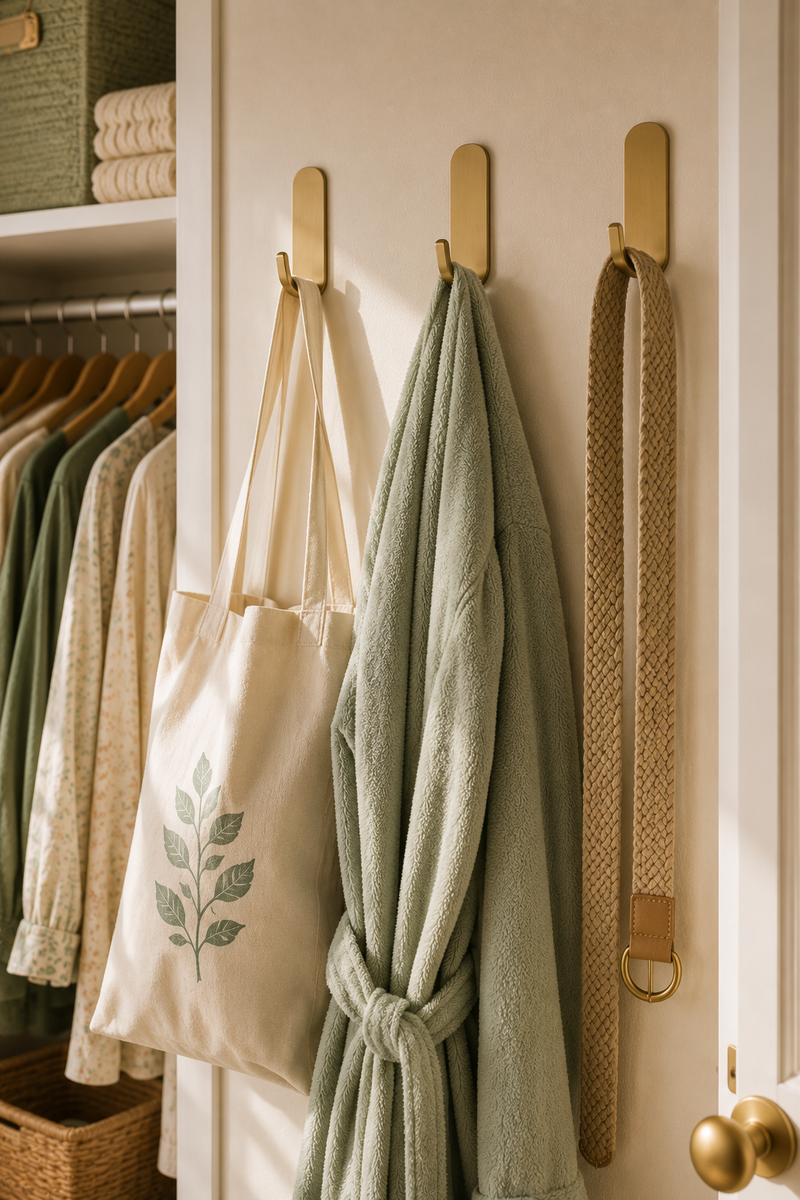
Command-style adhesive hooks are the smallest addition on this list, and often the most used day to day. Rated for 5 to 7 pounds each, they mount on any side wall inside the closet and hold bags, robes, belts, or a hanging jewelry organizer. They remove cleanly with no residue when it’s time to move, which makes them one of the only genuinely renter-safe wall additions in the whole system.
Space them at the height where you’d actually reach for the item daily, not decoratively high or low. A hook for tomorrow’s bag works only if it’s at arm level, not up near the shelf where it becomes one more thing to reach for.
Measure Before You Buy Anything
Every piece in this system depends on getting the closet’s real dimensions right first, and skipping this step is the most common reason a “no-drill closet system” ends up back in its box. Measure three things before ordering anything: the width between the two side walls at both the top and the bottom (older closets are rarely perfectly square, so these two numbers sometimes differ by an inch or more), the full depth from the back wall to the door frame, and the clearance between the top of the existing rod and the shelf above it.
The width measurement matters most for the tension rod, since most are adjustable within a range (commonly 24 to 48 inches) but won’t clamp securely if you’re buying at the very edge of that range. The depth measurement matters for the wire shelving unit, since a unit that’s even an inch too deep will catch the door every time it swings shut, and a returned shelving unit rarely comes with free return shipping. The rod-to-shelf clearance determines whether a second rod fits underneath the first with enough room for hangers to sit level, or whether it needs to go lower, closer to the floor, instead.
Write these three numbers down and keep them on your phone before shopping. Nearly every no-drill product online lists its exact dimensions and weight rating in the listing, and cross-checking against your own measurements before adding to cart is the single easiest way to avoid a second trip back to the store.
Common Mistakes That Undo a No-Drill System
A few specific mistakes show up again and again in small closets that “tried a system” and gave up on it within a month.
Buying the shelving unit before the rod. Bins and shelves feel like the most satisfying purchase, but if the rod is still overloaded and jammed, the new shelving just becomes another place for overflow to land instead of a genuine second zone.
Skipping the weight rating on tension rods. A rod that’s rated for 15 pounds but asked to hold 25 pounds of winter coats will slip within days, not because the rod is defective, but because it was the wrong rod for the job from the start.
Overloading the over-the-door organizer. These are built for flat, light items. Stuffing heavier objects like books or shoes into the pockets stretches the fabric and pulls the whole unit away from the door hooks over time.
Not testing the door swing before finalizing placement. A wire shelving unit or an over-the-door organizer that looks perfectly placed with the door open can still block it from closing fully once everything’s loaded. Always do a full open-and-close test with the system loaded, not empty.
Which Pieces to Buy First If the Budget Is Tight
Not every closet needs all four additions at once, and buying them in the wrong order means spending money on the piece that helps the least. A rough spending priority, based on impact per dollar:
- Tension double rod first. It roughly doubles hanging capacity for $15 to $25, the single biggest return of anything on this list.
- Matching slim hangers second. A full swap runs $20 to $30 and immediately narrows how much rod width your existing clothes take up.
- Freestanding shelving third, only if the closet genuinely has no shelf or the current one is already overloaded.
- Over-the-door organizer and hooks last. These solve specific small problems (jewelry, bags, belts) rather than the core capacity issue, so they’re worth adding once the rod and shelf zones are already working.
A closet that skips straight to bins and hooks without fixing the rod first usually stays disorganized, because the rod is where most of a wardrobe actually lives day to day.
FAQ
Do tension rods damage rental walls? No. A properly sized tension rod holds by pressure against the two side walls, not by screwing or gluing into anything, and leaves no marks when removed.
Can I use these systems in a closet with sloped ceilings or an odd shape? Freestanding wire shelving and adhesive hooks both work well in irregular closets, since neither depends on a flat, full-height wall. A tension rod needs at least 24 inches of straight wall on both sides to clamp against, so measure that specific stretch before assuming it’ll fit.
How much does a full no-drill closet system cost? A tension double rod, a full set of matching hangers, a small wire shelving unit, and an over-the-door organizer together typically run $80 to $120, well under the cost of a single professional closet installation.
Will an over-the-door organizer fit if my door swings the wrong way or hits the wall? Measure the clearance between the fully open door and the nearest wall or shelf before buying. Most organizers add about an inch of depth to the door, which is rarely an issue, but it’s worth checking in a genuinely tight space.
Related Reading
Once these pieces are installed, The Complete Small Closet Organization Guide walks through exactly how to use each zone, from what goes on the new rod to what belongs in the shelving bins.
If seasonal bulk is what’s overwhelming the new shelving unit, How to Store Off-Season Clothes in a Closet With No Extra Room covers the vacuum bags and under-bed bins built for exactly that.
And if shoes are the specific problem this system needs to solve, Shoe Storage Ideas for Closets With Zero Floor Space Left goes deeper on the racks and over-the-door options built for footwear.
For the full category, browse Closet Organization under the Organization & Storage hub, home to every small-closet and storage-system guide on the site.