Table of Contents
You just got the keys, or you’re about to, and you’re standing in the middle of a space that’s either too small to figure out or too blank to feel like anything yet. Maybe both at once. That first walkthrough, boxes still taped shut, is the exact moment most people either build something they’ll actually love living in, or start making small decisions that quietly work against each other for the next year.
Here’s what nobody tells you at the leasing office: the order you tackle a rental in matters almost as much as what you actually buy or do. Decorate before you’ve solved layout, and you’ll be moving furniture around your new decor for months. Buy storage before you know your real routines, and half of it sits empty while the actual clutter piles up somewhere else. Chase a Pinterest-perfect look before your daily habits are sorted, and the space falls apart within a few weeks of real living.
This guide is the order that actually works, laid out once so you’re not learning it the hard way. Layout first, because it’s the foundation everything else sits on. Decor next, because a space that functions is finally ready to feel like yours. Storage woven through both, because it’s less a separate project than a habit that has to hold up under a real week, not a showroom day.
None of it requires permission you don’t already have, and none of it assumes you’re staying forever. It just assumes you want the place to work, and to feel like yours, for however long you’re actually in it.
Why Order Matters More Than You’d Think
A rental is a strange kind of project because you’re designing around constraints that aren’t yours to change. The wall color, the layout, sometimes even the lighting fixtures, all locked. What you can control is everything that sits on top of those fixed constraints, and that’s exactly why sequence matters so much here in particular.
Think about the version of this that goes wrong most often: someone hangs art and buys a rug before they’ve actually lived in the space for even a week. Then real life starts happening, and the “living room corner” they decorated turns out to be where they never actually sit, because the light’s better on the other side of the room, or the outlet placement makes the sofa position impractical for charging a laptop. Now the art’s in the wrong spot, the rug’s under the wrong furniture, and fixing it means undoing work that felt finished a month ago.
The fix isn’t overthinking every decision before you make it. It’s doing things in an order where each step actually informs the next one, instead of guessing at all of them simultaneously on day one.
Step One: Solve Layout Before You Touch Decor
A rental’s layout should be settled through a week or two of actual living in the space, not decided in the first afternoon based on where furniture “should” go. This step gets skipped constantly because it’s less immediately satisfying than hanging your first piece of art, but it’s the one that prevents the most rework later.
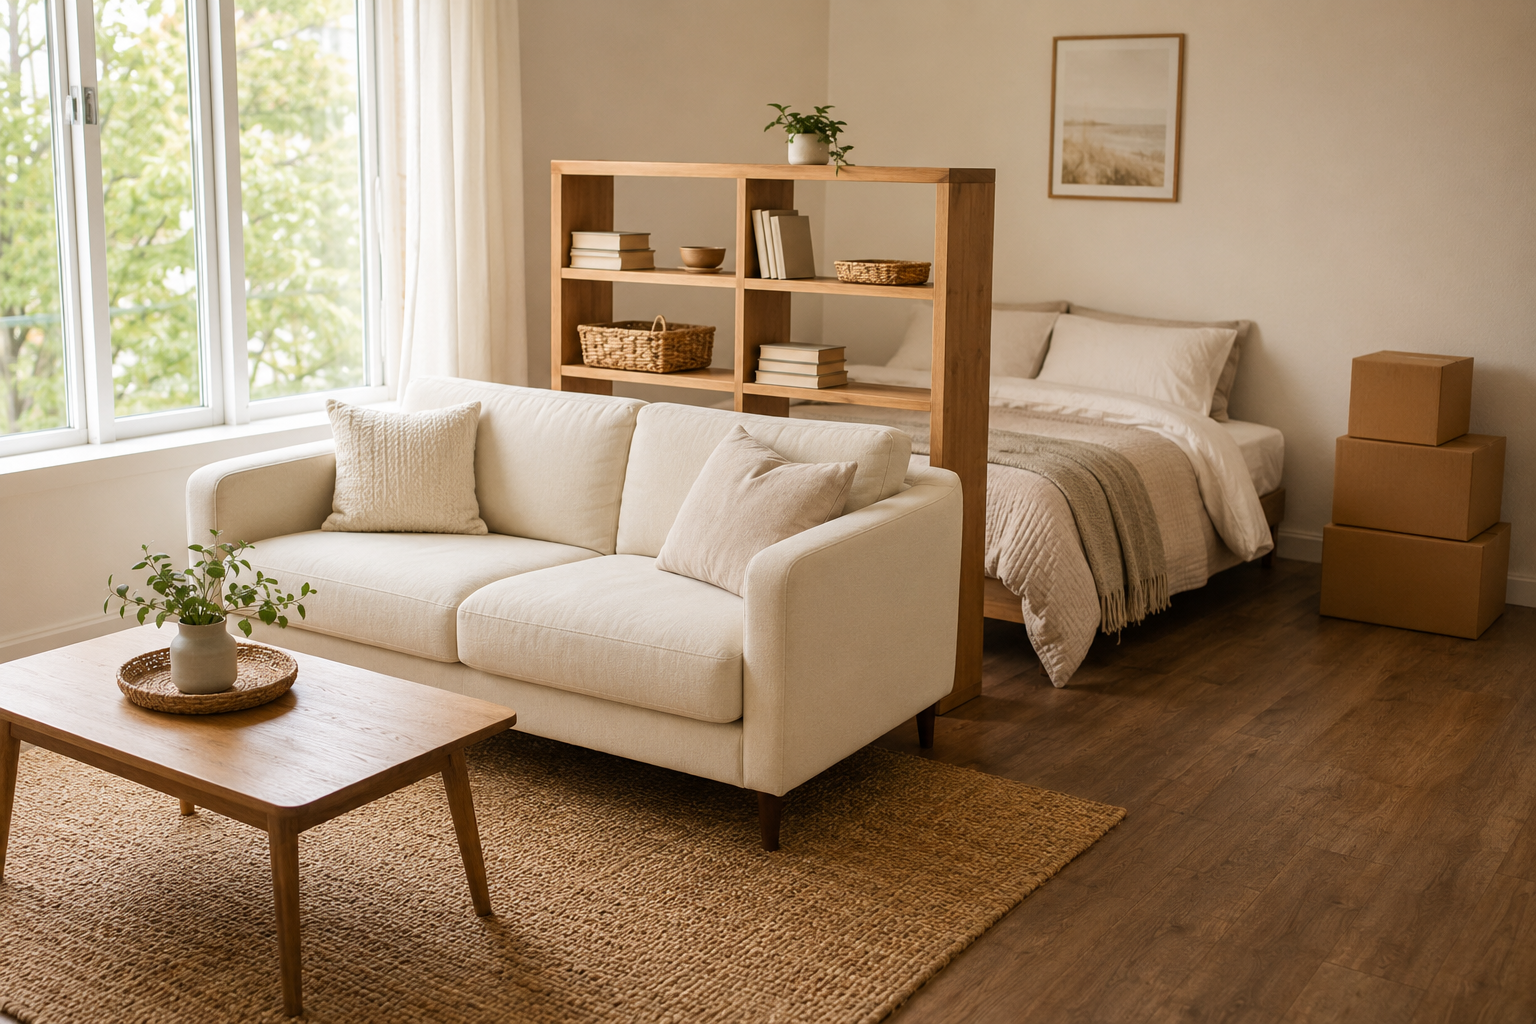
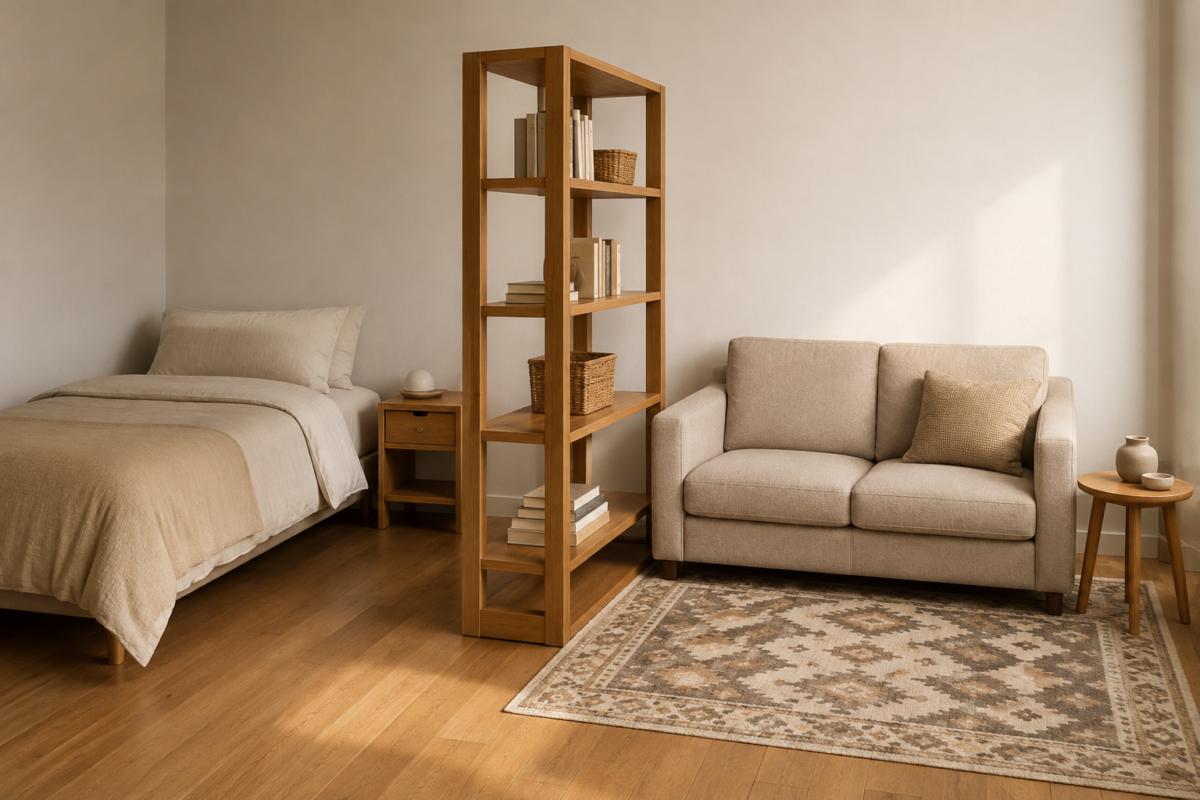
If you’re in a studio, this step matters even more, because you’re essentially deciding where your invisible walls go. A studio without deliberate zoning tends to feel like one undifferentiated room where every activity bleeds into every other one: work happens two feet from where you sleep, and dinner happens on the same surface as everything else. Defining a sleep zone, a living zone, and if space allows a small work zone, using furniture placement and area rugs rather than actual walls, is what makes a studio feel like it has separate rooms instead of one crowded one.
Even in a full one-bedroom, layout still comes first. Walk the space at different times of day and notice where the light actually falls, where you naturally gravitate to sit, and which walkways get used most. Furniture that blocks a natural walking path gets moved within a week regardless of how good it looks in a mood board, so it’s worth figuring that out before committing to a full decor plan around it.
The full breakdown of studio-specific zoning techniques, including exactly how to divide a single room into distinct functional areas without a single permanent wall, lives in the dedicated studio guide below.
Step Two: Layer In Storage as You Go, Not All at Once
Storage isn’t really a separate phase so much as something that gets woven into layout and decor as you go, but it deserves its own mention because it’s the piece people either front-load with a big Container Store trip on move-in day, or ignore entirely until the clutter becomes a real problem.
The better approach is need-based, not preemptive. Move in, live for two or three weeks, and pay attention to where things pile up: the counter that collects mail, the chair that becomes a clothes pile, the entryway with nowhere for shoes. Those specific friction points tell you exactly what storage to add and where, which is far more efficient than guessing at your needs before you’ve actually lived in the space.
From there, prioritize storage that adds real capacity without requiring any permission: vertical wall shelving, over-the-door organizers, and freestanding pieces that fill an actual empty gap rather than force one where none exists. A rental with genuinely limited storage almost always has more usable vertical and hidden space than it first appears to, once you start looking at walls, closet backs, and under-furniture gaps as real storage zones instead of dead space.
Step Three: Make It Feel Like Yours, Without Losing the Deposit
Once layout is settled and the worst storage gaps are closed, the space is finally ready for the layer most people wanted to jump to first: decor that actually makes it feel like home.
This is where damage-free matters more than almost anywhere else in the process, because this is the layer with the most temptation to reach for a permanent fix. A blank wall makes paint feel like the obvious answer. A boring light fixture makes hardwiring something new feel tempting. Almost none of that is necessary, and almost all of it can be reversed if you know which specific products and techniques are actually designed for renters rather than borrowed from homeowner projects that assume you’ll never need to undo them.
Removable wallpaper on a single wall, peel-and-stick tile in a kitchen or bathroom, plug-in lighting layered over the existing fixture, and a curated collection of art, textiles, and objects you actually love, all do the bulk of the emotional work of making a space feel like yours. None of it requires a single hole your landlord didn’t already approve, and none of it risks the deposit you’ll want back in full when you eventually move.
The dedicated decor guide below covers exactly which specific upgrades hold up to a real move-out inspection and which ones only claim to be reversible.
The Full Sequence, One More Time
If you’re standing in an empty rental right now trying to figure out where to start, here’s the order that avoids the most rework:
- Live in it for one to two weeks before making permanent-feeling decisions. Notice light, traffic patterns, and where clutter naturally wants to collect.
- Settle the layout, including zoning if it’s a studio, using furniture and rugs rather than assuming a “correct” arrangement from a photo.
- Close the worst storage gaps as they reveal themselves, starting with vertical and hidden space before buying anything bulky.
- Layer in decor, starting with the highest-impact, fully reversible upgrades, and let the space accumulate personality over weeks rather than all at once.
- Revisit the whole system every few months, since a rental you actually live in will keep shifting slightly no matter how well the first pass went.
Skipping straight to step four, which is the single most common instinct on move-in day, is exactly what leads to redoing work a month later once the real patterns of daily life reveal what the space actually needed.
Frequently Asked Questions
How long should I wait before decorating a new rental? One to two weeks of actually living in the space is usually enough to reveal where furniture naturally wants to go and where clutter tends to collect. Waiting longer than that rarely adds much new information, and it’s fine to start layering in easy, reversible decor sooner if the layout already feels settled.
What’s the biggest mistake people make when moving into a small rental? Decorating before solving layout. A beautifully styled corner that turns out to be the wrong spot for how you actually use the room means redoing decor decisions that felt finished, which costs more time than just settling layout first would have.
Do I need to buy all my storage on move-in day? No, and it’s usually a waste of money to try. Storage needs reveal themselves through actual living, and buying based on guesses before you’ve spent real time in the space often means returning half of it once the real clutter points become clear.
Is it worth doing any decor upgrades in a short-term rental, like a six-month lease? Yes, especially the fastest, lowest-cost ones like hardware swaps, plug-in lighting, and curated objects on open shelving. These take minutes to install and remove, so even a short lease benefits from them without adding real risk or wasted effort.
How do I know if a decor upgrade is actually reversible or just marketed that way? Test it on a hidden spot first, like inside a cabinet or behind a piece of furniture, for the same length of time you’d realistically leave the real installation. If it comes off clean there, it’s a reasonably safe bet for the visible spot too.
Related Reading
- Studio Apartment Guide — the full zoning breakdown for splitting a single room into distinct functional areas
- Rental-Friendly Decor Guide — the damage-free upgrades that make a rental feel like yours without losing the deposit
- Apartment Storage Guide — vertical, portable, and permission-free storage solutions for the whole apartment
- Complete Guide to Studio Apartment Living — related Taims Space guide.
- Complete Guide to Rental-Friendly Decor — related Taims Space guide.
- Complete Guide to Apartment Storage — related Taims Space guide.
- Complete Apartment Move Checklist — related Taims Space guide.
- Complete Guide to Rental Kitchen Upgrades — related Taims Space guide.
Category: Studio Apartments Hub: /apartments-and-rentals/
Reviewed by the Taims Space editorial team.