Table of Contents
A laptop balanced on a kitchen counter works for a day. It doesn’t work for a year. At some point, a real work corner has to happen, and in a small space, that corner has to do more than just hold a computer. It has to disappear convincingly when the workday ends, without looking like an office pretending to be a living room in between.
Setting up a small home office works best in this order: choose the placement first, get the desk and chair ergonomics right, build storage that prevents daily clutter creep, layer lighting and manage cords and power, style whatever sits behind you on video calls, and finish with a real end-of-day routine for putting it all away. Each step depends on the one before it, which is why skipping ahead to decor before placement is settled usually means redoing work later.
Why This Order Matters More Than the Individual Choices
The order matters because placement determines nearly everything downstream of it, from how much natural light the desk gets to whether a proper end-of-day hideaway routine is even realistic in that spot. Choosing a desk or decorating a corner before settling on placement is the single most common reason a home office setup needs a full redo within a few months.
A desk positioned with your back to the room’s main window, for instance, isn’t just a lighting inconvenience. It affects video call quality, glare on the screen, and how much natural light actually reaches your workspace during the day. Fixing that after the desk is already assembled and the cords are already run is a far bigger project than choosing the right spot from the start.
Step 1: Choose Placement Based on Light and Sightlines First
Choose your office placement based on natural light exposure and how visible the spot is from the room’s main entry, before considering anything about the desk, storage, or decor, since placement determines how much of the rest of the setup will actually work well once it’s in use.
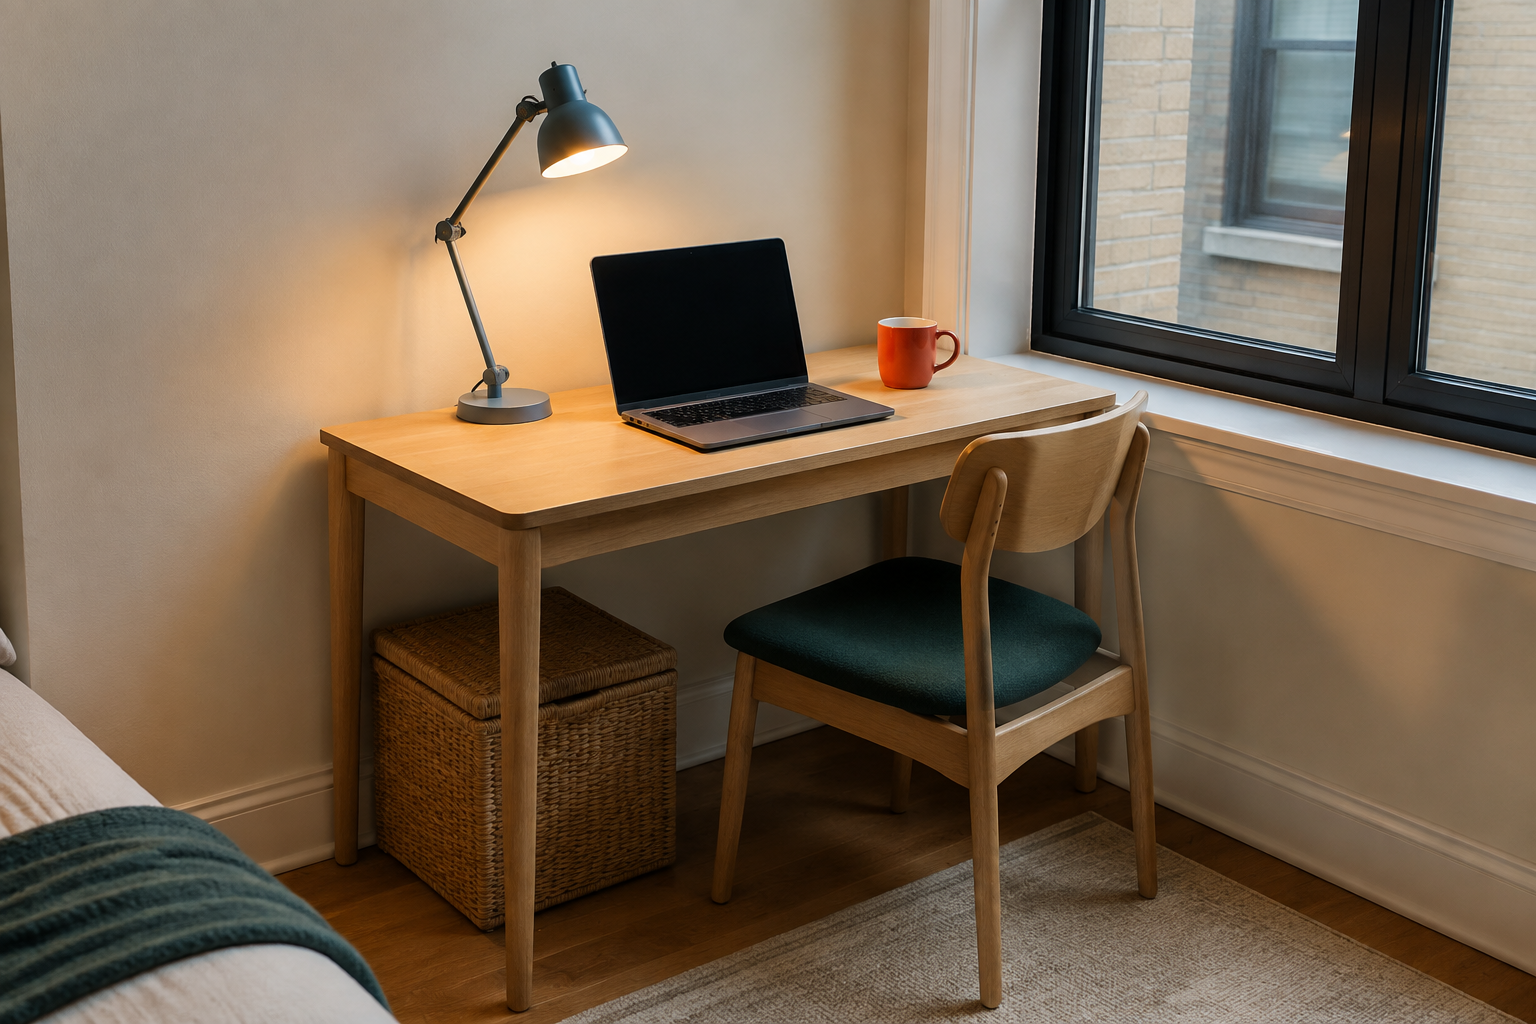
Position the desk perpendicular to a window rather than directly facing it or with your back to it. Facing a window directly creates screen glare during bright hours, and sitting with your back to one creates harsh backlighting on video calls that washes you out completely. A perpendicular angle gives even, flattering light without either problem.
Consider sightlines from the room’s entry next. A workspace visible the moment you walk in the door benefits the most from a genuine end-of-day hideaway routine, since it’s the first thing you or a guest sees. A workspace tucked into a less visible corner has more flexibility to stay slightly more visibly “in use” without affecting how the rest of the room feels.
Step 2: Get the Desk and Chair Ergonomics Right
Set the desk height so your elbows sit at roughly 90 degrees when typing, position the monitor or laptop screen so the top of the screen sits at or just below eye level, and choose a chair with real lower back support, since these three ergonomic basics affect daily comfort far more than any aesthetic choice about the desk itself.
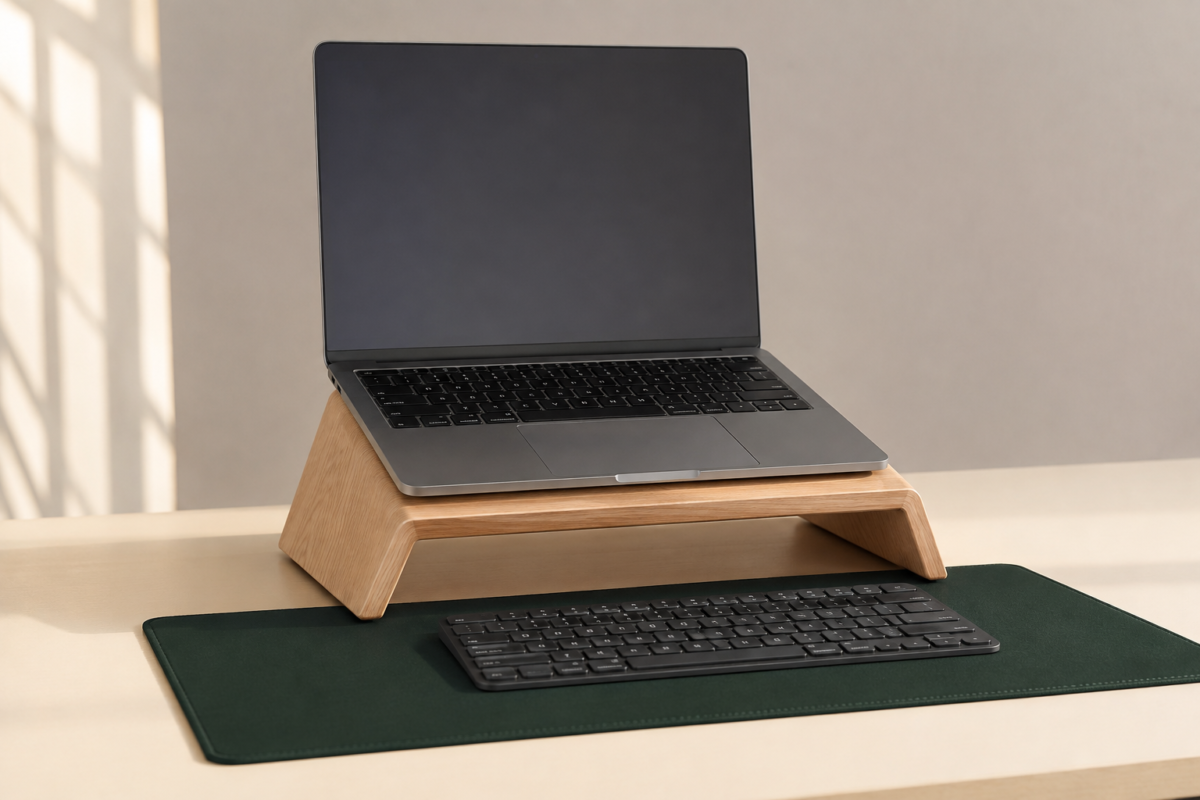
Most standard desks sit around 28 to 30 inches high, which works for most seated heights when paired with a chair that lets your feet rest flat on the floor. If a laptop is your main screen, raise it on a stand or a stack of books to bring the top of the screen closer to eye level, and use a separate keyboard so your hands can stay at the correct typing height without the screen dropping too low. A dining chair or accent chair can work in a genuine pinch, but a chair with actual lower back support is worth prioritizing if you’re working from this spot most days, since ergonomic strain compounds slowly and becomes far more noticeable after a few months than it is on day one.
Step 3: Build Storage That Prevents Daily Creep
Build storage around vertical space and closed containers specifically, using wall-mounted shelves, a slim rolling cart, or closed bins and baskets, since a small desk surface fills up within days without a deliberate plan for where paper, cables, and small supplies actually live when they’re not in active use.
Vertical storage, like a small wall shelf or a pegboard above the desk, keeps frequently used items accessible without eating into limited desk surface area. Closed storage, like a woven basket or a small filing box with a lid, handles everything that doesn’t need to be visible day to day, which matters enormously for the end-of-day routine covered later in this guide. A slim rolling cart works particularly well in a shared-space setup, since the entire workspace’s loose supplies can move with it rather than staying scattered across a desk that needs to revert to another purpose in the evening.
Assign a specific, permanent spot for the items that tend to drift, like a charging cable, a notebook, or a pen cup, rather than letting them land wherever there’s open space each day. This single habit prevents more visual clutter than almost any storage product could on its own.
Step 4: Layer Lighting and Manage Power
Add a dedicated task light positioned to avoid screen glare, layer it with at least one ambient light source in the room, and route all cords and power strips along the desk’s back edge or underside, since lighting and cord management both affect how functional and how visually calm the finished workspace feels every single day.
A task lamp positioned to the side of the screen, rather than directly behind or in front of it, lights your work surface without creating glare on the monitor. Pair it with at least one other light source in the room, since a single task lamp working alone tends to create a harsh, isolated pool of light that feels more like a spotlight than a genuinely usable workspace. Route power strips and cords along the back or underside of the desk using cable clips or a cord sleeve, keeping the visible desk surface and the floor beneath it free of a tangled cord pile that undoes even a well-organized setup.
Step 5: Style What’s Behind You on Video Calls
Style the wall or area visible behind you on video calls last, once placement, function, and storage are already settled, since this is a cosmetic layer that should reflect a workspace that’s already working well rather than trying to compensate for one that isn’t.
A simple, uncluttered background reads as more professional than a heavily decorated one, regardless of how nice the individual decor pieces are. One piece of art, a single plant, or a neutral textured wall works better on camera than a busy bookshelf or a wall full of small objects, since video compression tends to make busy backgrounds look more chaotic on screen than they actually appear in person. If storage or clutter has to be visible in the camera frame at all, closed baskets or bins read far better on video than open shelving with visible loose items.
Step 6: Build a Real End-of-Day Hideaway Routine
Build a specific, repeatable end-of-day routine, like closing a laptop into a drawer or cabinet, wheeling a cart into a closet, or sweeping loose items into one closed basket, since a workspace without an actual closing routine tends to stay visibly “in work mode” well past the workday, which is often the exact thing that makes a small apartment feel like it never fully turns off.
The specific method matters less than having one at all, done the same way every day rather than reinvented each evening. A rolling cart that tucks fully into a closet at day’s end works well in a shared living space. A desk with a drawer deep enough to hold a closed laptop and a stray cable or two works well for a dedicated corner that stays visible but needs to visually “close” each evening. Whatever the method, the goal is the same: a consistent, low-effort action that takes under a minute and reliably signals, to you and anyone else in the space, that work hours are over.
What This Looks Like in a Studio vs. a Shared Room
In a studio apartment, the workspace usually needs the most complete hideaway routine of any layout, since it typically shares visual space with the bed, the living area, and sometimes the kitchen all at once, making a rolling cart or a closed-cabinet desk especially valuable. In a shared room, like a home office doubling as a guest room or a corner of a larger living space, the workspace can often stay slightly more visibly present, since it’s not competing directly with a bed or dining table for the same square footage, but a closing routine still matters for keeping the shared space feeling like more than one thing at once.
The six-step order stays the same either way. Only the specific storage and hideaway method changes based on how much the workspace needs to visually disappear once the day is done.
Frequently Asked Questions
What should I decide first when setting up a small home office? Placement, before anything else. Where the desk sits relative to natural light and the room’s main sightlines affects nearly every decision that follows, including lighting, storage, and how realistic an end-of-day hideaway routine will actually be.
How do I know if my desk and chair height are actually ergonomic? Your elbows should sit at roughly 90 degrees while typing, your feet should rest flat on the floor, and the top of your screen should sit at or just below eye level. If any of these feel off, a laptop stand, a footrest, or a different chair height usually resolves it quickly.
What’s the fastest way to hide a home office at the end of the day? A consistent, repeatable routine matters more than any specific method. A rolling cart that tucks into a closet, or a desk drawer deep enough for a closed laptop and loose cables, both work well as long as the same routine happens every day rather than being reinvented each evening.
Should my video call background match the rest of my room’s decor? It should feel calm and uncluttered more than it needs to match precisely. One simple piece of art, a plant, or a neutral wall generally reads better on camera than a busy, heavily decorated background, even if that background looks lovely in person.
Related Reading
For the specific storage systems and desk organization methods once your workspace is set up, the Desk Organization category covers daily-use systems in more depth.
If your home office needs to genuinely disappear into a shared living space each evening, the Shared-Space Offices category covers layout strategies specific to that challenge.
For the general order to style any small space once function is settled, The Complete Guide to Budget Styling a Small Space covers lighting, textiles, and wall decor in sequence.
Browse the full Small Home Offices category for more setup guides, or explore the wider Home Office & Small Workspaces hub for desk organization and work-from-home setup ideas.