Table of Contents
You stand in a new rental kitchen on move-in day and the honest first thought is usually some version of “I can live with this.” Beige tile, plain white cabinets, a light fixture that came with the building sometime in the last decade. It’s not bad. It’s just not yours, and a kitchen you’re cooking in every day for the next year (or three) deserves to feel like more than something you’re passing through.
The good news is a rental kitchen can change dramatically without a single call to the landlord, as long as you tackle the upgrades in the right order and choose products built to come off clean. Start with the backsplash, since it covers the most visual real estate and sets the tone everything else gets layered onto. Move to hardware next, the second-highest-impact, lowest-effort swap available. Finish with the smaller changes, lighting covers, a faucet swap, shelf liner, that round out the transformation without eating your whole weekend or your security deposit.
This guide walks through that full sequence, plus exactly how to keep everything reversible so move-out day is as easy as move-in day was.
Why Order Matters More Than People Think
It’s tempting to buy whatever catches your eye first, a cute drawer pull here, a runner there, and assemble a kitchen refresh out of whatever arrives. The problem is that smaller changes read very differently depending on what’s already surrounding them. A gorgeous set of brass pulls on cabinets sitting next to a dated, beige-tiled backsplash still looks unfinished, because the biggest visual element in the room hasn’t changed yet.
Tackling the highest-impact, most visually dominant change first, the backsplash, means every smaller upgrade after it is building on a foundation that already looks intentional. Work in the reverse order and you risk buying and installing several small items before realizing the backsplash was really driving the “still feels rented” feeling the whole time.
Start With the Backsplash
A backsplash covers a huge portion of visible wall space directly at eye level, right where you’re standing every time you cook, which makes it the single highest-impact visual change available in most rental kitchens. Peel-and-stick tile has become genuinely convincing in the last few years, closing much of the gap between a flat, printed sheet and real tile, as long as you choose the right product and prep the wall correctly.
Clean and prep the existing wall thoroughly before applying anything. Peel-and-stick tile adhesive bonds to a clean, dry, grease-free surface, and kitchen walls behind a stove accumulate more residue than most people realize. A degreasing cleaner and a full 24-hour dry time before application is the difference between a backsplash that lasts your entire lease and one that starts lifting at the corners within a month.
Choose a product with texture, not a flat printed pattern. The flattest, cheapest peel-and-stick tiles read as fake up close because real tile has actual dimension, grout lines you can feel, a slight sheen or texture variation. Products molded with real texture and a genuine gloss finish hold up to close inspection in a way flat vinyl sheets don’t.
Measure twice and buy roughly 10% more material than your exact measurement. Cutting around outlets, corners, and the stove hood always eats more material than a flat measurement suggests, and running short mid-project, waiting on a reorder, is more disruptive than having a bit of leftover tile.
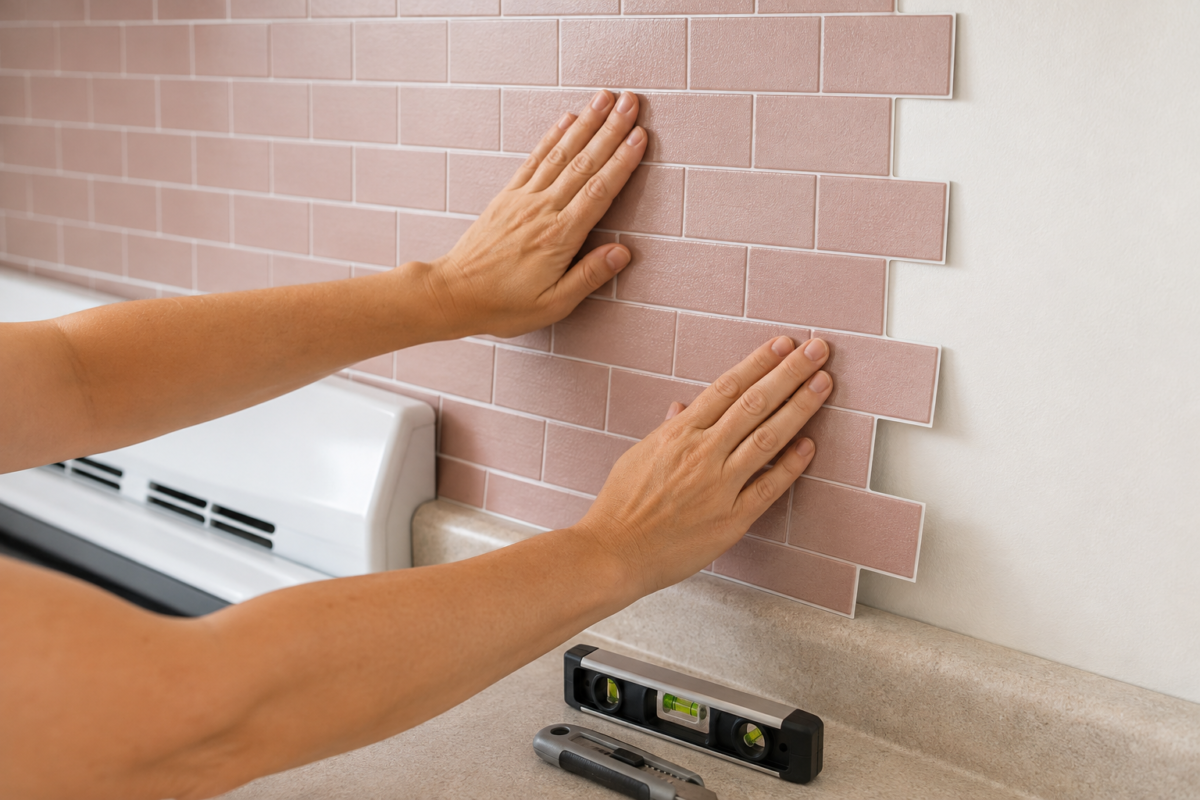
If you want the full breakdown of exactly which peel-and-stick products hold up under real daily kitchen use, plus the ones to avoid entirely, Removable Backsplash Options That Actually Look Real covers the specific brands and materials worth the investment.
Move to Cabinet Hardware Next
Once the backsplash is in and the wall is doing real visual work, cabinet hardware is the next highest-impact, lowest-effort upgrade on the list. Your hand touches this every single day, dozens of times, in a way that makes it feel like a genuinely functional upgrade rather than just decor.
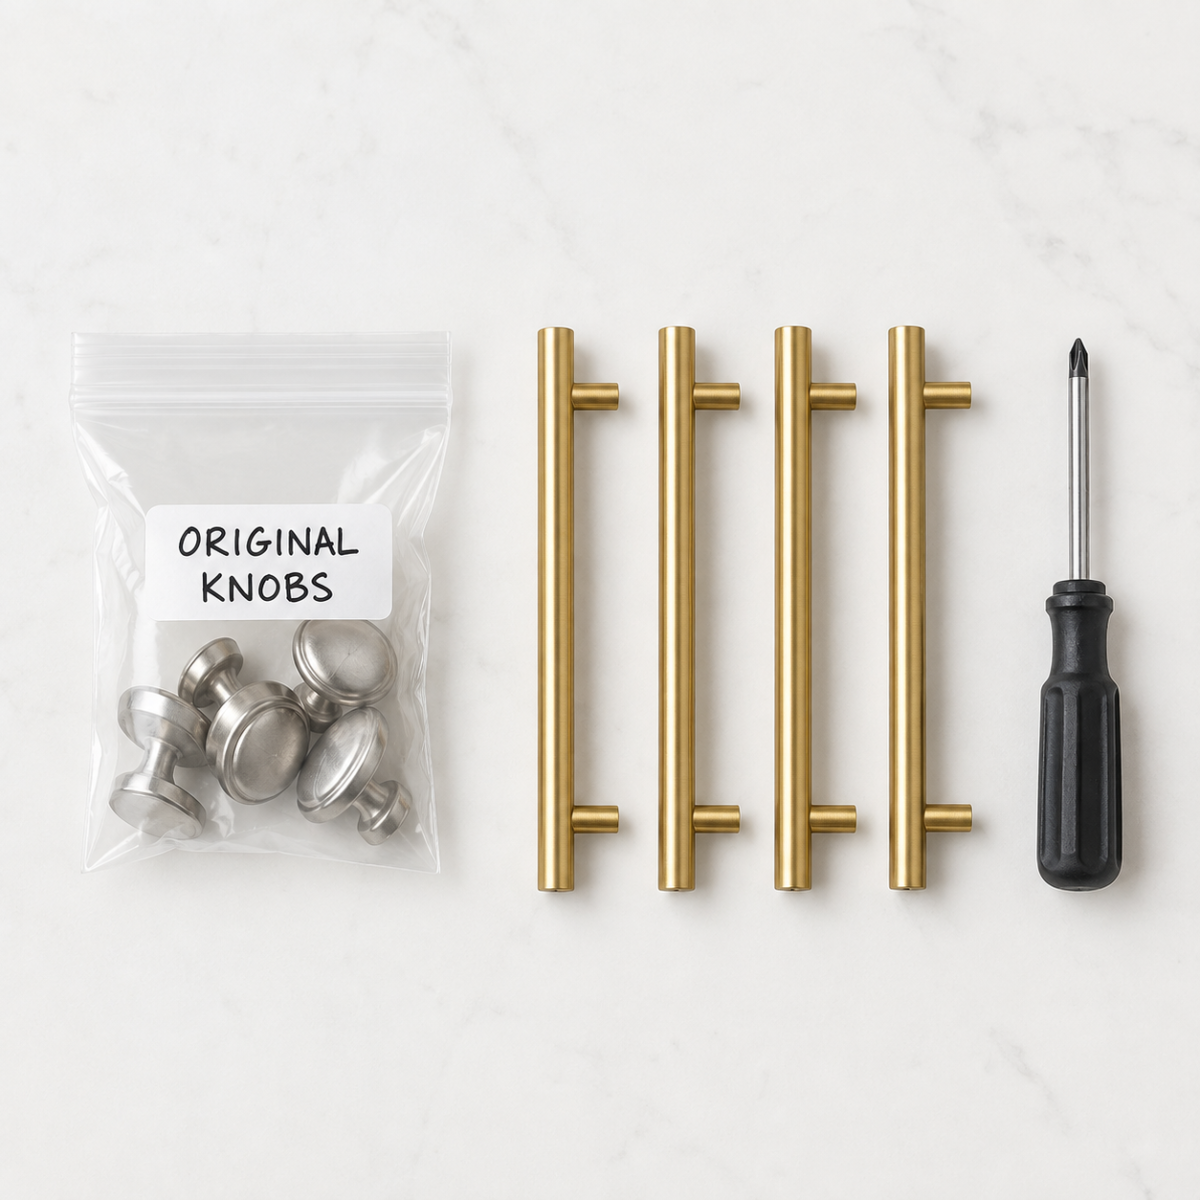
Save every original knob and pull in a labeled bag before removing anything. This single step is what makes the entire hardware swap fully reversible. Label the bag with the cabinet or drawer it came from if your kitchen has multiple hardware styles, since reinstalling the wrong original piece in the wrong spot at move-out creates its own small headache.
Check hole spacing before ordering new hardware. Existing knobs typically use a single screw hole, while pulls often use two holes spaced a specific distance apart. Buying new pulls that don’t match your existing hole spacing means either drilling new holes (not reversible) or being stuck with knobs only. Measure first, always.
Pick one consistent finish across the whole kitchen. Mixing brushed gold on uppers and matte black on lowers can look intentional in the right hands, but it’s a harder trick to pull off than a single cohesive finish throughout, especially in a smaller kitchen where every surface is visible at once.
A full 15-25 piece hardware swap typically takes an afternoon with a basic screwdriver and runs $50-$150 depending on the finish and style chosen. It’s one of the best returns on effort available in a rental refresh.
For the complete process, including how to patch old holes cleanly if your new hardware doesn’t line up exactly, Cabinet Hardware Swaps That Come Off Clean walks through the full swap from start to finish.
Round Out the Kitchen With Smaller Swaps
With the backsplash and hardware handled, the remaining upgrades are smaller in scope but still add up to a meaningfully different-feeling kitchen. These are the finishing touches that separate a genuinely refreshed rental from one that stopped halfway through.
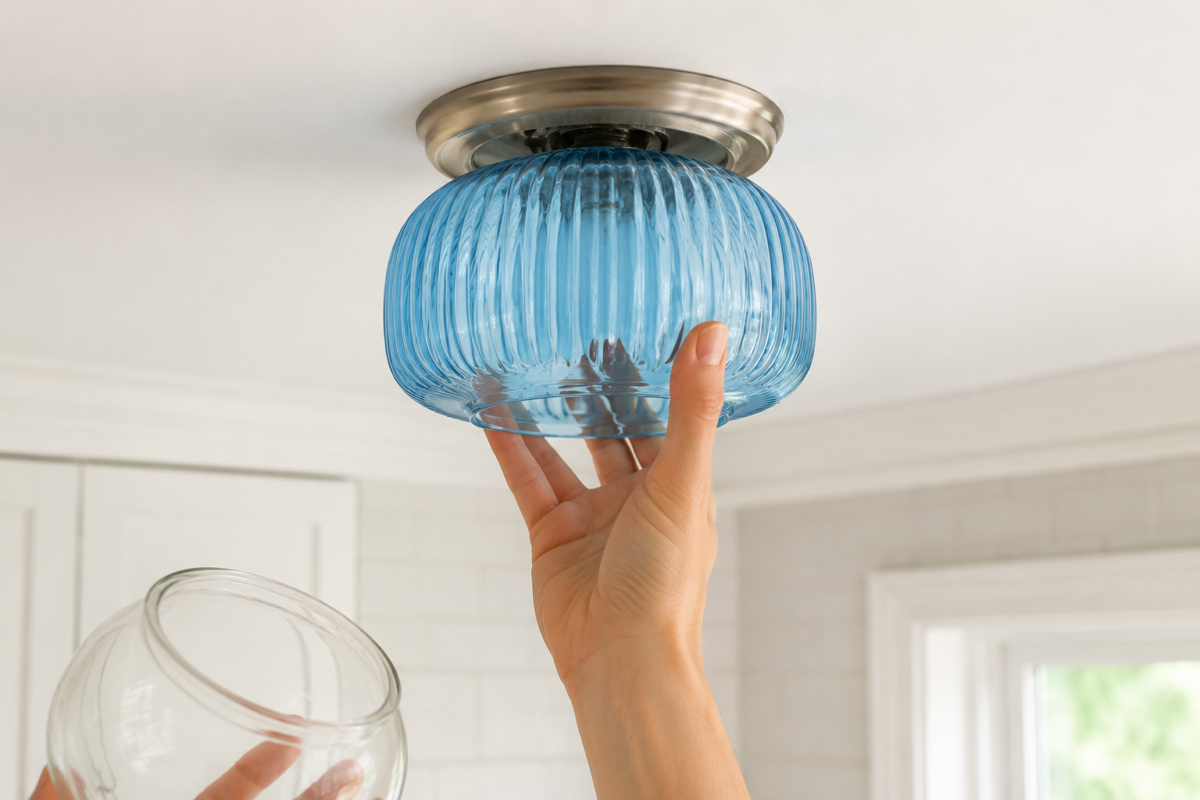
Swap the light fixture cover or add a plug-in pendant. Most rental kitchens have a plain flush-mount ceiling fixture with a basic glass or plastic cover. Many of these covers unscrew easily and can be swapped for a nicer style without touching any wiring, since you’re only replacing the cover, not the fixture itself. Where that’s not an option, a plug-in pendant hung from a hook adds a second, warmer light source without any electrical work at all.
Replace the faucet, but keep the original safely stored. A faucet swap sounds intimidating, but most kitchen faucets connect with standard supply lines and a basic mounting nut, making it a genuinely doable weekend project with a wrench and a video tutorial. Store the original faucet in its box, fully intact, for reinstallation before move-out.
Add contact paper or shelf liner inside cabinets and drawers. This is one of the cheapest, fastest upgrades available and it solves a real functional problem (sticky, stained, or simply ugly cabinet interiors) at the same time it adds visual polish. Removable liner peels off clean at the end of a lease with zero residue if you choose a genuinely removable product rather than a permanent adhesive version.
Cover dated appliance fronts with magnetic or adhesive panels. A dishwasher or fridge front that’s an outdated color or material can be covered with a magnetic panel (for appliances that accept magnets) or a specifically rated adhesive film, changing the entire look of a large appliance without touching the appliance itself underneath.
For a full breakdown of which peel-and-stick and adhesive products across every category, backsplash, appliance panels, drawer liner, actually hold up versus which ones peel and bubble within weeks, Peel-and-Stick Upgrades Worth the Money covers the specific products worth buying.
Sequence the Whole Project Realistically
A full rental kitchen refresh doesn’t need to happen in one weekend, and trying to cram backsplash, hardware, and every smaller swap into two days usually means rushing the step that actually needs patience, letting adhesive cure fully before use.
A realistic timeline spread across three to four weekends: backsplash on weekend one, with a full cure time before heavy use near the stove. Hardware on weekend two, since it’s mostly mechanical and doesn’t require any drying or setting time. The smaller swaps, spread across weekends three and four, tackled one or two at a time rather than all at once.
This staged approach also means you’re living with each change for a few days before adding the next, which makes it easier to catch anything that needs adjusting (a backsplash edge that’s lifting slightly, hardware spacing that feels off) before the whole project is finished and harder to revisit.
Keep a Move-Out Reversal Plan From Day One
Every upgrade in this guide is chosen specifically because it can come off clean, but “can come off clean” only works in practice if you’ve kept track of what needs to be reversed and how. Keep a single folder, physical or digital, with photos of the original kitchen before you started, the labeled bag of original hardware, and the box for your original faucet if you swapped it.
Take those “before” photos on day one, before touching anything. They’re your reference for exactly how everything should look when you move out, and they’re useful documentation if a landlord ever questions whether a change was made or already existed.
Budget an afternoon at the end of your lease specifically for reversal: reinstalling original hardware, removing the backsplash (most peel-and-stick products designed for renters are built to remove without damaging paint or drywall underneath), and swapping the faucet back. Done methodically, using the same folder of photos and stored originals, this takes a fraction of the time the original installation did.
What a Fully Upgraded Rental Kitchen Actually Feels Like
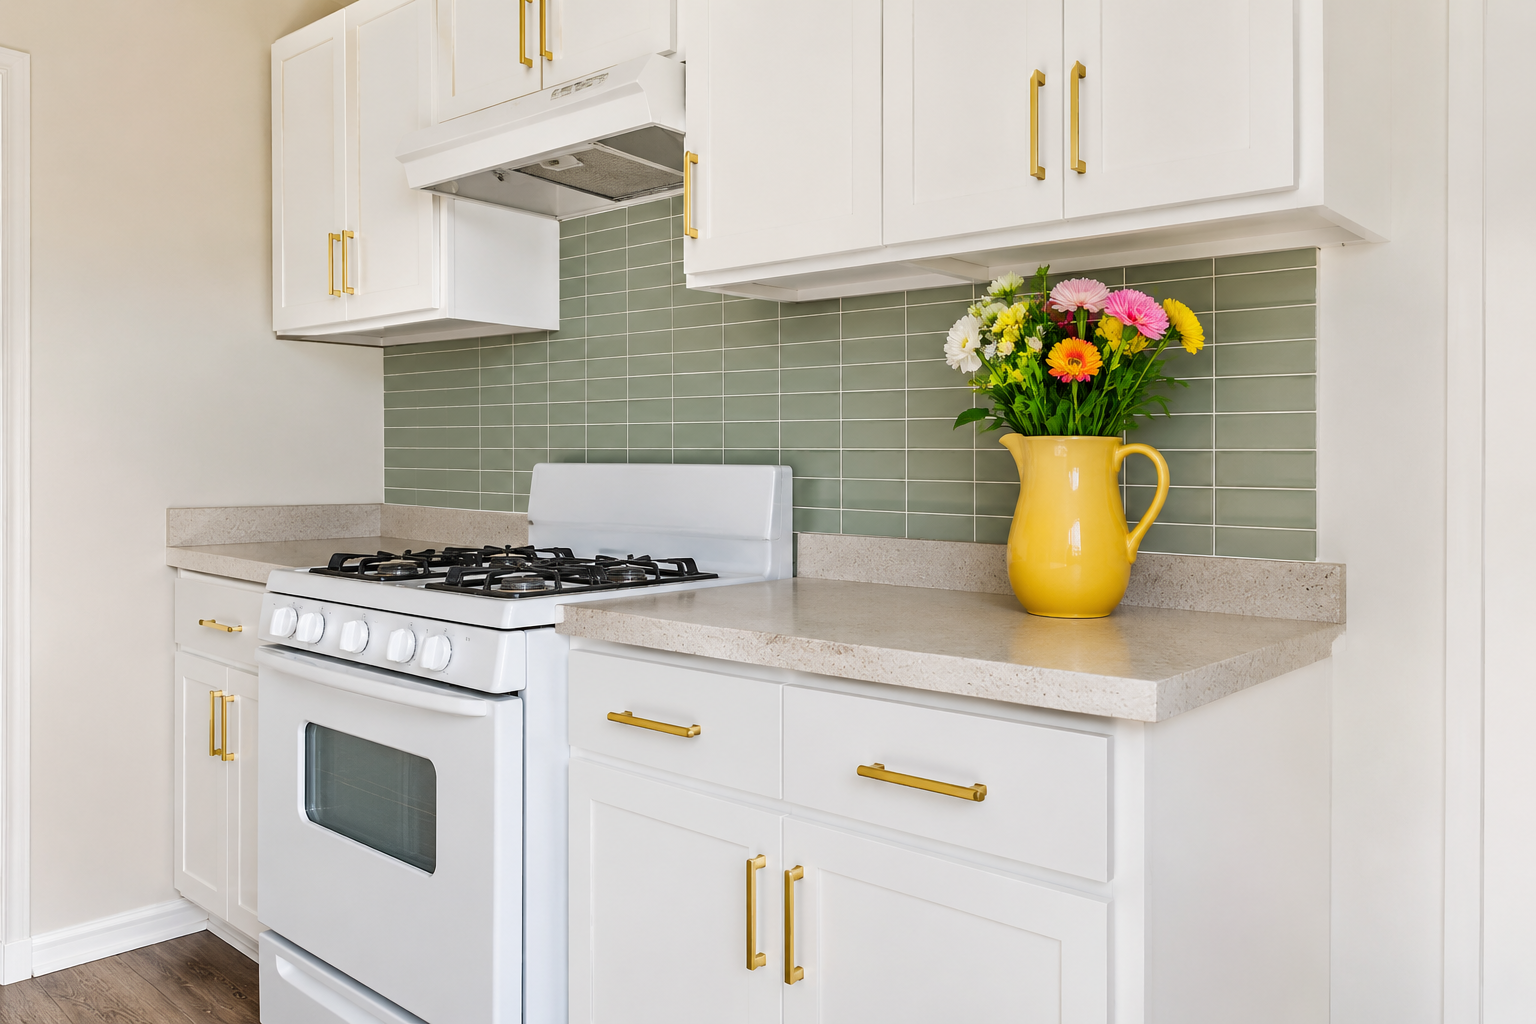
Picture that same move-in-day kitchen, now with a textured tile backsplash that reads as real from three feet away, hardware that feels intentional every time your hand touches a drawer, and a light fixture that’s actually warm and inviting instead of the plain builder-grade cover it came with. Nothing about the lease changed. The kitchen just stopped feeling like a placeholder and started feeling like yours, for exactly as long as you’re living in it.
Frequently Asked Questions
Will rental kitchen upgrades void my security deposit? Not if every product used is genuinely designed to be removable and you keep the originals stored for reinstallation. Peel-and-stick products marketed specifically for renters, reversible adhesives, and swappable hardware with originals saved are all built for this exact situation.
What’s the single best rental kitchen upgrade to start with? The backsplash, since it covers the most visible wall space and changes the overall feel of the kitchen more than any other single upgrade. Everything else layers on top of that foundation more effectively once it’s in place.
How much does a full rental kitchen refresh typically cost? A complete refresh covering backsplash, hardware, and a few smaller swaps typically runs $250-$500 depending on kitchen size and product choices, spread across several weekends rather than one large purchase.
Do I need a landlord’s permission for peel-and-stick upgrades? Most leases don’t require permission for fully removable, non-damaging changes, but checking your specific lease language first, or getting quick written confirmation from your landlord, is worth the five minutes it takes to avoid any dispute later.
How long do peel-and-stick backsplash products actually last? Quality products, applied to a properly cleaned and prepped wall, typically hold up for the full length of a standard one- to two-year lease without lifting or bubbling, as long as they’re not exposed to direct high heat from the stove.
Related Reading
- Removable Backsplash Options That Actually Look Real
- Cabinet Hardware Swaps That Come Off Clean
- Peel-and-Stick Upgrades Worth the Money
- Rental Kitchen Upgrades (parent category)
- Small Kitchens (parent hub)