Table of Contents
You know that feeling of eating dinner four feet from where you sleep, working on your laptop with the same view as your pillow, and somehow never fully switching out of any one mode because every part of your day happens in the same forty square feet? That’s not a studio problem you’re failing to solve. It’s what happens to any single room that hasn’t been deliberately split into zones.
A studio doesn’t need walls to stop feeling like one undivided room. It needs boundaries, and boundaries can be built from furniture placement, rugs, lighting, and a few consistent visual cues, none of which require a drill or a landlord’s sign-off. The apartments that read as “surprisingly spacious” in photos almost never have more square footage than the ones that feel chaotic. They just have clearer zones.
This guide walks through exactly how to build those zones in a space with no interior walls to work with, starting with the single decision that determines whether the rest of the layout falls into place easily or fights you the whole way.
The One Decision That Comes Before Everything Else
Before rearranging a single piece of furniture, decide where the bed goes, because every other zone in a studio gets positioned relative to that one anchor point. This sounds obvious once it’s said out loud, but it’s the step most people skip, jumping straight to “where should the couch go” without settling the anchor that the couch’s position actually depends on.
The bed’s ideal spot balances two competing pulls: away from the main sightline of the door, so the sleeping area doesn’t dominate the room the second you walk in, and near enough to a wall or window that it can visually anchor its own zone rather than floating awkwardly in the middle. A corner, or a section of wall opposite the entry, usually works best. Once the bed’s placement is locked in, everything else, the living area, any work zone, the walking paths between them, gets figured out in relation to that single fixed point.
If the studio has any architectural quirk at all, an alcove, a slight jog in the wall, a nook by a window, that’s almost always the best spot for the bed, because it does some of the zoning work for you before you’ve placed a single other object.
Building Zones Without Walls: The Four Tools That Actually Work
Once the bed’s settled, the rest of the room gets divided using four tools, all fully reversible and all things you likely already have some version of.
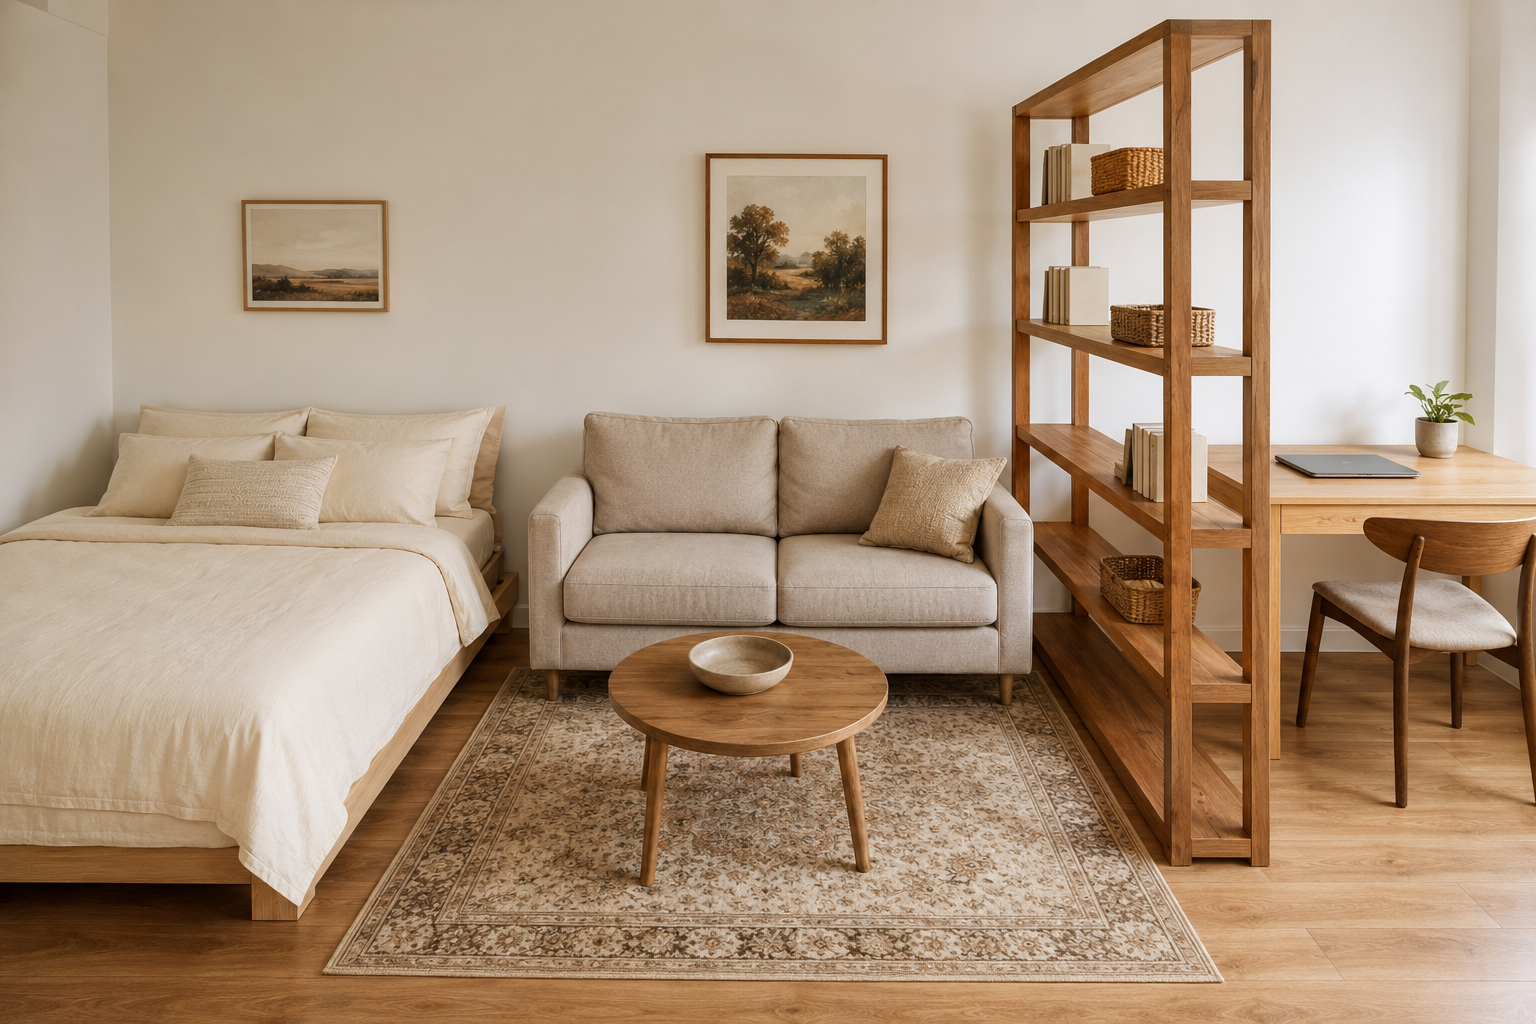
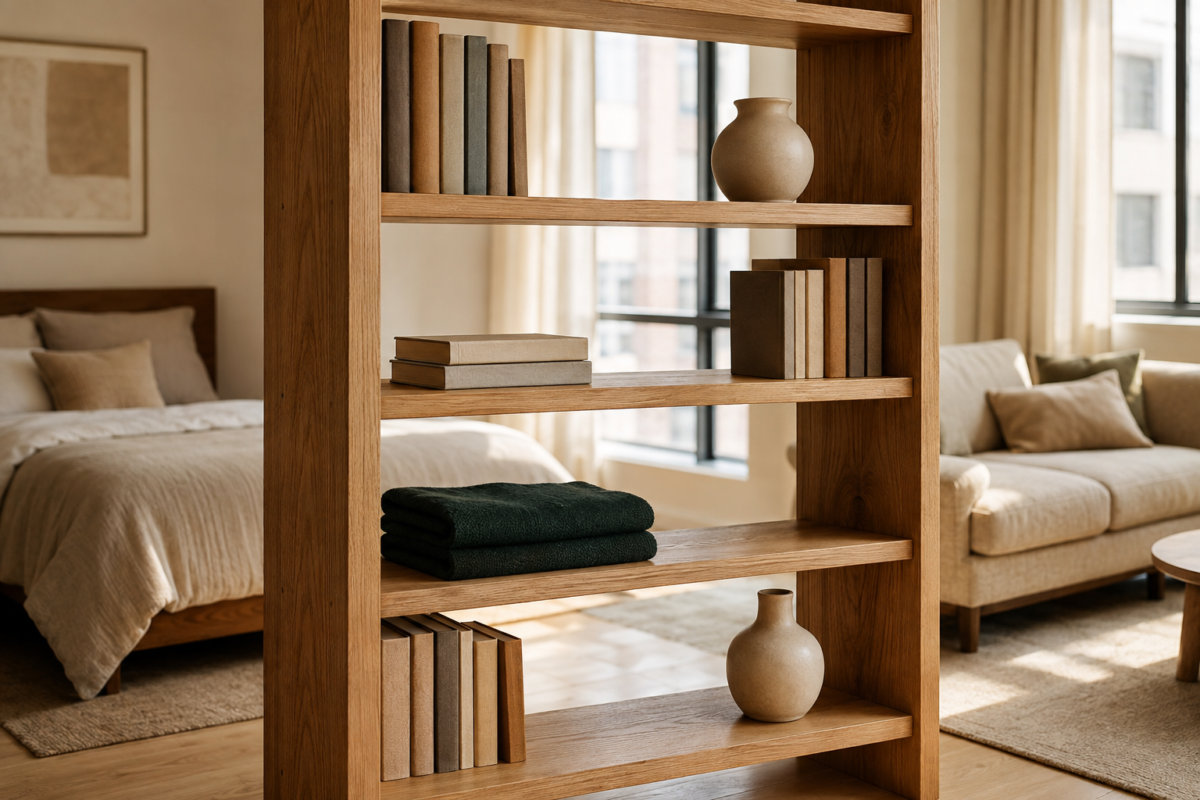
Furniture as a divider. A bookshelf, a console table, or even a tall plant placed perpendicular to a wall creates an implied boundary between two zones without blocking light or making the room feel chopped up. The key is height: something roughly waist to chest height reads as a divider without visually cutting the room in half the way a full floor-to-ceiling piece would. An open-backed shelf works even better than a solid one, since it still lets light pass through while marking the boundary.
Rugs as floor boundaries. This is the fastest, cheapest zoning tool available, and it’s the one people underuse the most. A rug under the living area’s furniture, sized so all the front legs of the seating sit on it, visually claims that section of floor as its own space. A second, different rug under a work desk does the same for that zone. The floor stops reading as one continuous surface and starts reading as distinct rooms, purely through the boundaries the rugs create.
Lighting as a mood shift. Overhead lighting tends to flatten a studio into one undifferentiated space, since the same light source illuminates every zone identically. Layering in a floor lamp for the living area and a desk lamp for the work zone, used instead of the overhead fixture during evening hours, creates a subtle but real shift between zones just through how the light falls.
Color and texture consistency within each zone. This one is more subtle, but it matters. Keeping a cohesive palette within a single zone, rather than scattering the same colors evenly across the whole room, helps each area read as its own considered space rather than one continuous stretch of stuff. The bedding, the throw pillows on the sofa, and the desk accessories don’t need to match each other. They need to feel intentional within their own zone.
Zoning a Studio for Two People
A studio built for one person and a studio shared by two people or a couple need different approaches, and trying to force the single-person layout to work for two is where a lot of shared studios start to feel cramped in a way that has nothing to do with actual square footage.
The biggest shift is treating the sleeping zone as genuinely private, not just visually separated. A curtain track, mounted with tension rods rather than drilled hardware, can fully enclose the bed area for actual privacy rather than just implying a boundary the way a bookshelf does. This matters more in a shared studio, where one person waking early or working late needs an actual barrier, not just a suggestion of one.
The second shift is being more disciplined about the work zone specifically. In a single-person studio, a desk tucked into a corner is often enough. In a shared studio, especially with two people working from home even occasionally, a dedicated work zone with its own boundary, even a small one, prevents the kind of constant negotiation over shared space that wears on a relationship faster than the square footage itself would suggest.
What to Do When There’s No Room for a Fifth Zone
Most studios can comfortably hold two or three real zones before the layout starts fighting itself. A fourth or fifth, like a dedicated dining area on top of sleeping, living, and work, usually needs to borrow from an existing zone rather than claiming brand-new floor space that isn’t there.
A small drop-leaf or folding table solves this well. Stored against the wall or folded flat most of the time, it opens into a proper eating surface when needed and disappears again afterward, effectively letting one piece of furniture serve two purposes without permanently claiming a zone of its own. A narrow console table pushed against the back of a sofa can do similar double duty, functioning as a plant and lamp surface most days and pulling out into extra counter space when guests are over.
The instinct to give every activity its own permanent zone is understandable, but in a genuinely small studio it tends to backfire. Better to identify the two or three zones that matter most for daily life, sleeping and living almost always among them, and let anything else share space with one of those rather than forcing in a zone the room doesn’t have room for.
Common Zoning Mistakes That Undo the Layout
A few patterns show up repeatedly in studios that still feel like one big room despite genuine effort to zone them.
Placing all the furniture against the walls. This is the instinct almost everyone starts with, and it’s usually the wrong one in a studio specifically. Pulling the sofa or bed away from the wall, even by a foot or two, and using that gap to place a divider or define a walking path, does more to create distinct zones than pushing everything to the perimeter ever will.
Using one giant rug for the whole room. A single large rug covering most of the floor eliminates the exact boundary tool a studio needs most. Two or three smaller, distinct rugs, one per zone, do far more zoning work than one rug that visually merges everything together.
Matching every zone’s decor too closely. Coordinating a color palette across the whole studio is smart. Making every zone look identical in style and mood is not, since it removes the visual cue that tells your brain “this is a different kind of space now” as you move from the bed to the living area.
Skipping a walking path. Every zone needs a clear route to and from it that doesn’t require squeezing past furniture. A layout that looks great from a photo but forces an awkward sideways shuffle to reach the bed will feel cramped daily in a way that undermines all the zoning work around it.
Frequently Asked Questions
How do I zone a studio apartment without buying new furniture? Start with what you already own. Reposition existing pieces to create implied boundaries, add a rug you already have under the seating area, and use a lamp instead of the overhead light in the evening. Zoning is more about placement and layering than about acquiring new items.
Is a room divider curtain a good option for a studio? Yes, especially for privacy around the sleeping area or for anyone sharing the space with a roommate or partner. A tension-mounted curtain track avoids any wall damage and can be pulled fully open during the day if you don’t want the enclosed feeling all the time.
What’s the ideal size studio for zoning to work well? Zoning works in almost any size studio, though it’s easier above roughly 350 square feet. In smaller studios, prioritize just two zones, sleeping and living, rather than trying to force in a separate work zone that ends up cramped and underused.
Should the bed face the door in a studio apartment? It’s generally better if the bed isn’t the first thing visible from the entry, both for privacy and because it keeps the sleeping zone from visually dominating the room. Positioning it in a corner or along a side wall usually solves this naturally.
How many rugs does a studio apartment actually need? Two is usually the sweet spot: one under the living area and one under any work or dining zone. More than that can start fragmenting the floor rather than clarifying it, so it’s worth stopping at what the zones genuinely need.
Related Reading
- The Complete Apartment & Rental Guide — the full layout → decor → storage sequence this guide fits into
- Rental-Friendly Decor Guide — damage-free ways to style each zone once the layout is settled
- Apartment Storage Guide — storage solutions that reinforce zone boundaries instead of cluttering them
- Complete Guide to Studio Apartment Living — related Taims Space guide.
- Zoning a Studio Without Walls — related Taims Space guide.
- Furniture Scale That Works in One Room — related Taims Space guide.
- Making a Studio Feel Bigger — related Taims Space guide.
- Complete Guide to Apartment Storage — related Taims Space guide.
Category: Studio Apartments Hub: /apartments-and-rentals/
Reviewed by the Taims Space editorial team.