Table of Contents
The difference between a DIY project that saves money and one that costs more than buying isn’t skill — it’s picking the right project in the first place. A first-time DIYer who paints a thrifted frame saves real money in twenty minutes. That same person reupholstering a couch for the first time often spends more on materials and redo attempts than a finished couch would have cost.
This guide sorts small-space DIY projects by what they actually require, so you can pick ones that pay off and skip the ones that quietly don’t.
The DIY Test: Three Questions Before You Start
Before starting any DIY project, ask whether it’s reversible if you rent, whether it needs tools you don’t already own, and whether a failed first attempt would be expensive to fix. If the answer to any of these is a clear “no” or “yes, and that’s a problem,” skip the project or start with something smaller first.
Is it reversible? As a renter, this matters more than almost anything else. A project that can be undone at move-out with no damage (contact paper, removable hooks, peel-and-stick surfaces) carries almost no risk. A project that leaves permanent marks (drilled holes without a patch plan, painted walls that need repainting back, glued-on surfaces) carries move-out cost risk on top of the project cost itself.
Does it need tools you don’t own? Buying a tool for a single project erases most of the savings. If a project needs a tool you’ll only use once, price that tool into the project’s real cost before assuming DIY is cheaper than buying finished.
What does a failed first attempt cost? Painting a $12 thrifted frame badly costs you $12 and an afternoon. Reupholstering a couch badly costs you the fabric, the tools, and possibly the couch. Projects with a low failure cost are safe for beginners. Projects with a high failure cost should wait until you’ve built skill on something smaller.
Beginner-Friendly Projects
These projects need no special tools, are fully reversible, and cost very little if the first attempt isn’t perfect — the safest place to start if you haven’t done much DIY before.
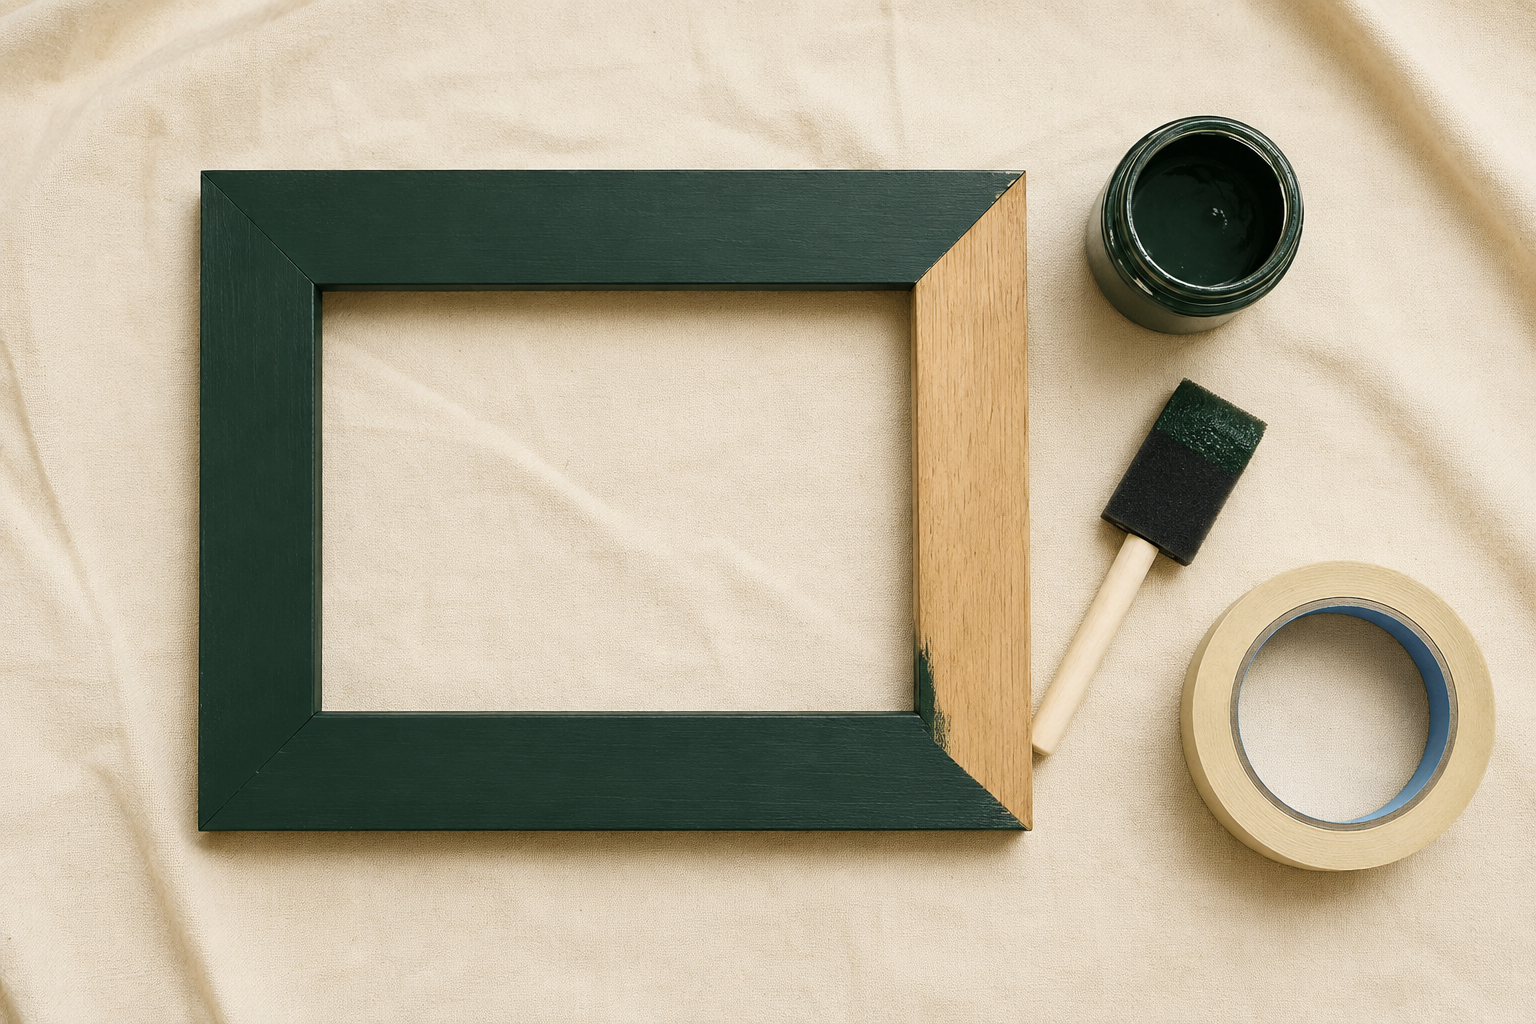
Painting thrifted furniture. Small tables, frames, and simple wooden pieces take well to a basic sample-size can of paint and a foam brush. Sand lightly first if the existing finish is glossy, so the new paint has something to grip.
No-sew curtain hacks. Fusible hem tape or fabric clips let you shorten, hem, or add trim to curtains without a sewing machine. A full pair of curtains typically takes under an hour this way.
Contact paper surfaces. Shelves, drawer interiors, and small counter areas take contact paper cleanly, and it comes off without residue if you’re gentle at the edges during removal.
Removable wall grids. Painter’s tape and a level let you create a geometric wall pattern with zero drilling, fully removable, and forgiving if a line comes out slightly crooked — you just repaint or re-tape that section.
Intermediate Projects
Once you’ve completed one or two beginner projects and have a feel for basic prep and patience, these are worth attempting — they need a little more skill or a slightly bigger tool investment, but they’re still forgiving of an imperfect first attempt.
Cabinet or drawer hardware swaps. Requires a screwdriver and, occasionally, a small drill for new hole placement — check that new hardware matches existing hole spacing first to avoid drilling at all.
Peel-and-stick backsplash or wallpaper on a small surface. A small accent area (like inside open shelving or a single small wall) is a reasonable first wallpaper attempt. Save a full room’s walls for after you’ve done a small test surface.
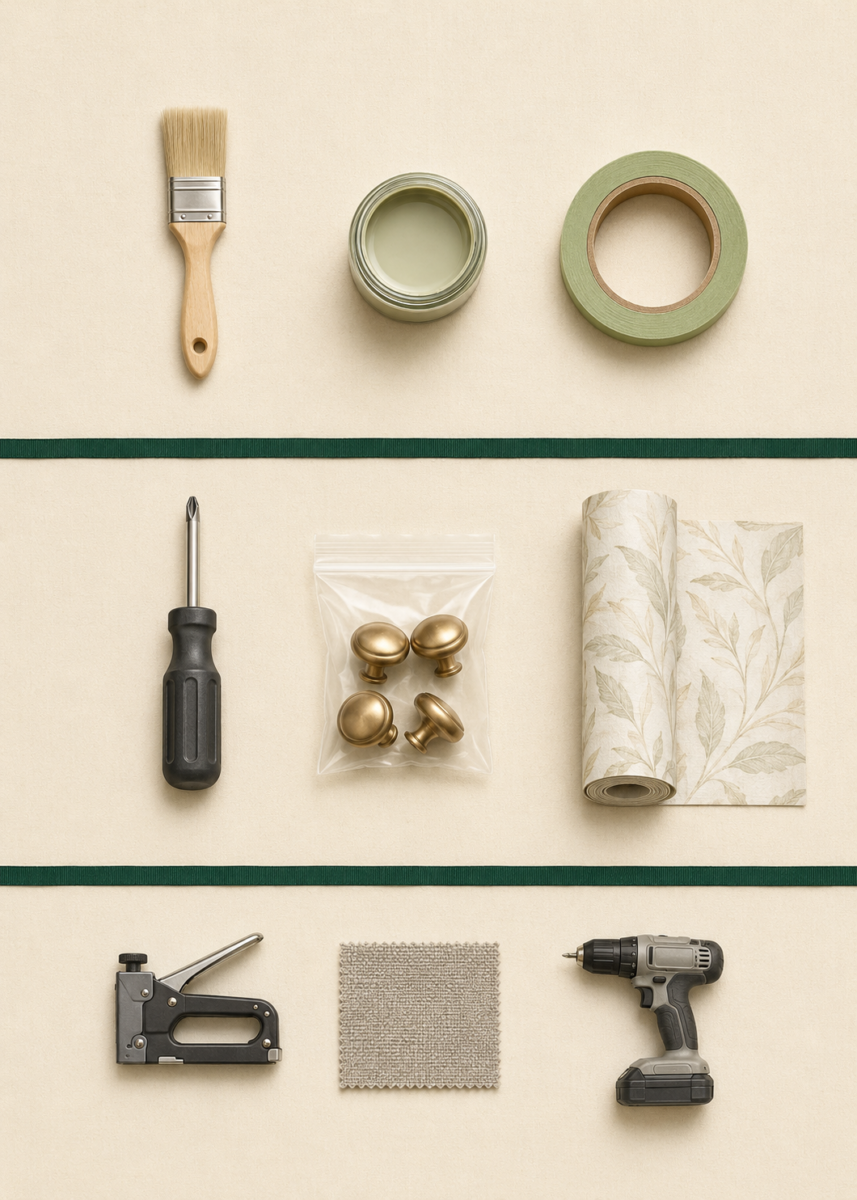
Simple shelving installs. Lightweight floating shelves rated for books or small decor items are a reasonable next step once you’re comfortable with a drill, provided your rental allows small wall anchors (always check your lease or ask your landlord first).
Projects to Skip as a DIY Beginner
Reupholstery, wallpaper on full rooms, and anything electrical are the three categories where a first attempt most often costs more than professional or store-bought alternatives — not because they’re impossible, but because the failure cost is high and the skill gap from “beginner” to “good result” is wide.
Reupholstery. Cushions, curves, and piping require pattern-making skill that takes practice to get right. A poorly reupholstered piece often looks worse than the original worn fabric, and the materials alone can cost close to what a new piece would.
Full-room wallpaper. Air bubbles, seam alignment, and pattern matching are genuinely difficult to get right on a first attempt, and a botched full wall is expensive to fix, especially in a rental where the wall itself needs to come back to its original condition.
Anything electrical. Rewiring fixtures or altering anything connected to your home’s electrical system isn’t a beginner DIY category, full stop — this is a safety issue as much as a skill one, and it’s one of the few projects on this list that isn’t just about wasted money if it goes wrong.
Renter-Safe DIY Rules
The safest renter DIY rule is simple: if you can’t picture exactly how to undo it at move-out, don’t start it. This single check filters out most of the risky projects before you’ve spent anything.
- Always test adhesives, contact paper, or tape on a small hidden section first (inside a closet, behind furniture) before committing to a visible surface.
- Photograph the original state of anything you’re modifying, so you have a clear reference for returning it at move-out.
- Keep leftover paint, contact paper, or matching materials in case a patch or touch-up is needed before you move out.
- Check your lease for specific restrictions before drilling, painting, or installing anything — some leases explicitly allow small wall anchors or a certain number of holes, and knowing that in advance avoids guesswork later.
The full Rental-Friendly Decor Guide in the Apartments & Rentals hub goes deeper on what’s reversible versus what isn’t, if you want the complete list before starting a specific project.
Signs a DIY Project Is Going Wrong Early
Most failed DIY projects show warning signs well before the final result, and catching them early is what separates a quick fix from a full redo. If paint is pooling or dripping instead of spreading evenly, stop and thin it slightly or switch to a better brush rather than pushing through — a rushed second coat over a bad first one rarely improves things. If contact paper is bubbling as you apply it, lift that section immediately and reapply slowly from one edge, rather than pressing bubbles toward the middle, which usually traps more air. If a wall grid line is visibly crooked once you step back and look from a few feet away, fix it before adding the next line — one crooked line is a quick tape adjustment, but three crooked lines built on top of each other take much longer to correct.
The general pattern: pause and check your progress every few minutes on any project, rather than finishing the whole thing before looking at it as a whole. Small corrections along the way are always faster than one large fix at the end.
Tools Worth Owning for Small-Space DIY
A basic kit covering most beginner-through-intermediate projects costs under $40 and rarely needs expanding for small-space work: a small screwdriver set, painter’s tape, a level, sandpaper in one medium grit, and a couple of foam brushes. Anything beyond this — a drill, a staple gun, specialty tools — is worth renting or borrowing for a single project before buying, until you know you’ll use it again.
FAQ
What’s the easiest DIY project for a complete beginner? Painting a small thrifted frame or side table. It needs no special tools beyond a brush and sample paint, and a mistake costs very little to fix or redo.
Is DIY always cheaper than buying finished? No. Materials, any tools you don’t already own, and the cost of redoing a failed attempt can add up to more than a finished, store-bought version — especially for projects with a high skill requirement, like reupholstery.
How do I know if my rental allows a specific DIY project? Check your lease first for any language about wall modifications, paint, or fixtures. When it’s unclear, a quick message to your landlord asking specifically about the project (not a general “can I decorate?”) gets a clearer answer.
What DIY projects should I never attempt myself? Anything electrical, and anything involving structural or plumbing changes. These aren’t cost-risk categories like the others in this guide — they’re safety categories, and they’re worth paying a professional for regardless of budget.
Do I need a drill for most small-space DIY projects? Not for the beginner tier. Most beginner-friendly projects (painting, no-sew curtains, contact paper, tape-based wall grids) need no drill at all. A drill becomes useful once you move into shelving or hardware swaps that need new holes.
Related Reading
- The Complete Budget Decor Guide — the full styling → swap → DIY sequence this guide fits into
- Budget Styling Guide — where to spend and where to save, room by room
- Get the Look for Less Guide — affordable dupes for popular expensive looks
- Complete Guide to DIY-Friendly Small Space Updates — related Taims Space guide.
- DIY Updates That Require Zero Power Tools — related Taims Space guide.
- DIY Projects That Protect Your Security Deposit — related Taims Space guide.
- Five Weekend DIY Projects — related Taims Space guide.
- Refreshing a Secondhand Find — related Taims Space guide.
Category: DIY-Friendly Updates Hub: /budget-decor/
Reviewed by the Taims Space editorial team.